A few weeks ago, I applied and was chosen to be a part of the Artesprix Design Team for term 3. If you don’t know what Artesprix is, you are missing out. Artesprix makes Sublimation Markers, ink pads, stencils, and they have high quality sublimation blanks. I can now officially say I made the team. It is so exciting to see this collaboration take shape. I will write two blog posts a month for the next six months for the Artesprix blog. My goal is to have a corresponding post here on this blog, for each one of those posts. This is the first of those posts.
If you want to try out some of the products at Artesprix use my code SARAH10 for 10% off. This coupon does exclude heat presses and discounted bundles.
The Artesprix Project – Blank of the Month
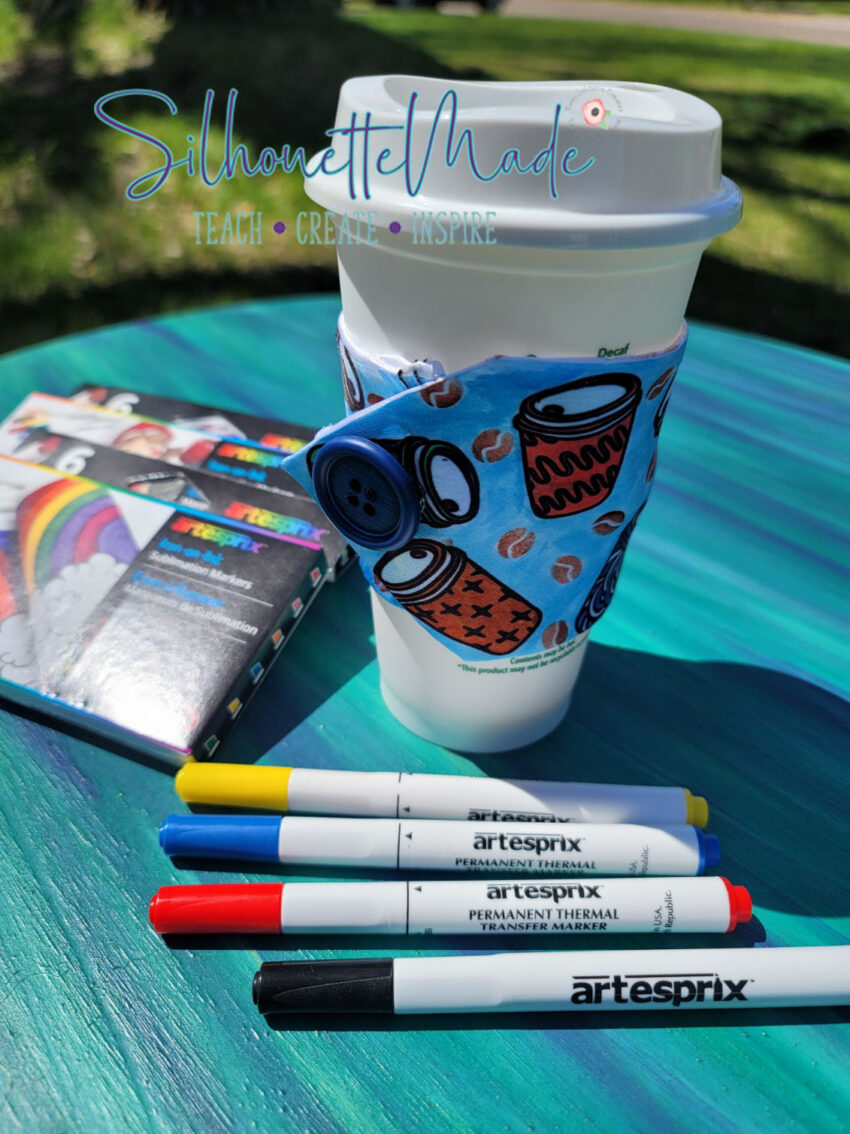
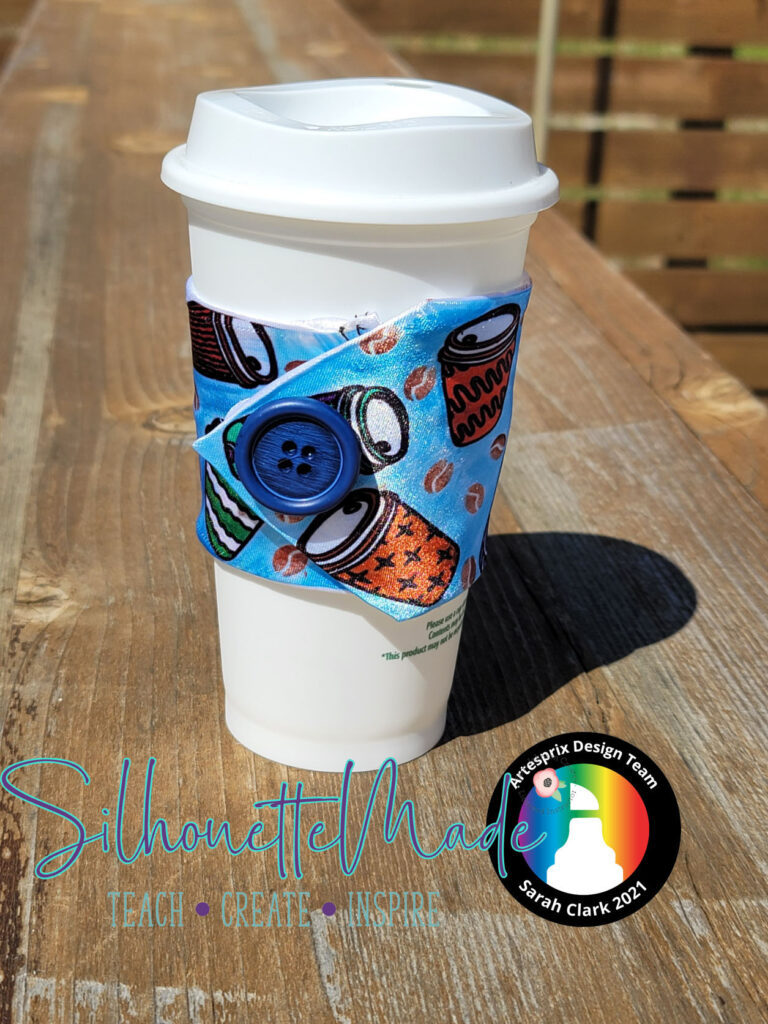
For my first Artesprix project, I used their May Blank of the Month. It is a Poly Necktie. Now, it was not easy figuring out what I wanted to do. No one….and I mean no one I know wears a tie, not even on a semi-regular basis. So, I went outside the norm and decided to create something I know will get used over and over. I turned my Poly Necktie into a coffee cup sleeve. It was such a simple project.
To read more about that process, and the Artesprix Sublimation Marker process, go check out my Poly Tie post right here on the Artesprix blog. I love that you only need a sheet of plain copy paper, a heat source, sublimation blank, and the markers to create a fantastic design.
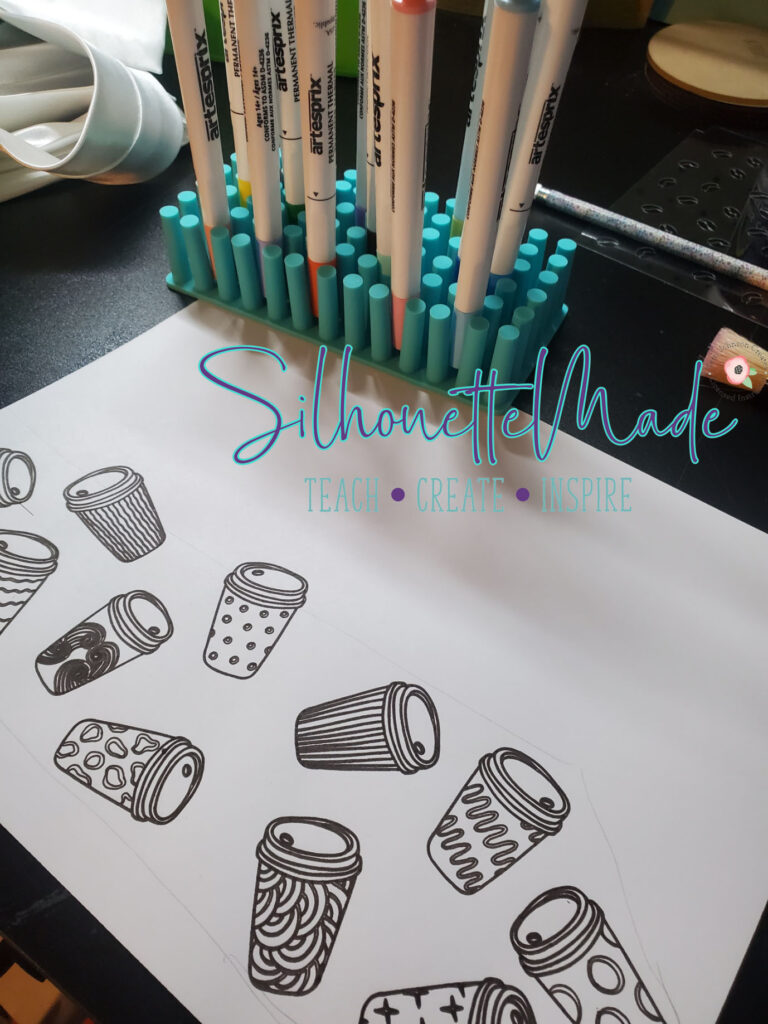
I am not the best artist, and by that, I mean that I’m lucky if I can draw a stick figure correctly. So, I design on my computer and rely on my machine to sketch the design out for me so I can color it in. I love using my Silhouette machines to sketch. I use it to sketch designs and text for many different things, including cards, “notes” from Santa, the Tooth Fairy, and the Easter bunny, and just like in this post, designs for sublimation.
Since I am using an Artesprix Sublimation Marker for this project, the first thing I do is place the marker tip down. These markers are typically stored flat, so by placing them tip down for about 15 minutes (30 minutes if it is a new pack) before using them it helps to get the ink flowing to the nib of the marker.
Setting up the Page
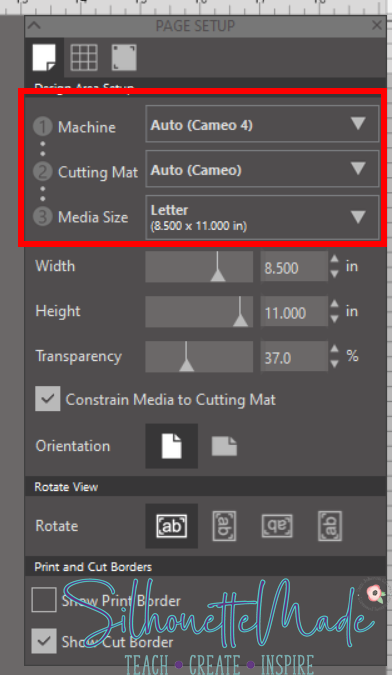
Set up the page in Silhouette Studio. I am using my Cameo 4 and a 12×12 inch mat. Set the media size to “letter” since the media is plain copy paper.
Creating the Design
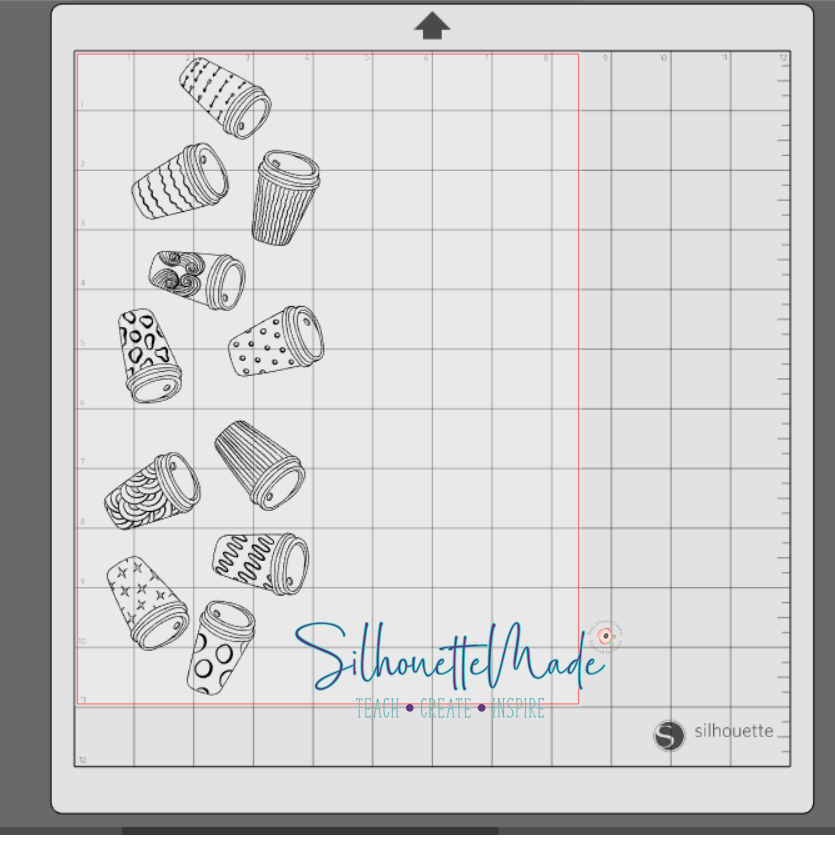
Next, create your design. Measure the blank to determine how big to make the design and to figure out placement. I used several different coffee cup designs from the same “bundle”. These designs came from Design Bundles. Resize and arrange them randomly to fit within the sizing of the blank.
Setting up the sketch
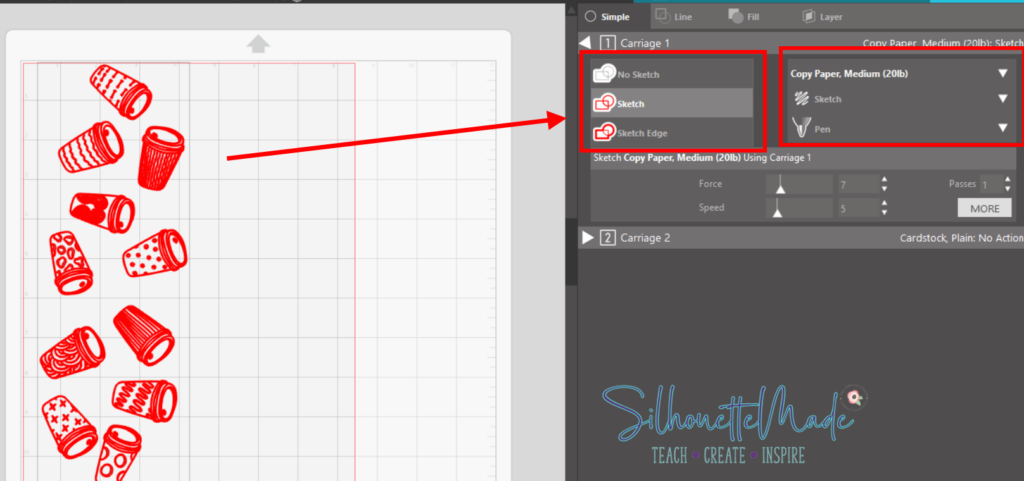
With the design sized and placed where you want, click on the send panel. On the right side of the send panel, set the Material to Copy Paper, the Action to Sketch, and the Tool to Pen. If you are using a Cameo 4 the Action and the Tool should automatically populate once the machine is connected and the pen holder inserted into the blade housing on the machine.
Next, with the design selected on the mat choose Sketch from the settings. There should be bold red lines around your design showing where the pen will sketch.
Setting up the Pen Holder and Machine
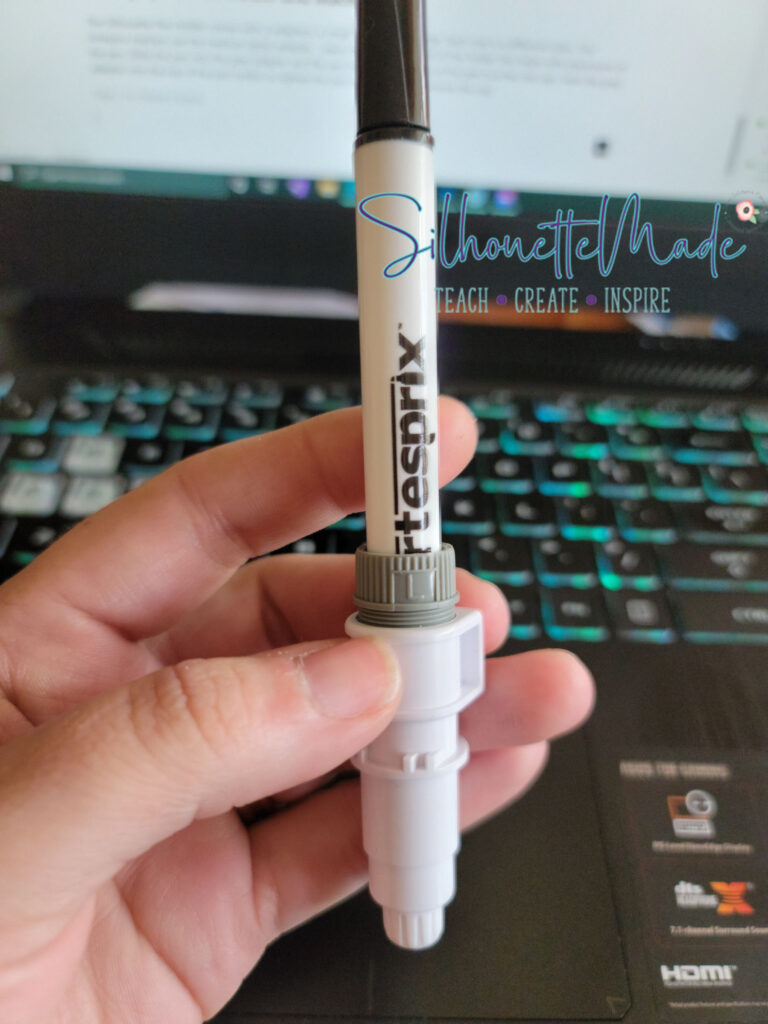
The Silhouette Pen Holder comes with 3 adapters, a small, medium, and large. Each one is a different color. The Artesprix markers use the medium (grey) adapter. Leave the cap on the end of the holder this helps with placement of the pen. Slide the pen into the grey adapter and the pen holder until the tip of the pen touches the cap. Twist the grey adapter into the top of the pen holder to tighten the pen into place, then remove the cap. Insert the Pen Holder into tool 1 on the machine.
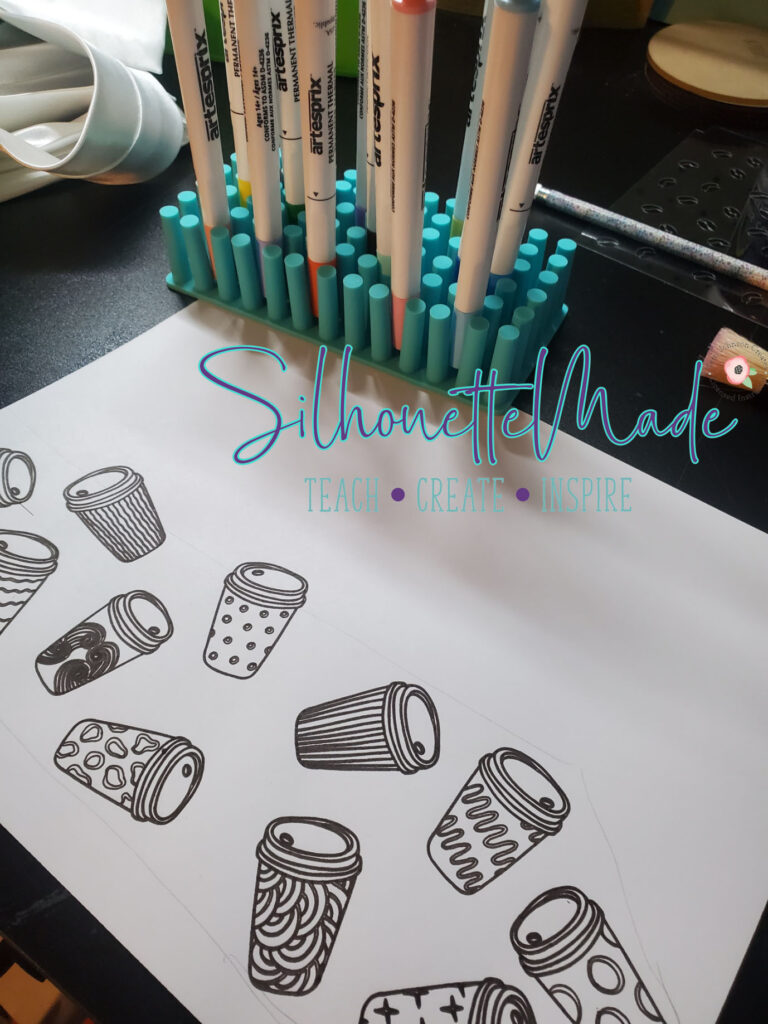
Place the copy paper onto the mat and load it into the machine. Once it is loaded, send the design to sketch. When it is done sketching, remove the pen holder, take the pen out and replace the cap, and unload the mat. You have now successfully sketched a design using the Silhouette Pen Holder.
Drag marks during sketching can happen if the force is too high, the pen is too low in the holder, or the mat was not fully supported while sketching. The first thing I would check would be to make sure the mat is not hanging down in front when sketching. Then I would either decrease the force or lift the pen up just a bit and try again.
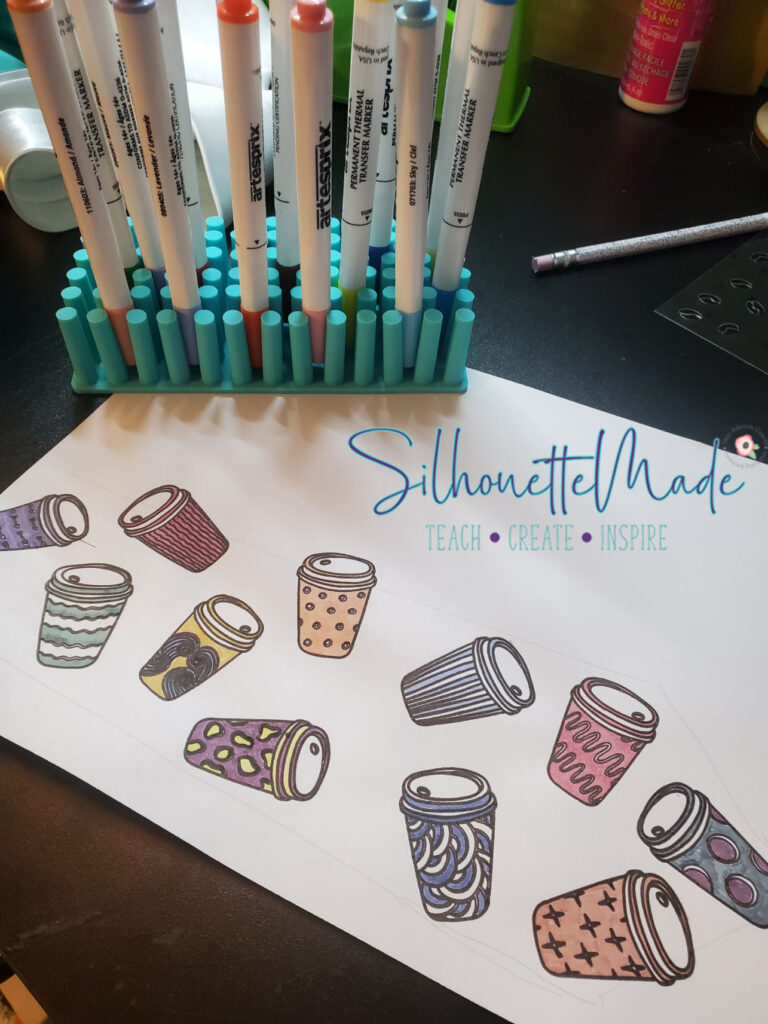
For this project, once the mat was unloaded, I used other color sublimation markers and colored in my design. You can read about how I finished the project HERE.
I hope you enjoyed this project as much as I did. Using the sketch tool is one of my favorites. I would love to see what you create! Feel free to share your projects with me. You can post photos or ask questions on my Facebook page or group:
www.facebook.com/groups/SilhouetteMadewithSarah
www.facebook.com/SilhouetteMade
To share or save this post please pin the image below.
1 thought on “Sketching on your Silhouette”