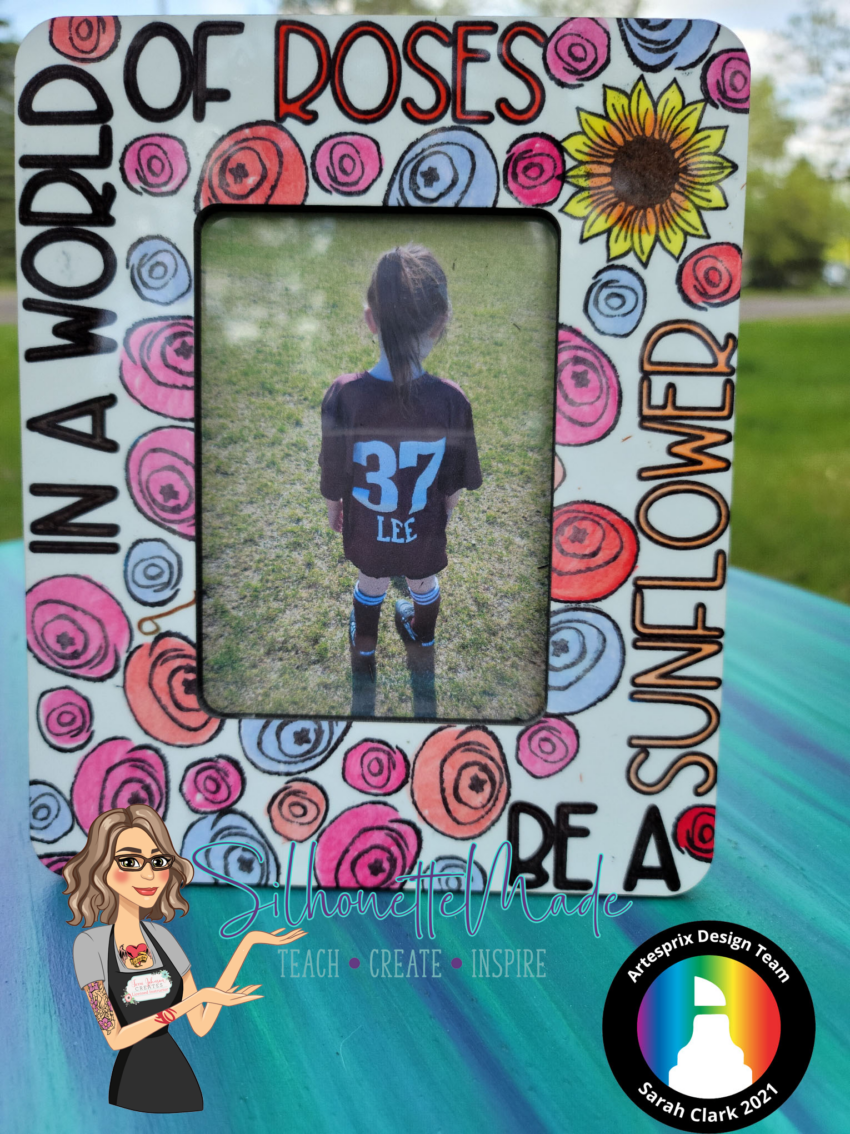
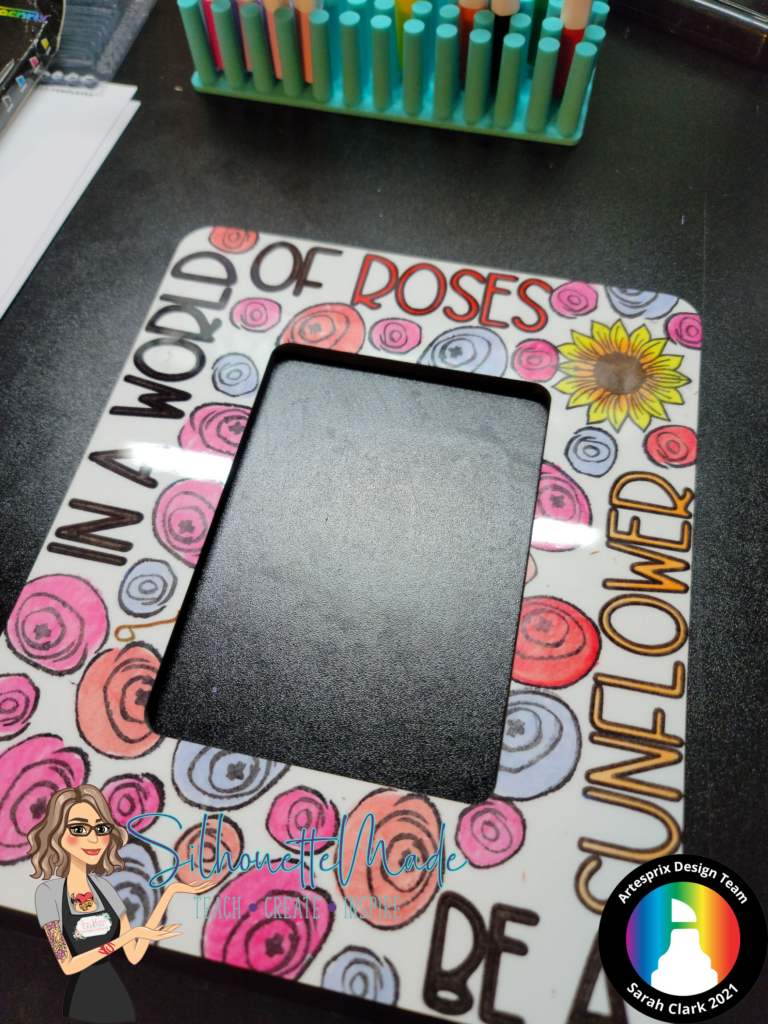
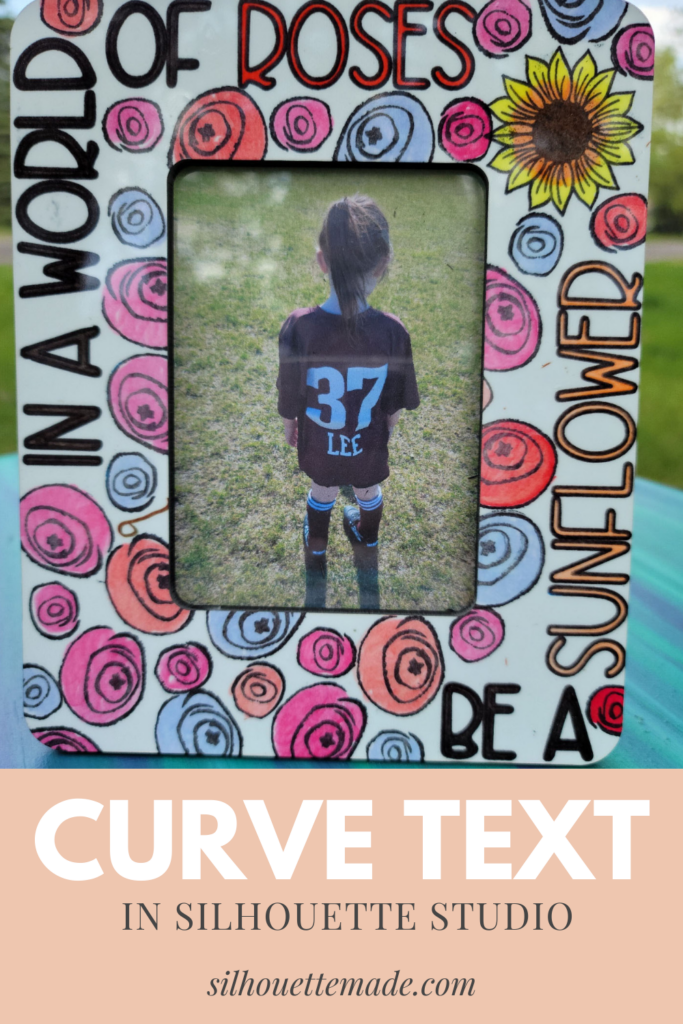
Every day I see someone asking in Silhouette groups on Facebook how to curve text. Not only can you curve text around a curve, but you can curve it to any number of shapes. When thinking about what to do for the Artesprix blog project, incorporating text that was shaped around the corners of my picture frame was at the top of the list. You can read more about my picture frame with Artesprix Sublimation Markers by going to my Be a Sunflower Picture Frame post.
Getting Started
If you are curving or shaping text to go on an object that is a specific shape, like a wood round, make sure you measure your “blank”. That is the only way you are going to get an accurate curve for the text. If you are just curving words around a design, then you would just use the design itself as your template.
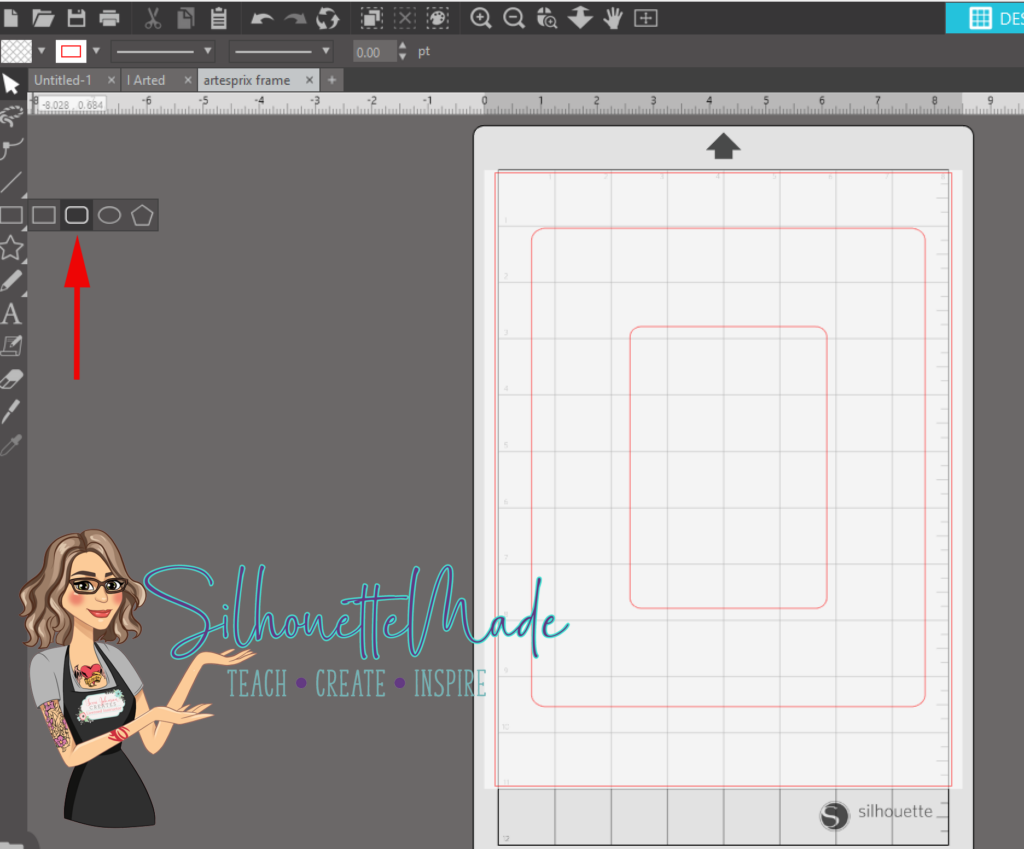
For this project, I measured my picture frame. Draw two rounded rectangles in the Silhouette software using the measurements. Align the two rectangles using the Align Center tool.
Getting text ready
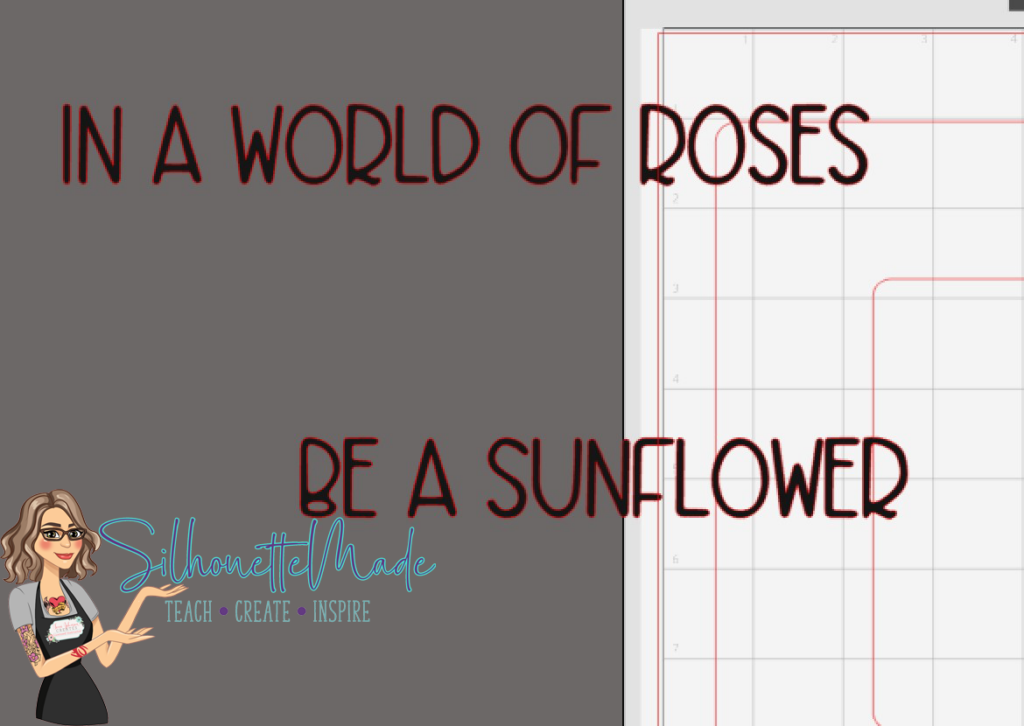
Using the text tool, type out what you want your text to say. Since there are two lines of text, type the text in two separate text boxes and select the font.
To have the text separated on the frame, and to get it to curve separately, you must use separate text boxes. If you try to use one text box, you won’t be able to curve the text if you modify the text in any way (group, ungroup, weld, make compound path). To curve the text, it MUST be editable text.
Curving Text
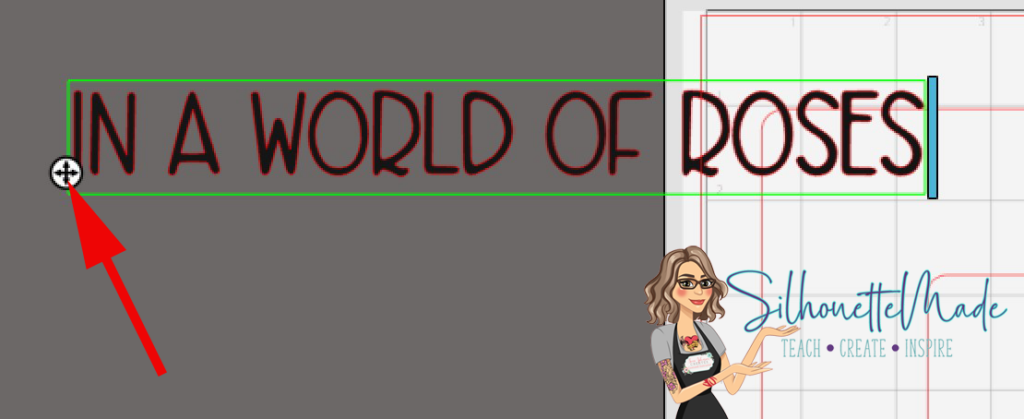
Double click on the text. In the lower left corner of the text, you will see a little crosshair in a circle. That is used to move the text to the shape.
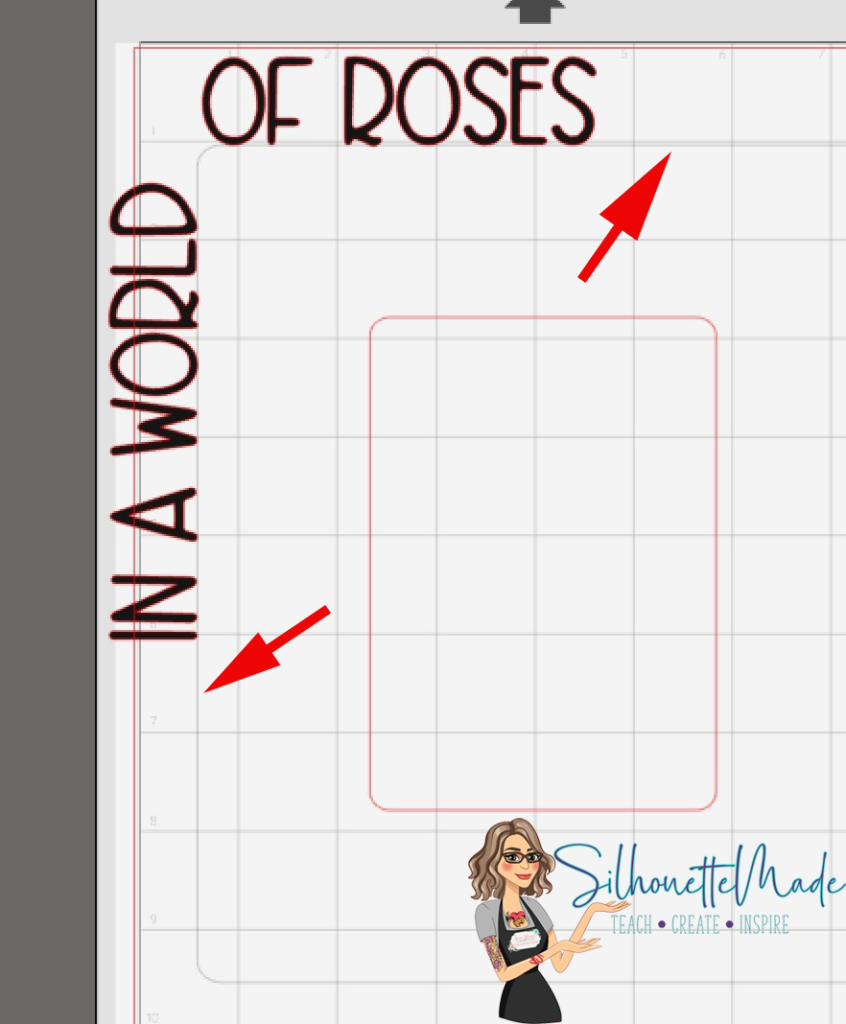
Click on that crosshair and drag the text to the shape you are using. Sometimes this process is easier than others. depending on the shape you may have to try a couple of times to get it right. If that happens, try dragging it to the shape at different angles.
As the text is curved around the shape you will notice that the shape line has changed from red to a grey color. This is to let you know that it has been attached to the text.
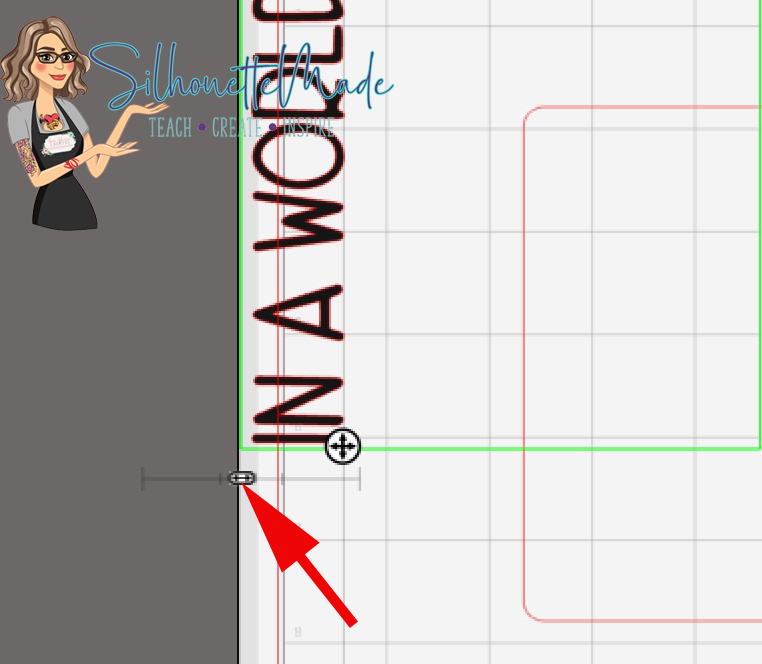
Now that the text is positioned where I want it, notice that it is OUTSIDE the shape. It needs to be inside the shape. Next to the crosshair you used to move the text to the shape is a slider bar. Use that slider bar to move the text inside the shape.
Final Steps
Once the text is positioned where it is wanted, right click on it, and choose Convert to Path. This will allow you to separate the shape from the text. This is an especially crucial step. If the text is not converted to path, the shape cannot be separated from the text and if you mirror your text for cutting out of HTV or for sublimation printing the text will not remain curved on the send screen.
If you are using a cursive text where the letters overlap, weld the letters before you convert the text to path. Just remember, once the text is welded or converted to path it is no longer editable text. The software treats it like it is now a design element. You will not be able to change the text, the font, or even find out what font you used after you do this process.
For this project, once the text was completed, I used my Silhouette to sketch the text onto plain copy paper. If you want to learn more about sketching with your machine, check out my Sketching on Your Silhouette post,
If you are interested to see how I completed the rest of the project, you can read about that HERE.
I hope you enjoyed this project as much as I did. I would love to see what you create! Feel free to share your projects with me. You can post photos or ask questions on my Facebook page or group:
www.facebook.com/groups/SilhouetteMadewithSarah
www.facebook.com/SilhouetteMade
To share or save this post please pin the image below.

Love it! Great tutorial!