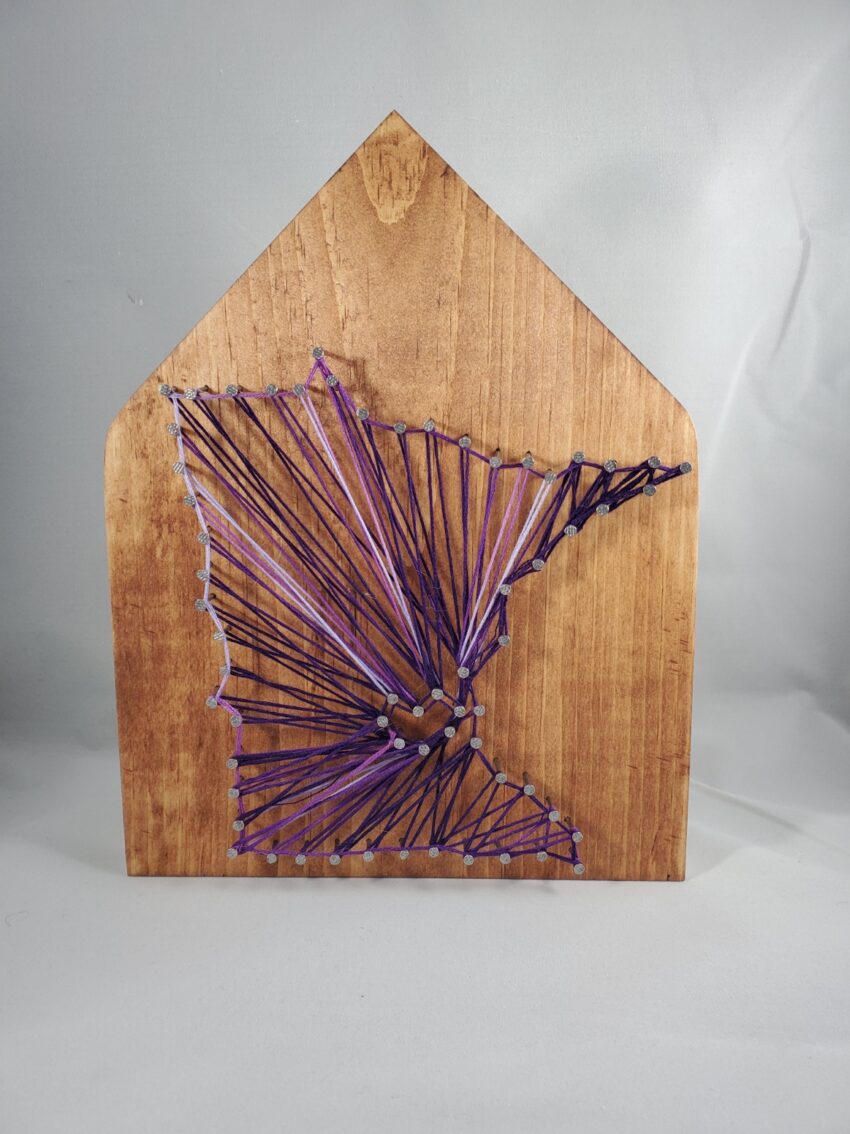
I love creating string art. It is so much fun, and my kids love to string the string around the nails. The most tedious part for me is nailing in all the nails. But I have a trick that will help you get it right and get them all the same height. Once I figured it out, it was smooth sailing.
The things you need to make a string art project are simple. You need a board, nails, hammer, string, and template. The board I used came from notjustframes.com it was an extra piece from a different project. For the string I had some embroidery thread on hand, and the nails are 1″ finishing nails. The template is made from cardstock.
The first thing we are going to do is create the template for our design. To do this, you need at least Designer Edition of Silhouette Studio. The reason for this is because we are going to use the Rhinestone tool to create the template.
I recommend using a simple design for your first try. Once you get more comfortable you can move on to more complex designs.
Setting Up
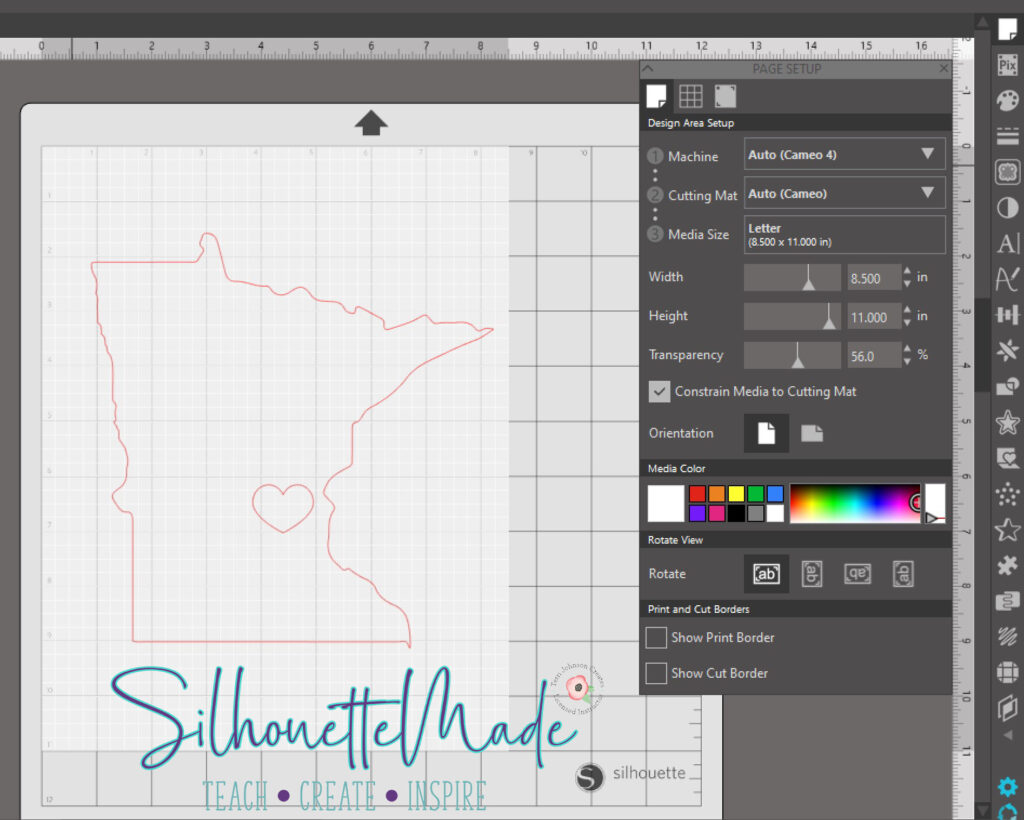
Now, it is time to set up the software. Open the page setup panel. On this panel, set the media size to letter. Open the design you are going to use for your project and size it accordingly. Make sure to measure the blank, so you know how big to make the design.
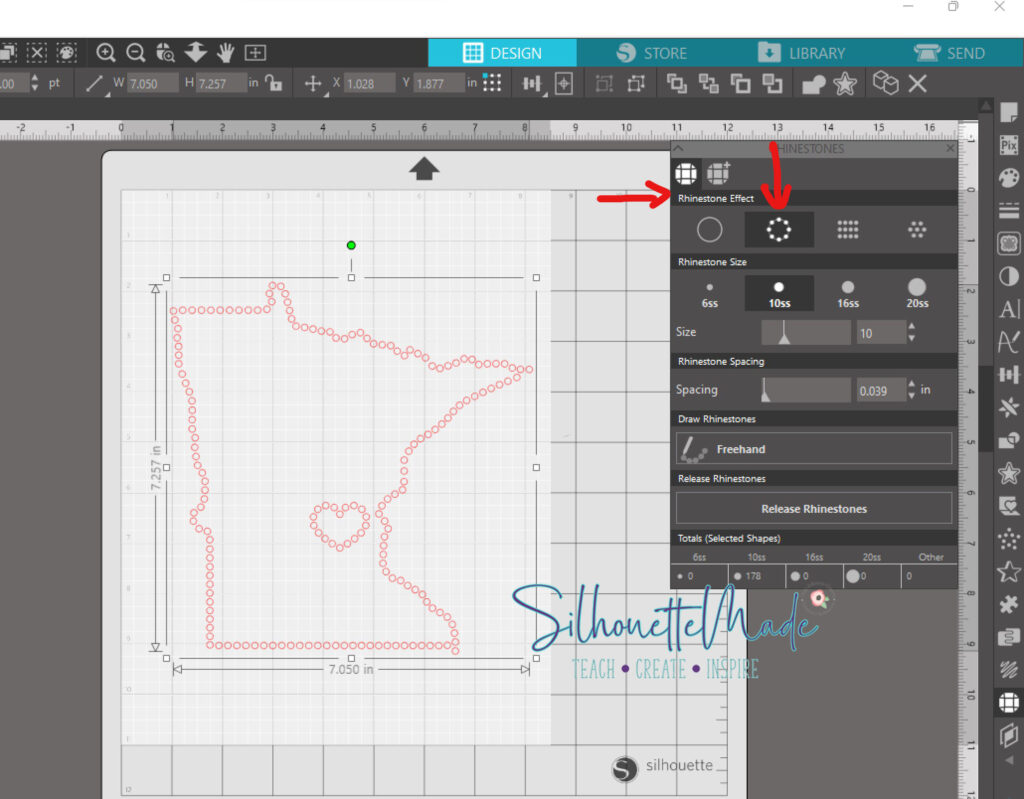
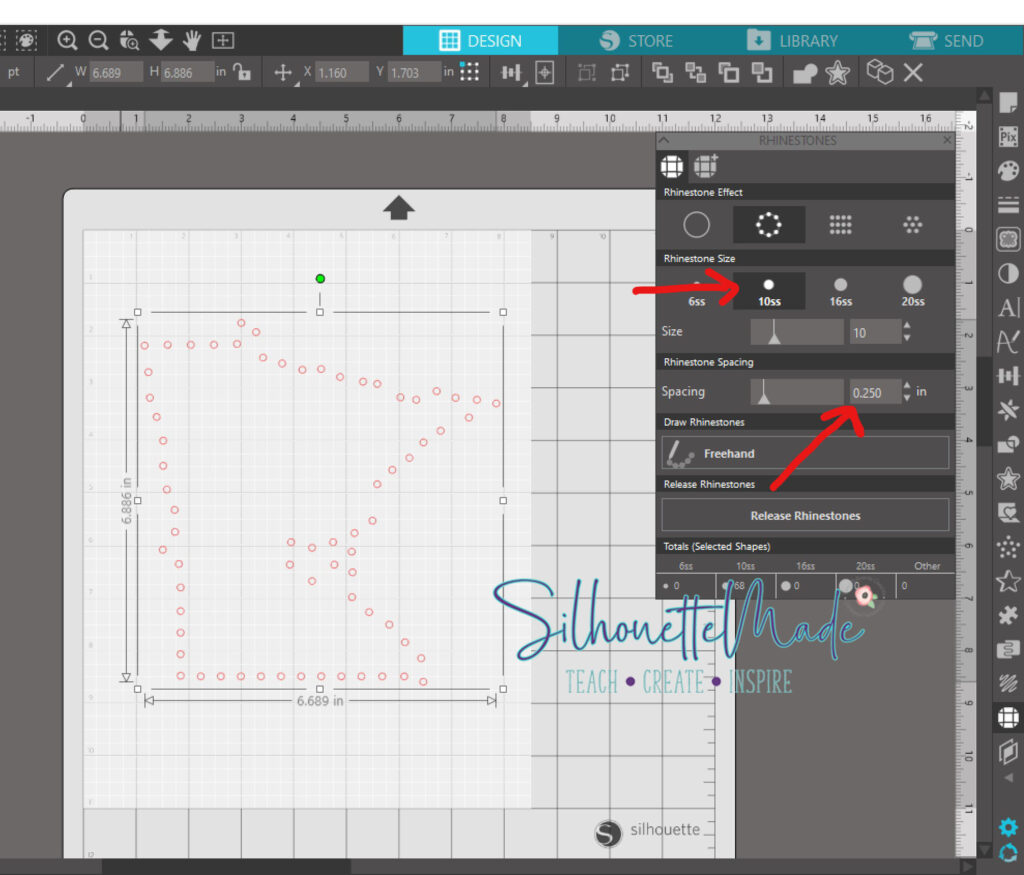
With the shape sized correctly and the page size accurately reflecting the size of the cardstock, open the Rhinestone panel. Make sure your design is selected on the mat and on the rhinestone panel, set the Rhinestone Effect to EDGE. You will see the outline of your shape turn into a bunch of circles.
These circles are too close for string art. So, we are going to adjust a couple more settings. Under Rhinestone Size make sure it is set to 10ss, then adjust the Rhinestone spacing to 0.250″.
Cutting
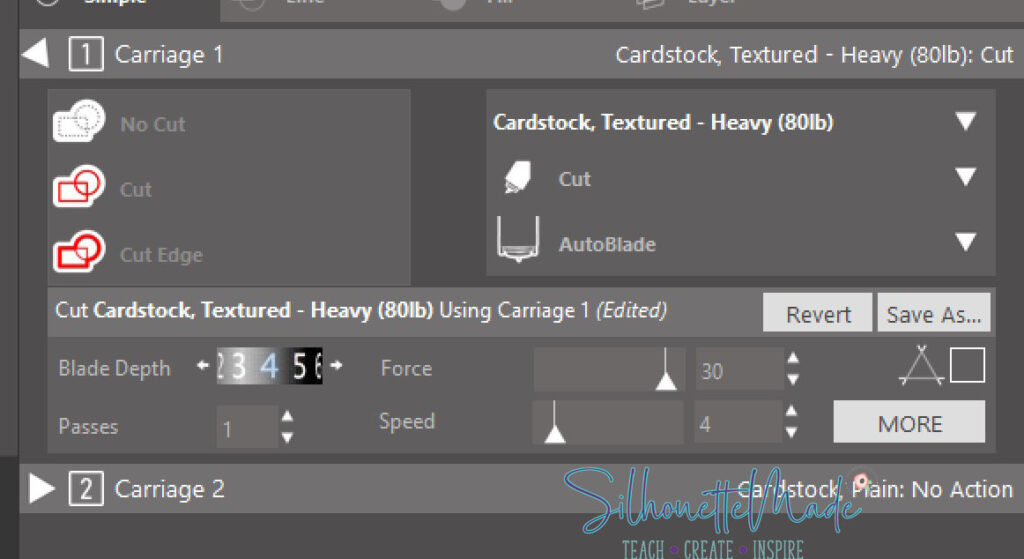
Now we are ready to cut. Place the cardstock on your mat and load it into your machine. On the send screen, I chose the textured cardstock setting and increased my blade depth up by 1. I have previously tested this setting and it works well for the cardstock I am using. You will always want to do a test cut to make sure the settings will work for you.
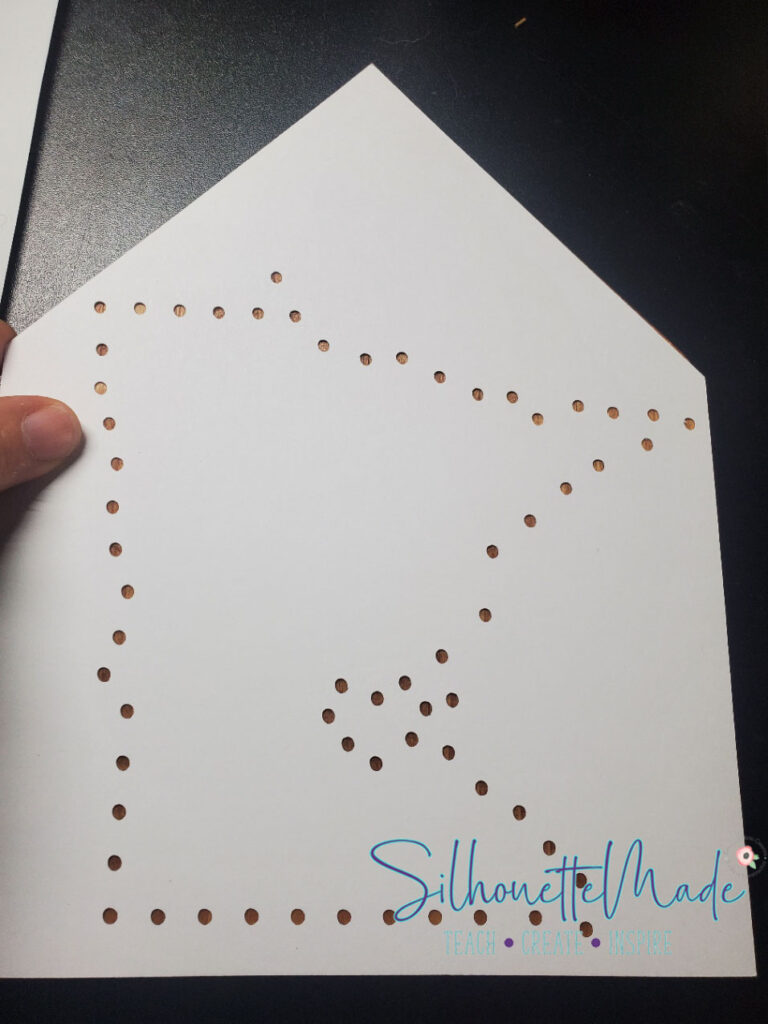
After it is done cutting, unload the machine and remove the cardstock from the mat. I like to flip it over and pull the mat off the cardstock, doing it this way helps prevent the cardstock from rolling. Most, if not all, of the little dots should stay attached to your mat. For any dots that do not stay stuck to the mat, just pull them off.
Creating
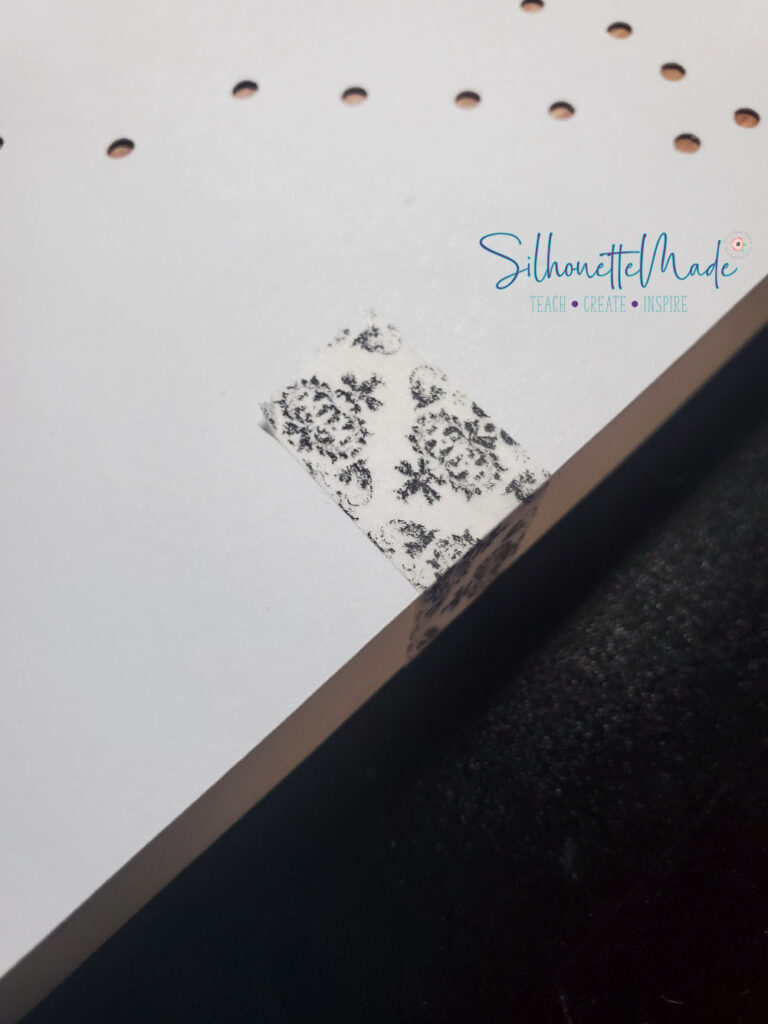
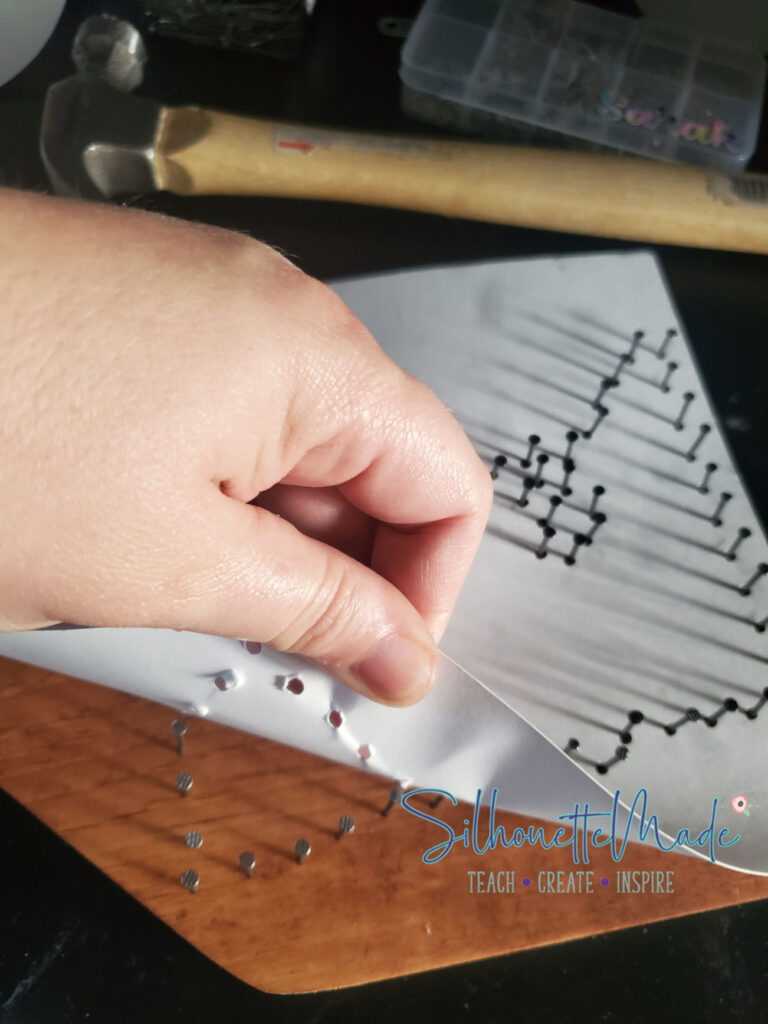
Line up the cardstock template with your blank and tape it in place.
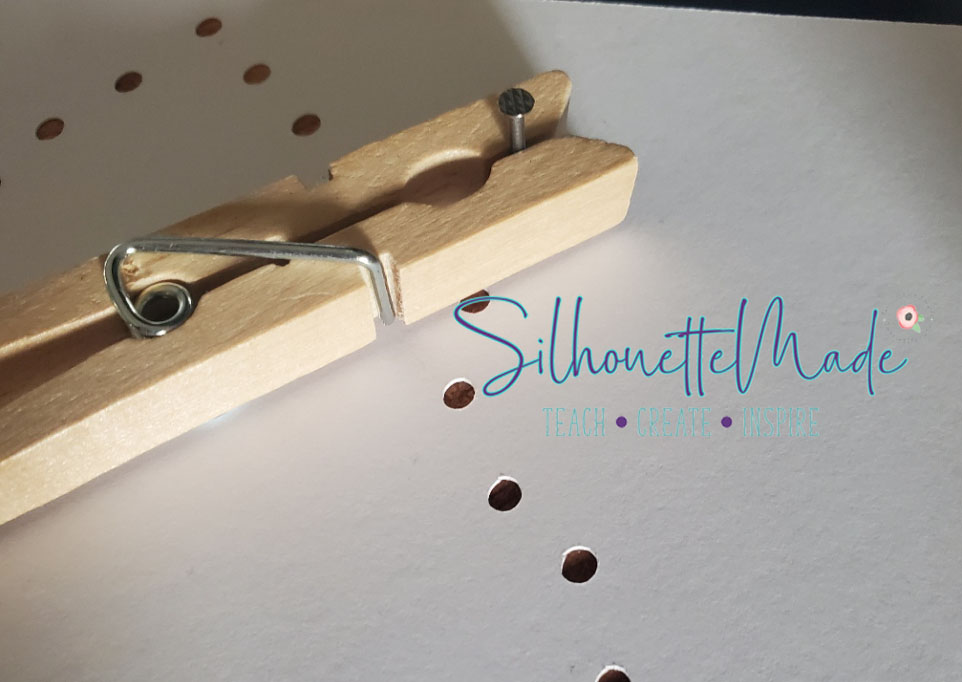
Now just hammer the nails into the circles on the template. Use a wood clothes pin to hold the nail in place and to keep all the nails uniform in height.
Once the nails are all in place, tear away your cardstock template.
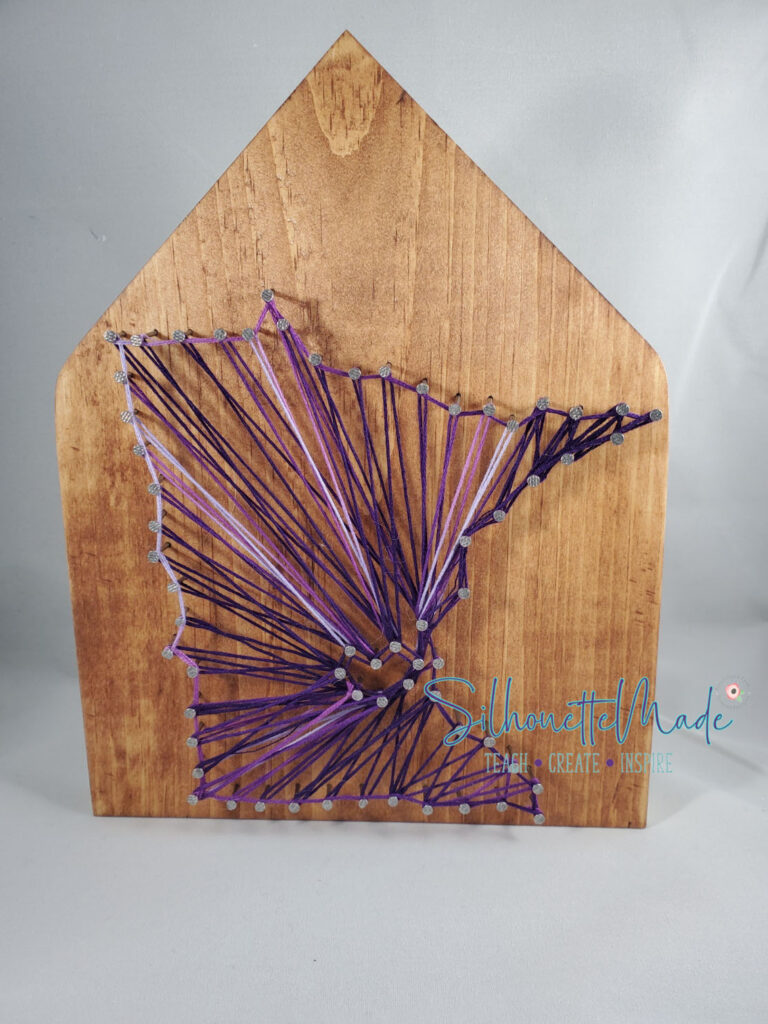
You can now start wrapping your nails with string. Tie your string off on one of the nails and just start wrapping. There are tons of different ways to wrap your string. If you need a little guidance, you can always go to Google and search String Art.
Once you are done wrapping your nails, tie off the end on a nail and trim off the edges.
I hope you enjoyed this project as much as I did. I would love to see what you create! Feel free to share your projects with me. You can post photos or ask questions on my Facebook page or group:
www.facebook.com/groups/SilhouetteMadewithSarah
www.facebook.com/SilhouetteMade
To share or save this post please pin the image below.
