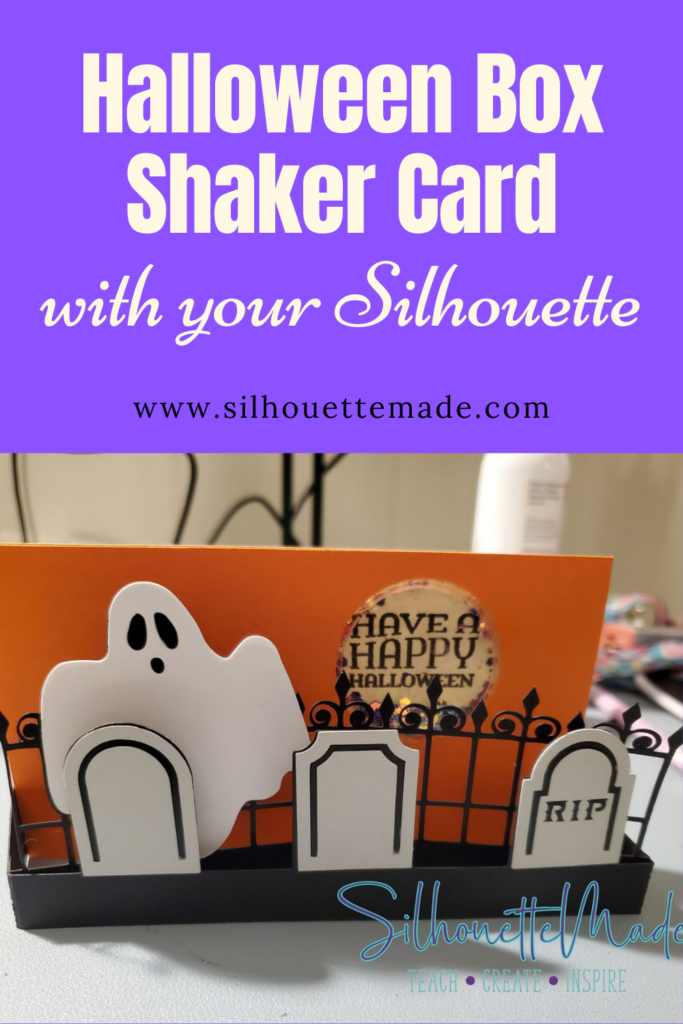
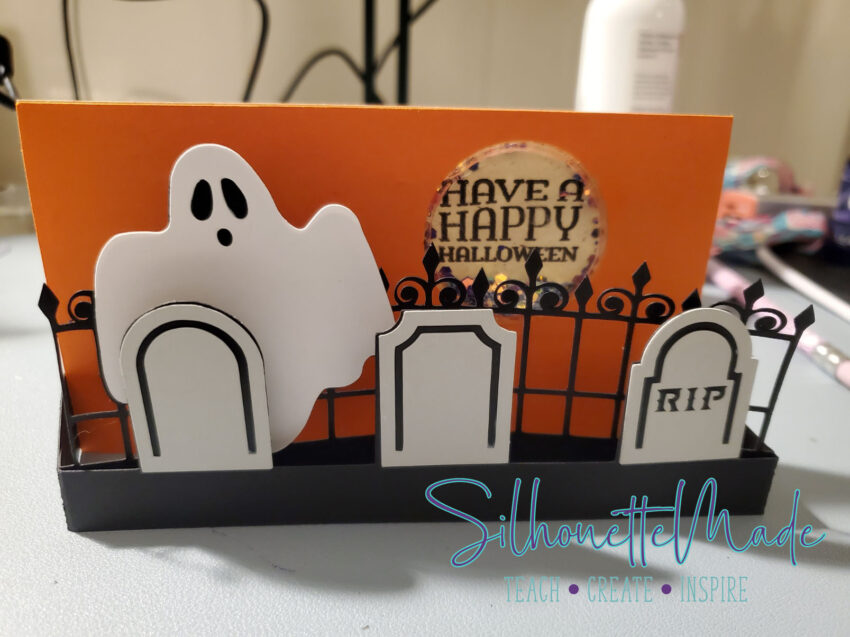
The free file of the week from the Silhouette Design Store this week is this fantastic Graveyard Ghost Box Card. When I saw it, I knew it was the perfect file for me to slightly modify to add a shaker element.
I recently purchased the We R Memory Keepers Mold Press and this was the perfect opportunity to try it out. I used several of my Silhouette machines and the We R Memory Keepers Mold Press to make this card.
Once you open the file, select the orange piece with the “moon” circle cut out of it. With that piece selected, release the compound path to separate the cutout from the orange rectangle.
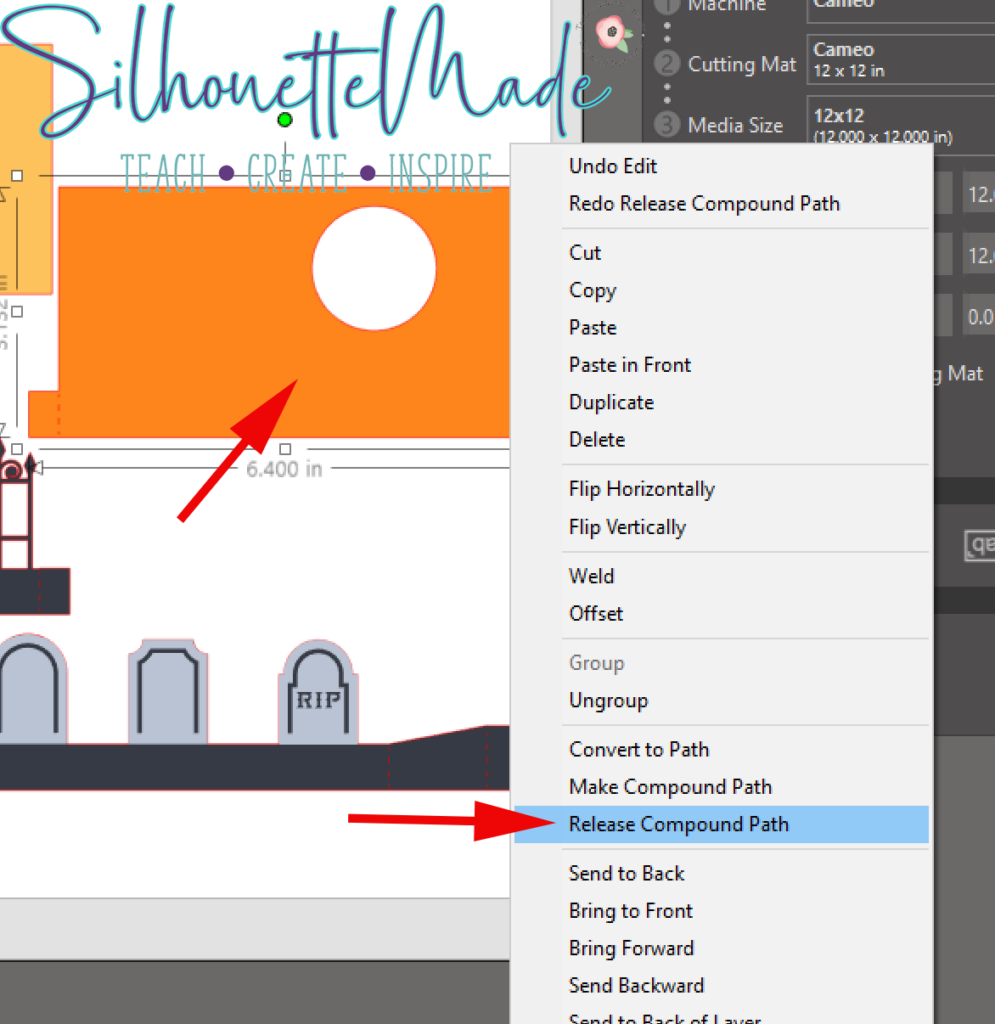
Once separated, don’t move any of the pieces. Simply select ONLY the circle and duplicate it. Now I had two circles the same size. Then move the duplicate circle off to the side. That is the one that is going to get modified for the next step.
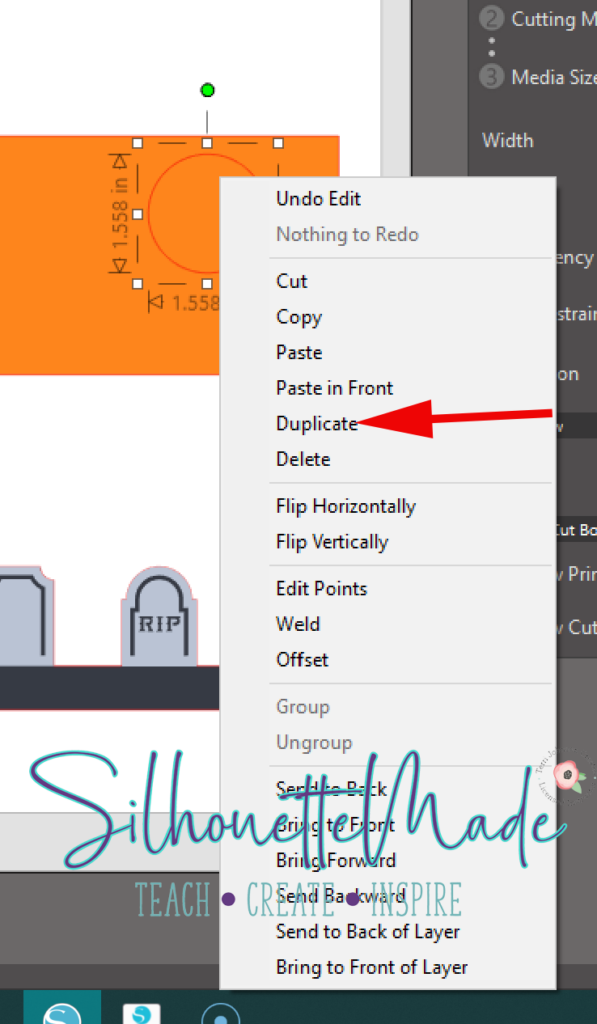
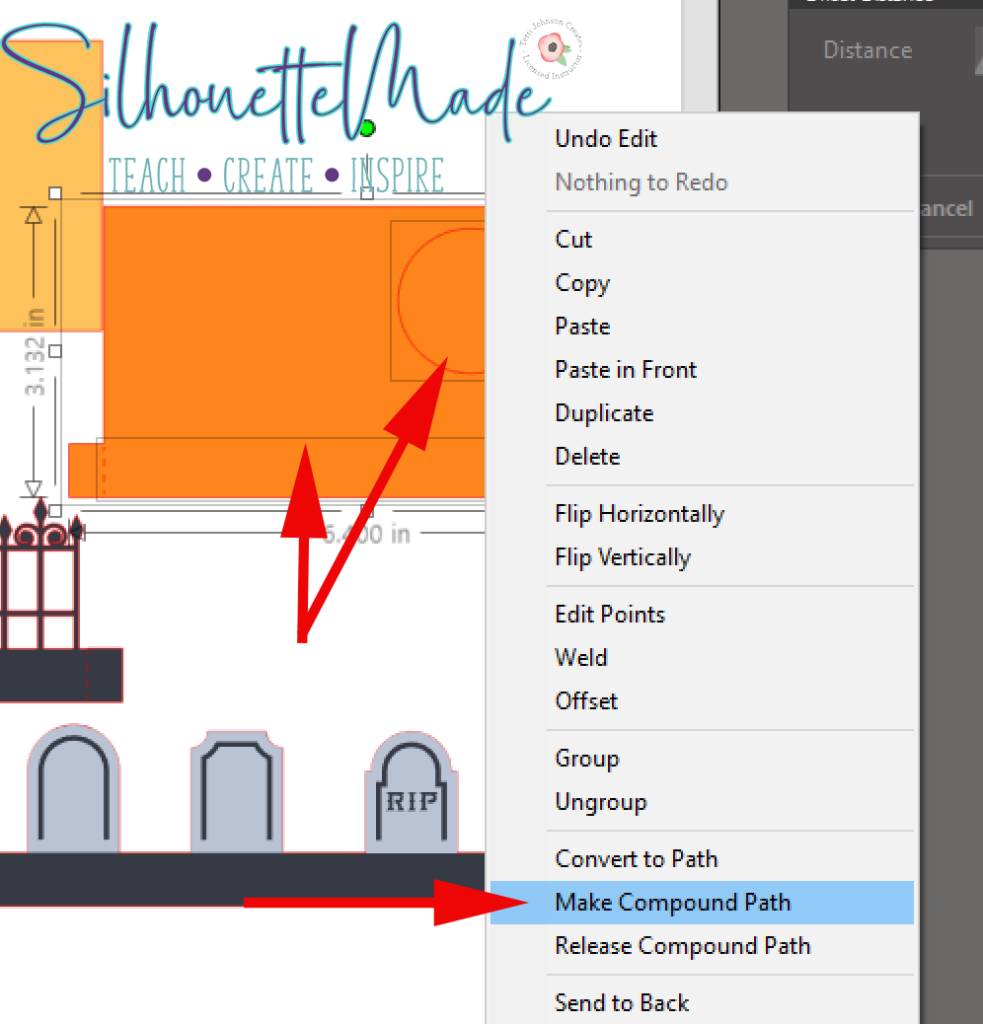
After moving the duplicated circle out of the way, select the original circle and the orange rectangle and make them a compound path again. This will “reassemble” the piece back to how it was when you first opened the file.
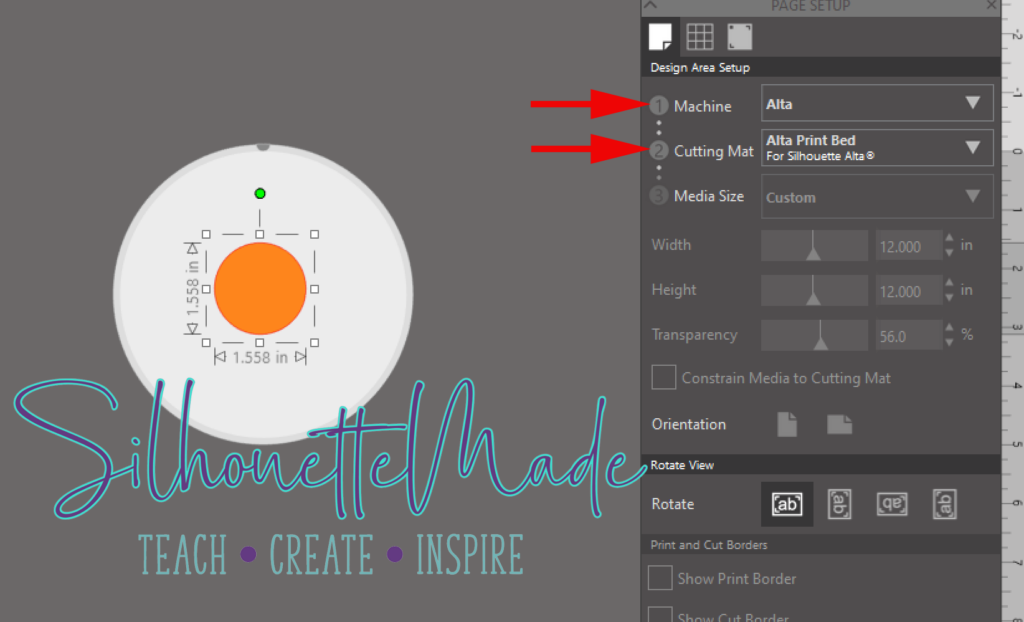
Next, select the duplicate circle and copy/paste it onto a new mat in the software. This is going to be slightly modified and sent to the Alta to print. Once on a new mat, open the Page Setup panel and set the Machine to Alta and the Cutting Mat to Alta Print Bed.
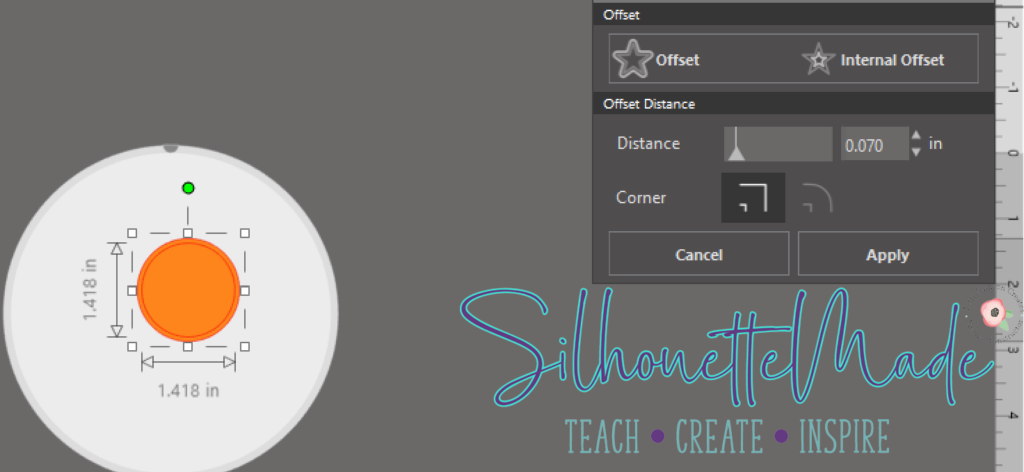
With the circle selected and positioned where you want on the Alta Print Bed in the software, do an Internal Offset at 0.070. Once the offset is set, delete the orange circle so that only the offset remains.
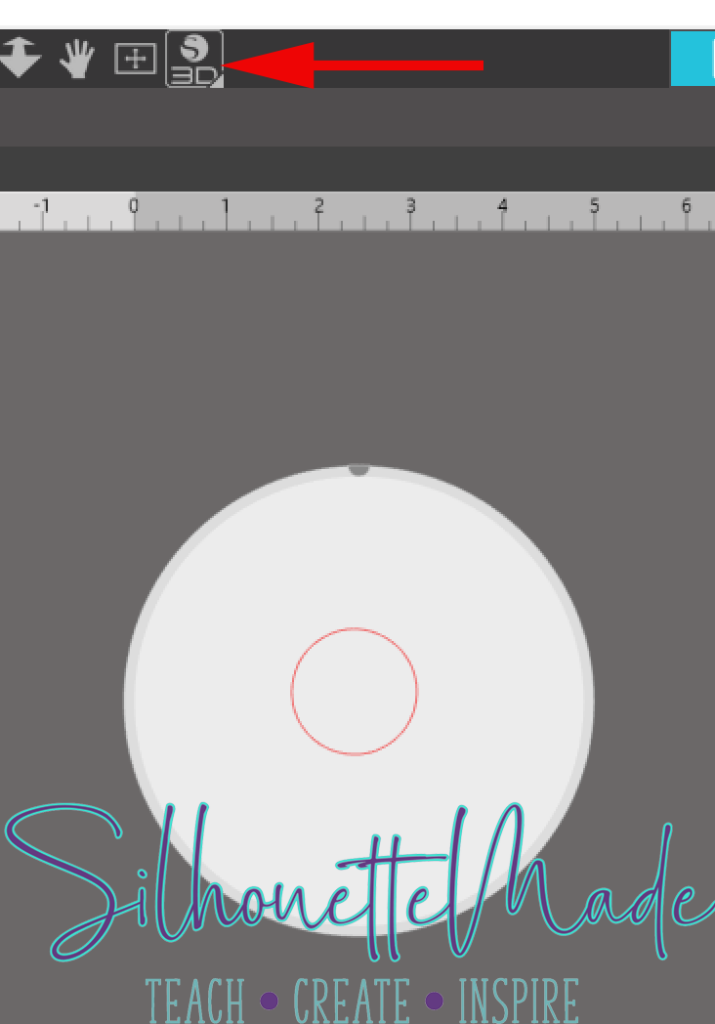
Once the orange circle has been deleted and the offset is positioned where you want it on the print bed, send the file to S3D (this is the Silhouette 3D software). To send the file directly to the S3D software, simply click on the S3D icon on the top toolbar.
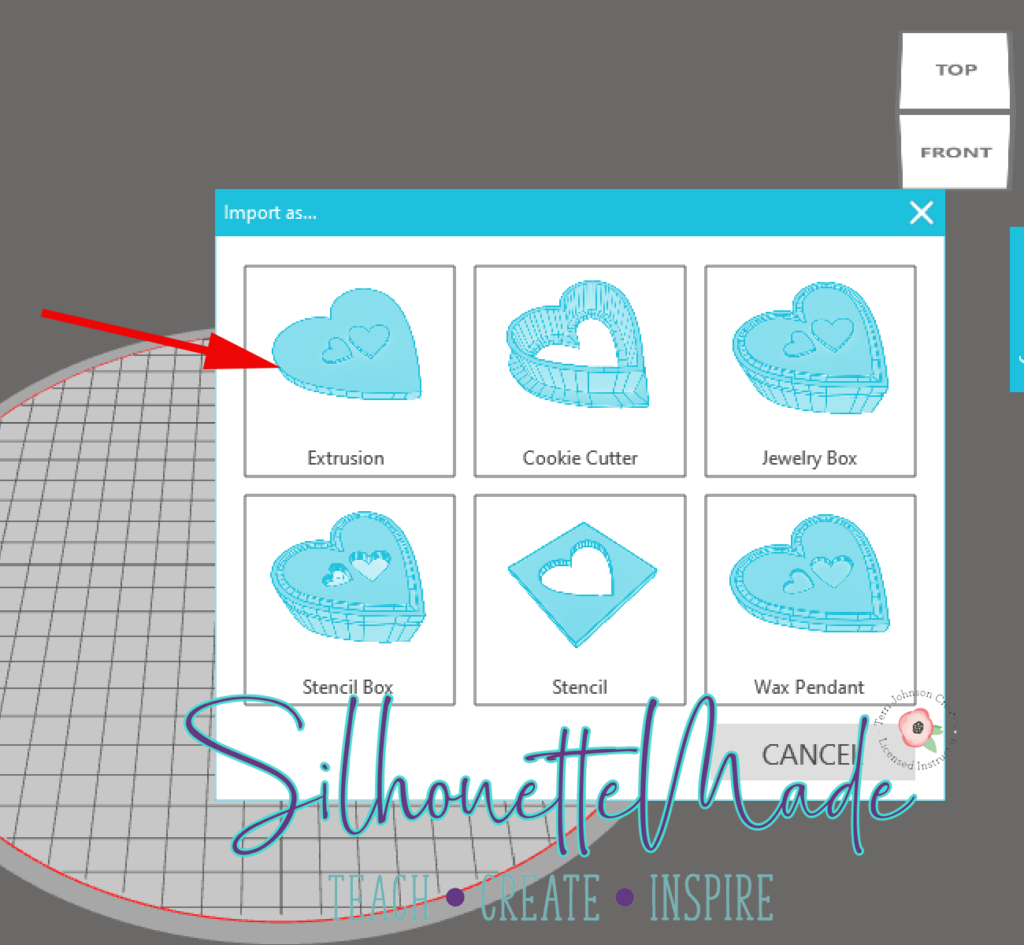
When the S3D software opens, it will ask what type of print you want to do. There are several options, for this print choose Extrusion.
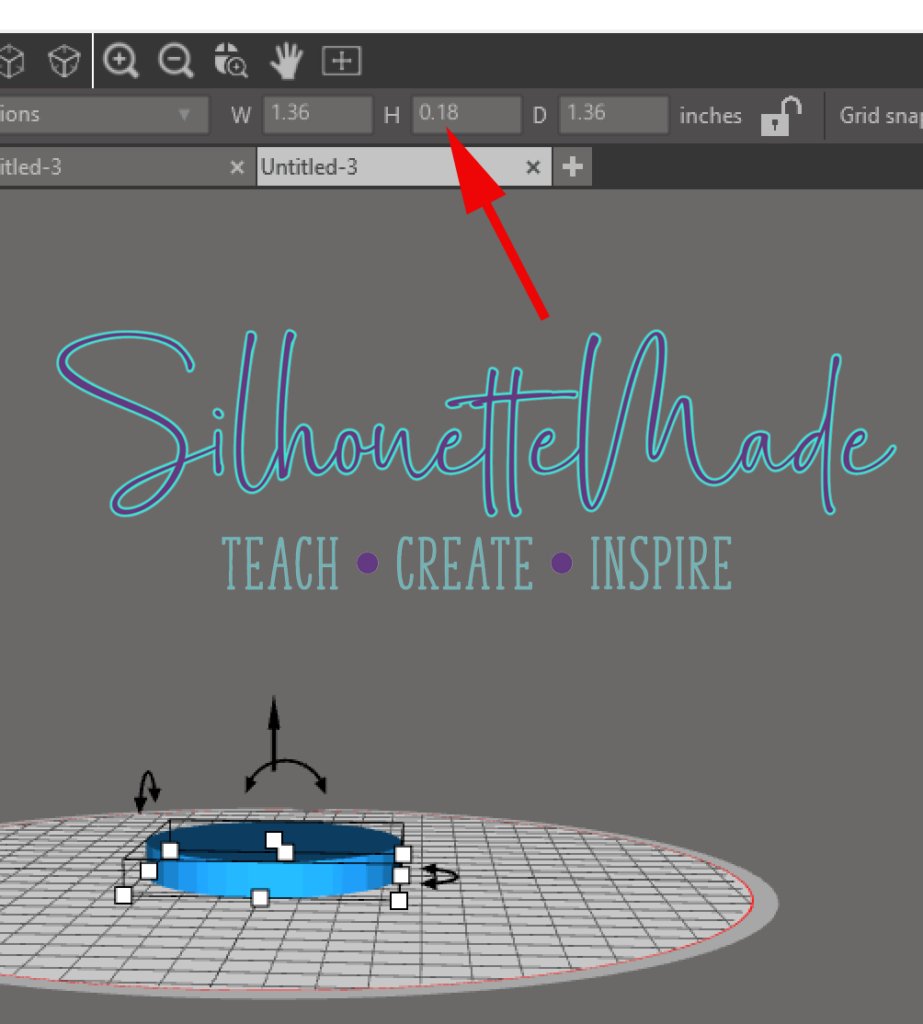
Now the file is open in the S3D software, adjust the height of the circle to .18. This will build the circle just a little higher then when it originally transferred over. I did few test prints at different offsets and heights and found that for this file, these measurements were perfect.
Once the height is set, you are ready to start your print. The standard quality print worked well for what this piece is going to be used for. It also printed very quickly.
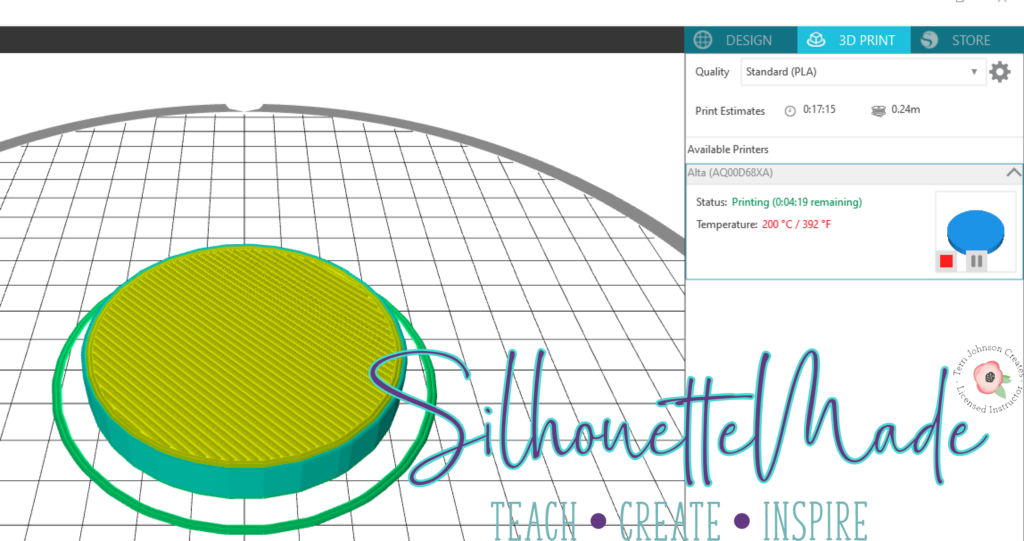
Once you make sure everything is setup and ready to go, start your print.
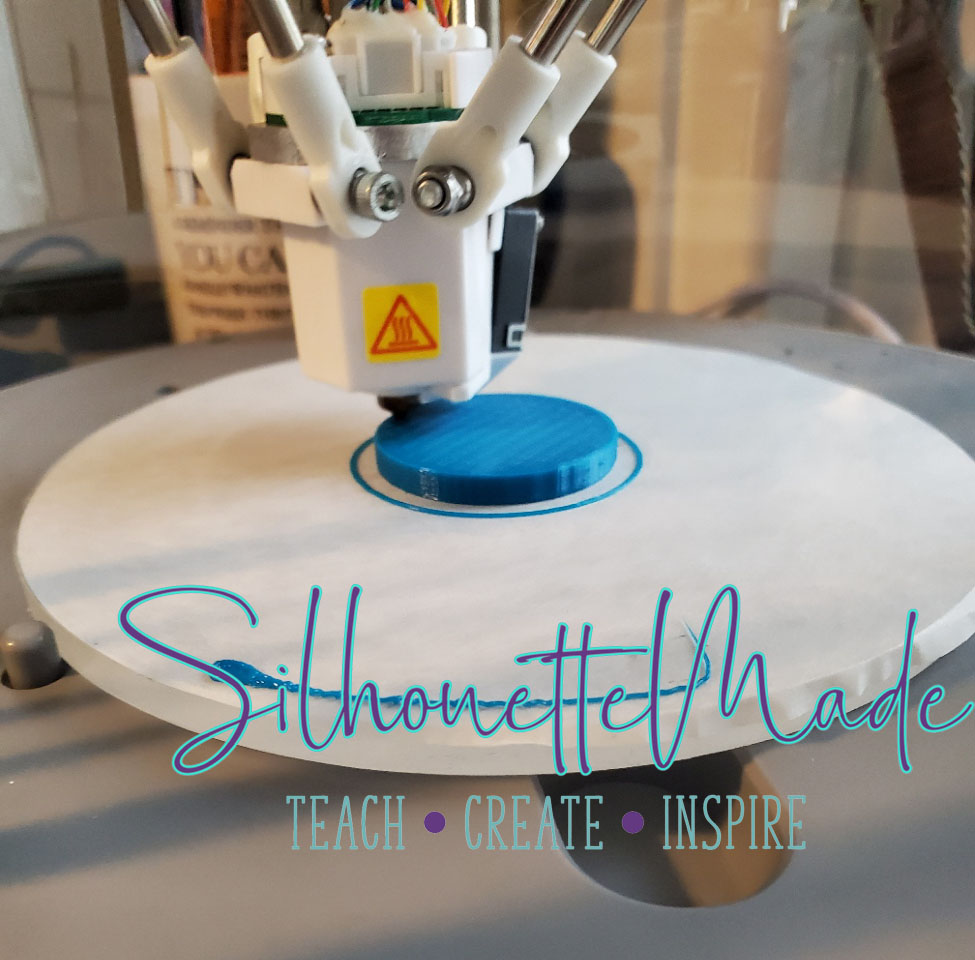
Once the print is completed, I put it in my mold press and made a mold of the shape. I used this to create the “shaker” element on my card.
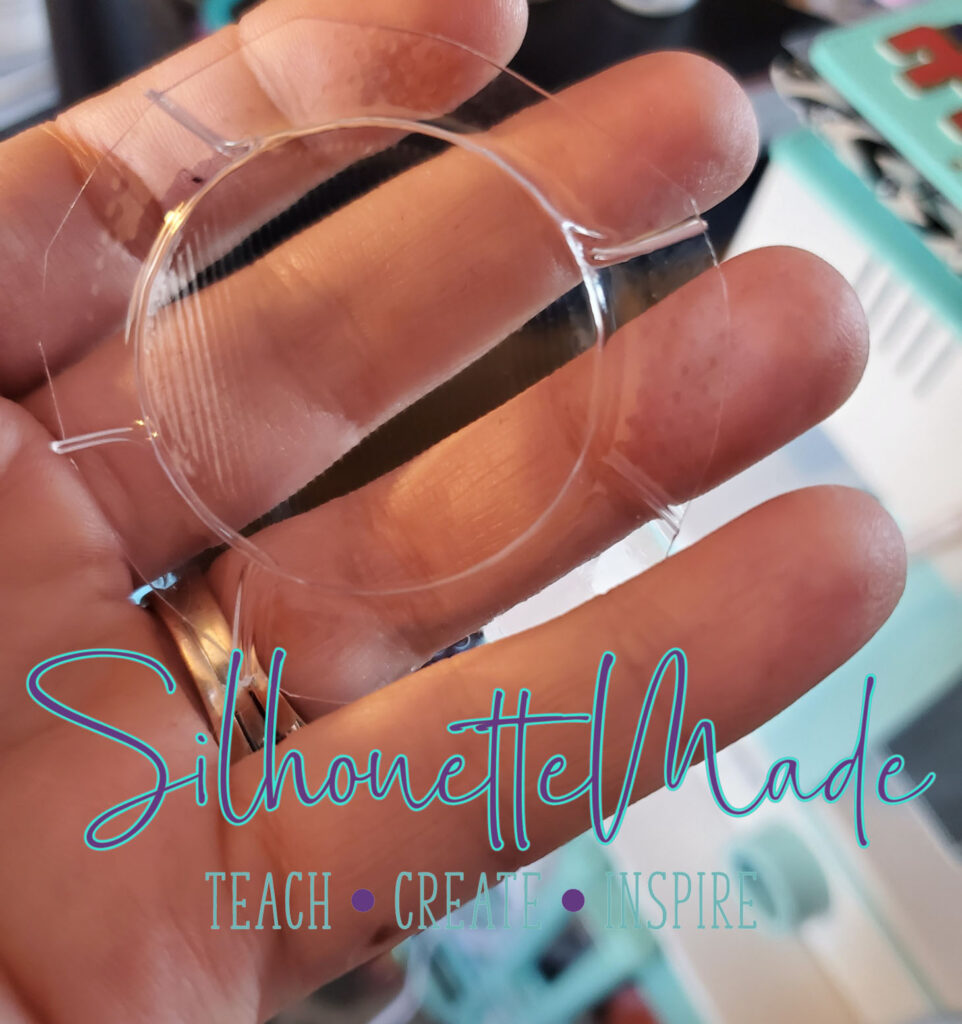
Once that was complete, I cut out the pieces of the card. I used white, grey, black, orange, and cream colored cardstock. When everything is cut, you can start assembling the card.
To assemble the card the first thing I did was line up the back cream-colored piece with the orange piece. Using a pencil, I traced the inside of the circle, so I knew where to place my shaker element.
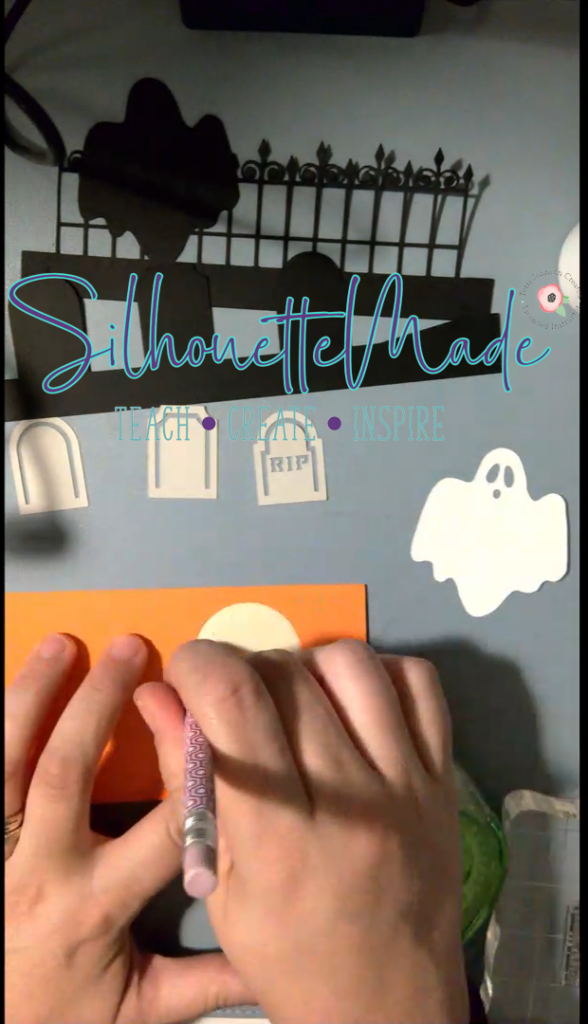
I used a stamp I created with my Mint to stamp a sentiment inside this penciled circle on the cream-colored cardstock.
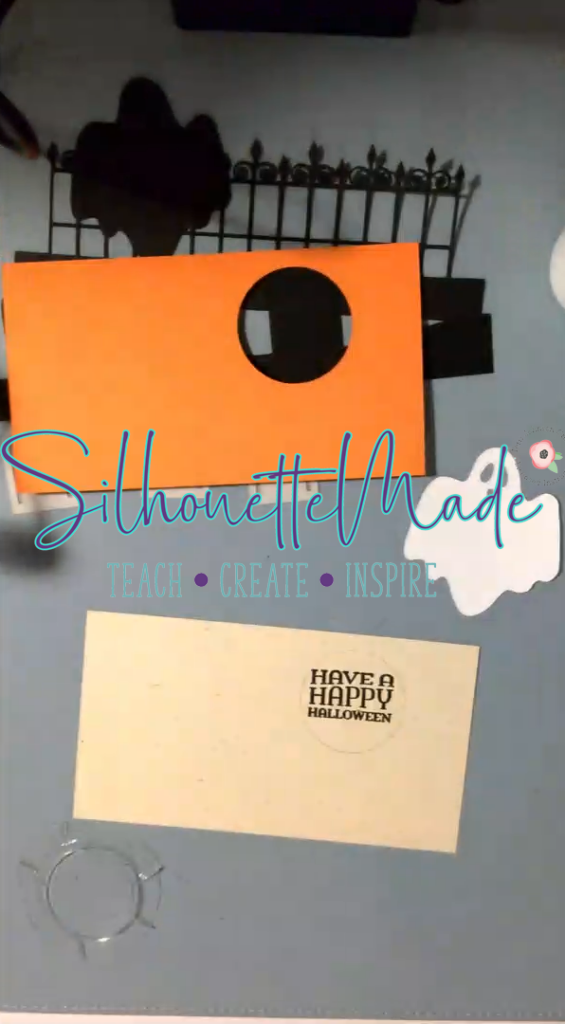
Then pile some glitter on top of the stamp, inside the circle and attach the shaker plastic around that. I used double sided tape to attach the plastic to the card.
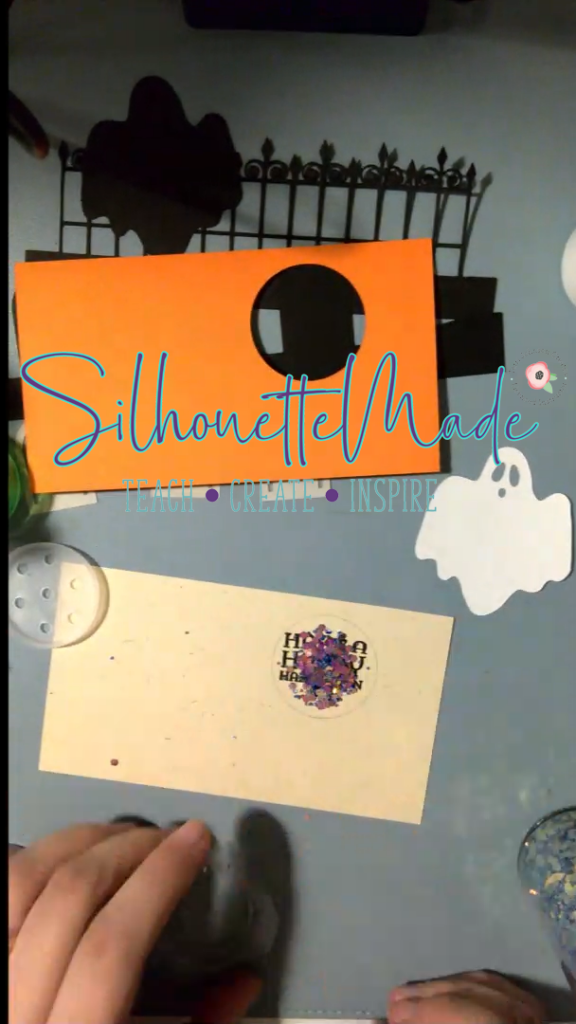
With that completed, assemble the rest of the card. First, attach the ghost and the headstones to the black pieces. I used Art Glitter Glue for this.
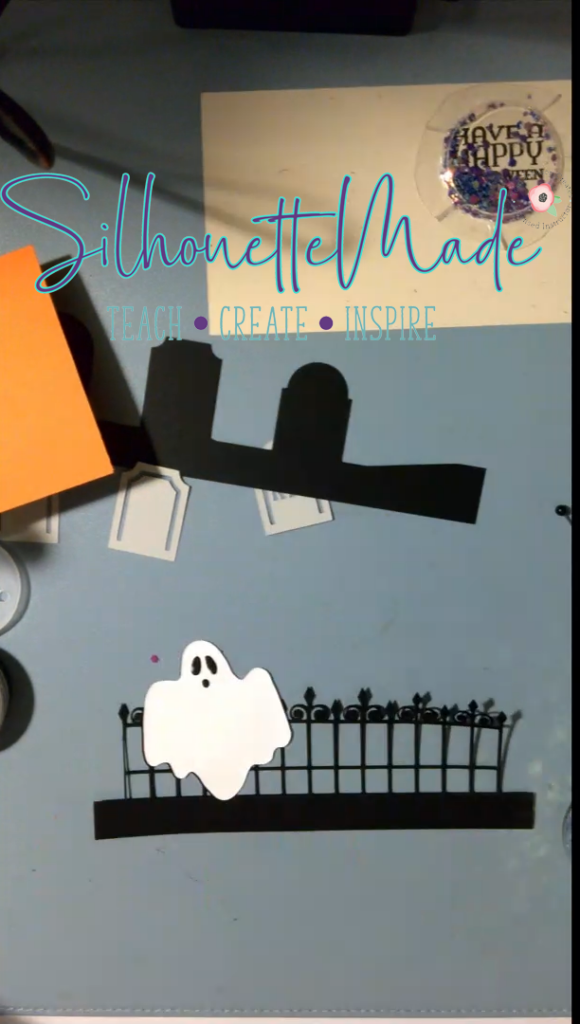
Because I made this a shaker card. I attached the orange piece directly to the cream base. I used double sided tape to attach the pieces together.
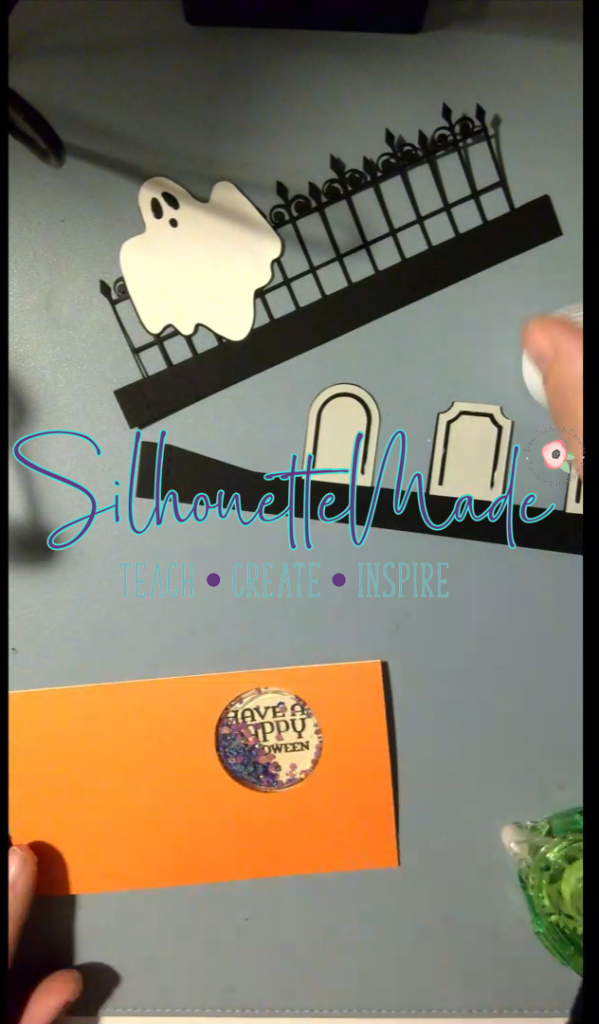
I then attached the black pieces to the cream/orange pieces. In hindsight I should have attached the black tab in between the orange and cream pieces. but you get the idea.
This card was so fun to make. And I absolutely love that I was able to modify it to try out my Mold Press. All in all, I used my Cameo/Portrait to cut the cardstock, the Alta to print my base for my mold, and my Mint to stamp the card itself.
I would love to see what you create! Feel free to share your projects with me. You can post photos or ask questions on my Facebook page or group:
www.facebook.com/SilhouetteMade
www.facebook.com/groups/SilhouetteMadewithSarah
To share or save this post please pin the image below.
