This is one of my favorite times of the year! Our family does ALL our holiday shopping on Black Friday and Cyber Monday.
This year is no different, although most of our Black Friday shopping was done online with curbside pickup.
Now once the gifts start being delivered or are ready for pickup, I try to wrap them as soon as possible so my kids have little chance to discover what the gifts are.
Since my kids are younger, they don’t even look to see what the wrapping paper is. So, all their gifts get wrapped in standard store-bought wrapping paper. But for gifts for friends and family, I tend to spend more time on wrapping.
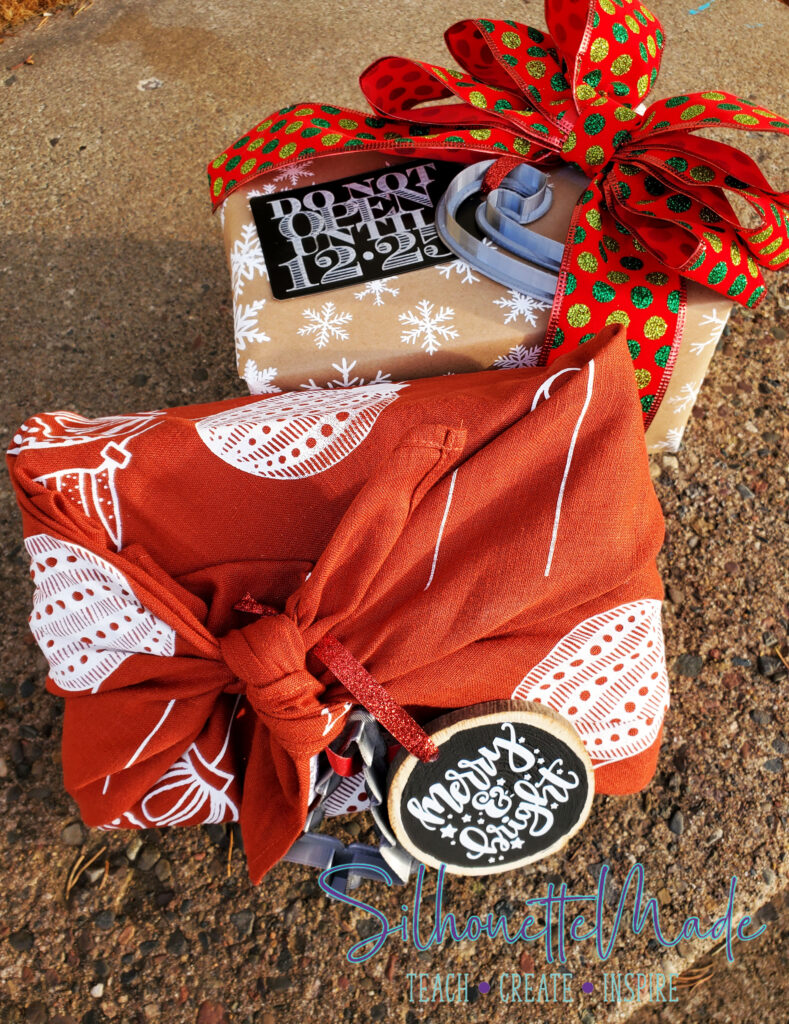
So, when Silhouette America asked their affiliates to come up with custom wrapping paper and tags, I was instantly inspired. I decided I was going to use the Silhouette Silkscreen Starter Kit and screen print the wrapping paper. At first, I wasn’t sure if this would even work, but it did, and I absolutely LOVE it. I also decided to make cookie cutters with my Alta. I make cookie cutters quite often, not only for cookies, but also for my little kids to use with Playdough.
Silkscreen Wrapping Paper
When I was first thinking about this, I was trying to decide if I should do traditional wrapping paper made from well, paper, or if I should use fabric. So instead of choosing one, I did them both.
The fabric I used was a linen fabric. The best part about using fabric is that it can be used after the gift is unwrapped and there is no waste. It is a very eco-friendly option. When choosing fabric, make sure the fabric is double the size of the gift plus 1 inch to make sure there is enough to wrap and tie the fabric.
The paper I used was brown kraft paper was purchased from Amazon. I love this paper, I use it for several things, including covering my table with it when my 5-year-old decides she wants to craft so it protects the table.
The ornaments on fabric design are from the Silhouette Design store. It is by Echo Park and it’s Design ID 101706.
The snowflakes for the paper design was purchased from Design Bundles.
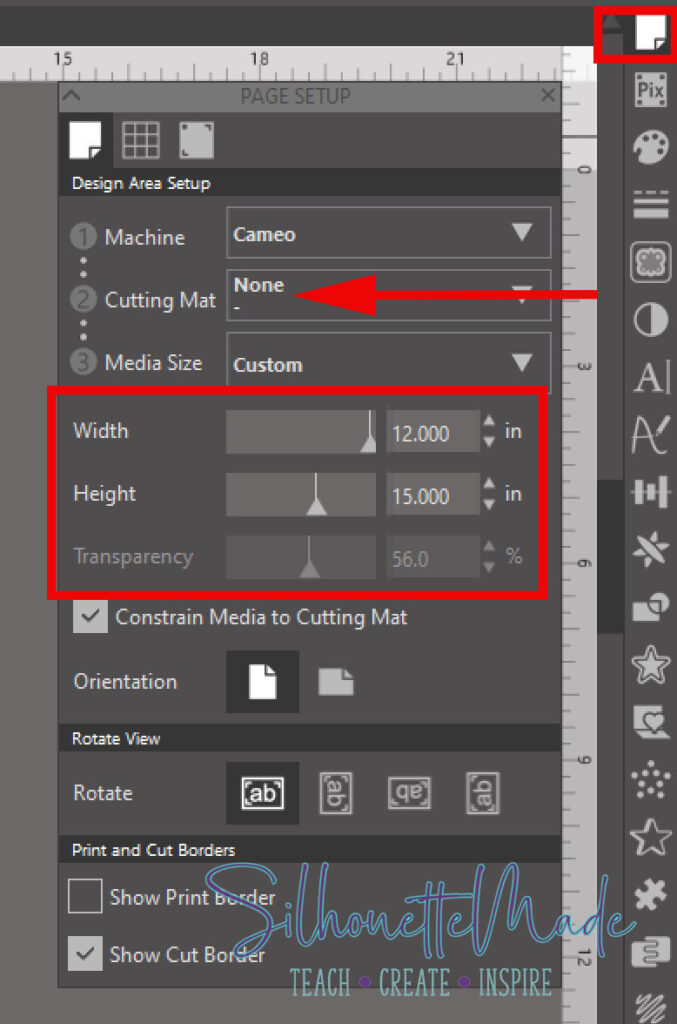
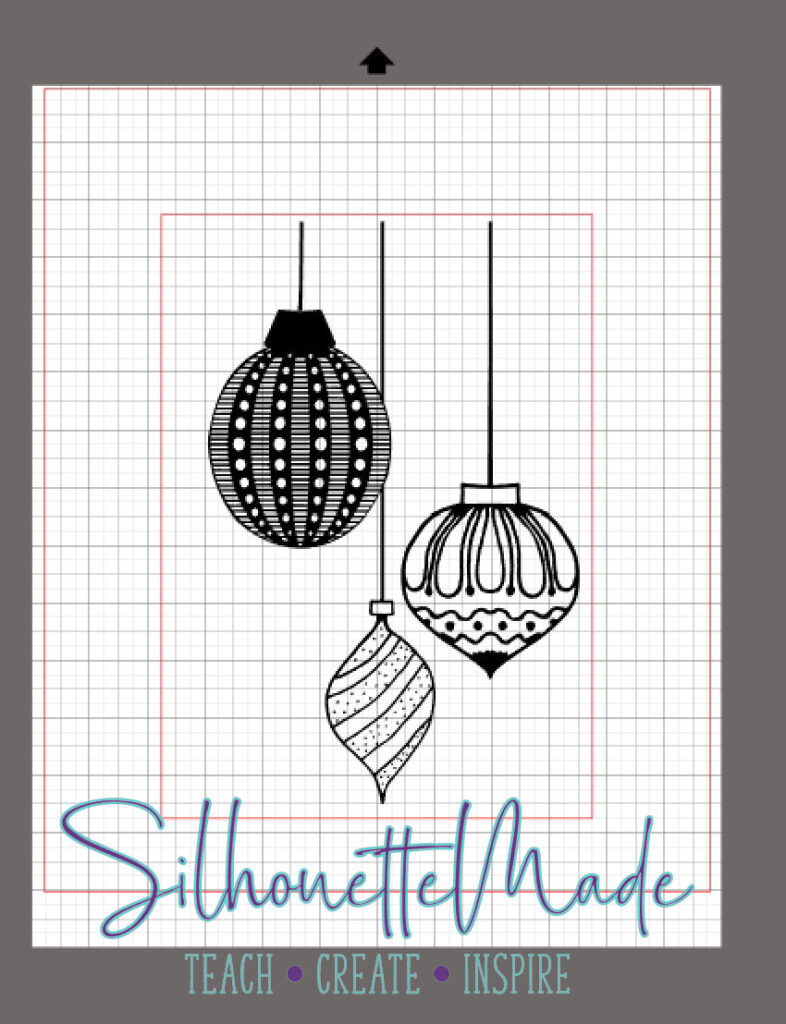
Open the page setup panel, set the Mat to None and the media size to 12 x 15. The starter kit includes the HTV material and it is already cut to size. Do not cut the material down because it must fill the silkscreen and fit in the frame.
The material that comes in the kit is thicker than regular HTV and not as thick as Siser Brick HTV. So, make sure when you are ready to cut that you do a test cut because you don’t get “extra” material in the kit in case something goes wrong. There is enough material and screens to do 3 designs.
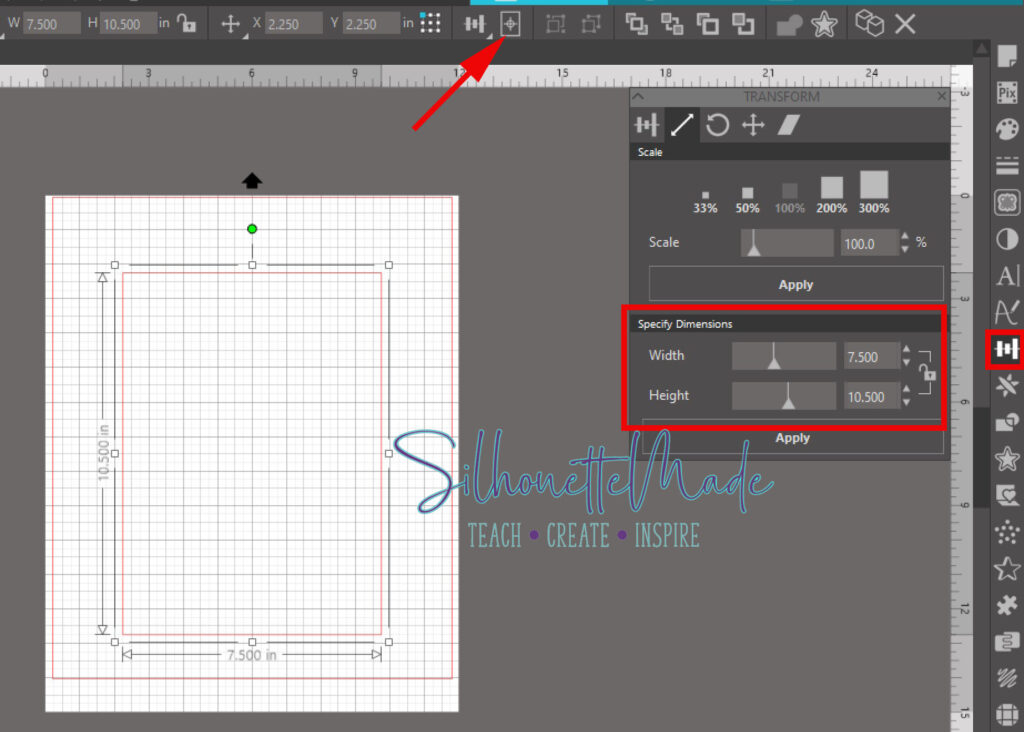
Using the Drawing Tools on the left, draw a rectangle and size it to 7.5″ X 10.5″ this represents the area that will be inside the frame. Your design must fit in the rectangle.
Once sized correctly, center it to you page using the Center to Page tool on the Quick Access Toolbar (QAT) at the top.
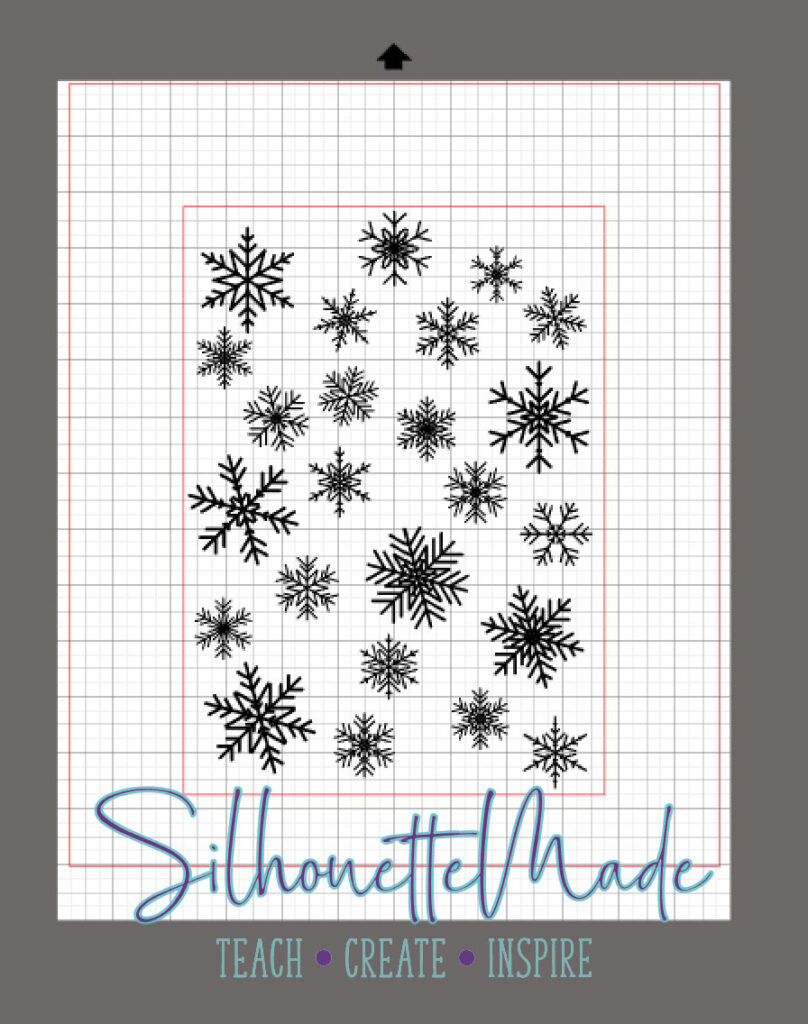
Now that you have a reference on where and how big the design needs to be, create your design to fit within that rectangle.
For the snowflakes, I randomly placed them and duplicated them to cover most of the area within the rectangle.
For the ornaments, I placed them how I liked then sized them to fit within the box. I did made the “string” on the ornaments a little longer than they are in the file. I did this by drawing a thin rectangle, placing it on the existing “string” and welding them together.
Cutting the Media
Because my designs don’t have any words or anything, I did not mirror (Flip horizontally). Remember, if the design includes something that needs to be mirrored to flip your design.
Move the right roller toward the left one notch and load the material shiny side down. Make sure you do a test cut before you send the design. I first tried the Heat Transfer, Smooth setting and it did not cut through. For me, the Heat Transfer, Flocked setting worked perfect. BUT and I can’t stress this enough, DO A TEST CUT. The settings that worked for me may not work for you.
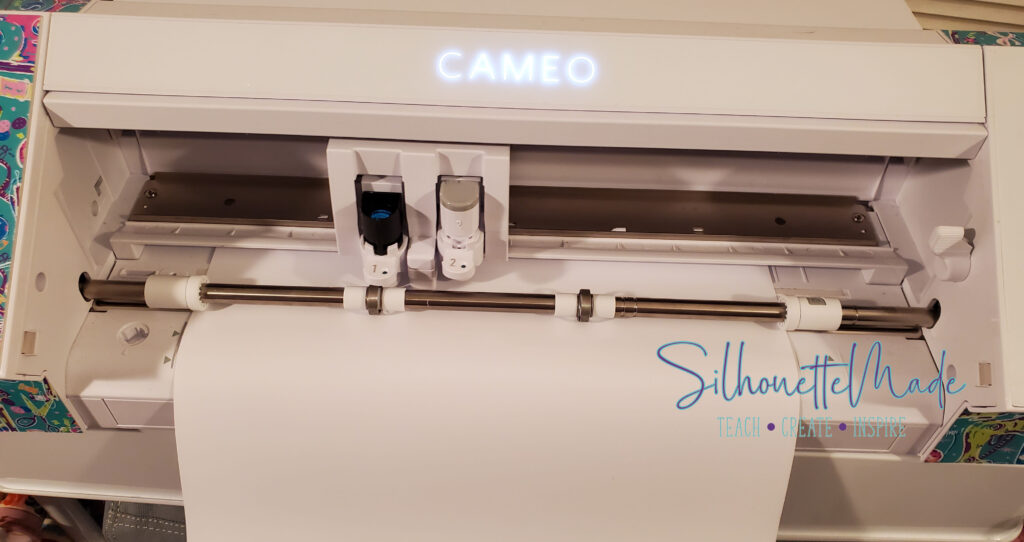
Once cutting is complete and you are sure it is cut through and can weed it, unload the mat. I always find a piece to “weed” out before I unload the mat so if it not cut all the way I can send it again and it won’t cut off from the original pass.
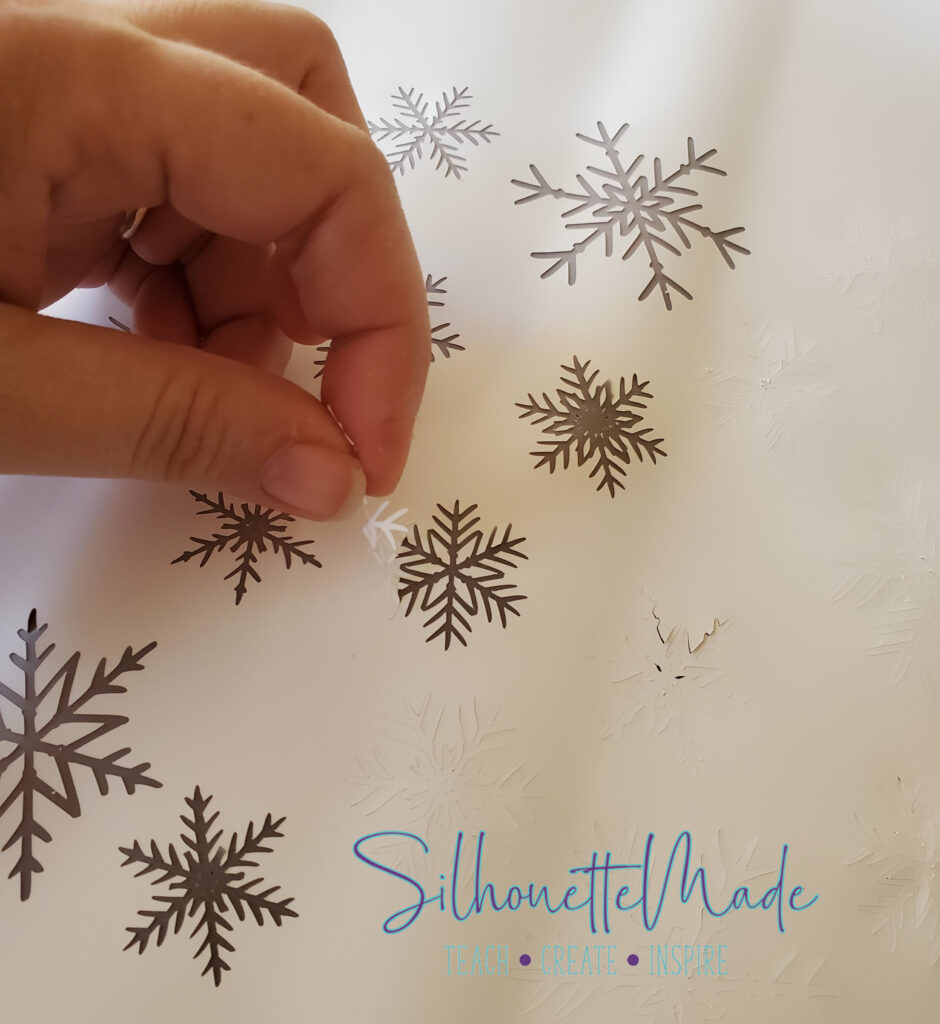
Once unloaded, you can weed out the design. When you weed out the design you would not weed like you would typically weed HTV, you would “reverse” weed. This means that you take out the part of the design you “want to keep”.
Attaching the HTV
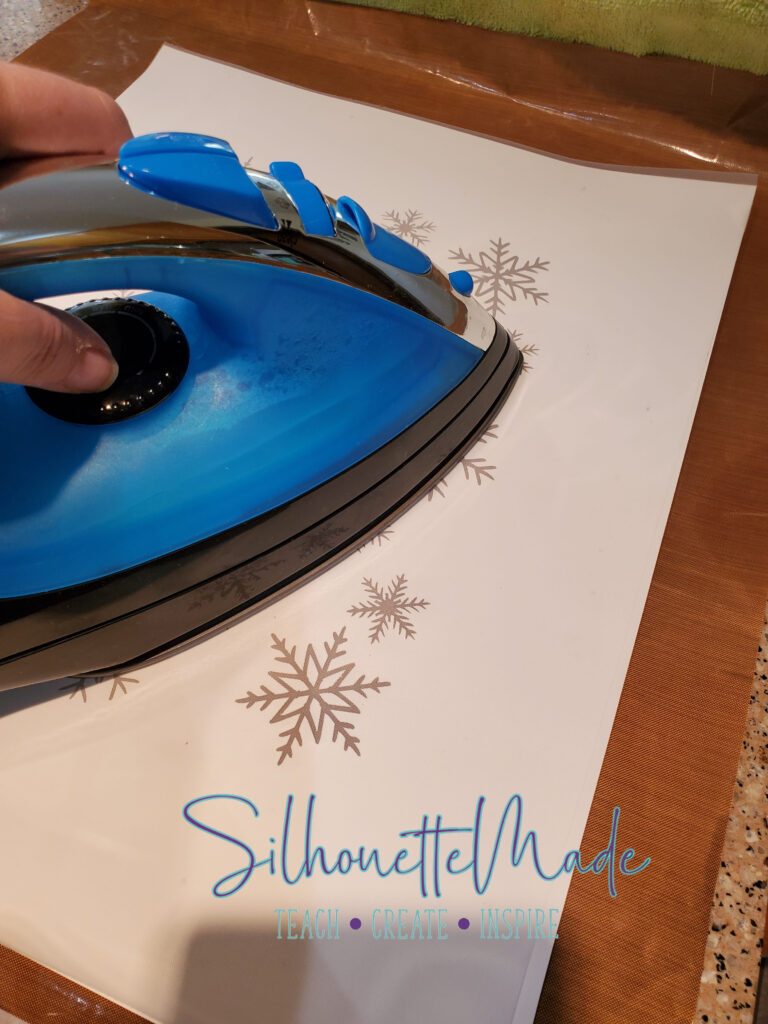
Now you need to attach the HTV to the screen. To do this, place the HTV shiny side down on a firm surface, like a countertop, and place the screen on top. I put a Teflon sheet under the HTV just to protect my counter, it is not necessary. I was just being overly cautious. Next, use an iron set on the Cotton setting and iron on the screen for 20-30 seconds. Once the HTV is adhered, wait for it to cool before you peel off the cover sheet. This media is COOL PEEL.
Assemble the Frame
To assemble the frame, I followed the instructions from this post on Silhouette101.
Basically, align the numbers on the side of each frame piece and secure them in place with the fasteners. Make sure that the slots in the frame pieces face outward.
Cut a 2″ X 2″ square from each corner, this is so the stencil can be secured to the frame.
Place the stencil on the counter with the silkscreen side down. Center the frame around the design on the stencil and secure it to the frame. To secure the stencil to the frame, fold the sides up and secure it with the frame inserts.
Using Your Silkscreen
Place the frame with the screen where you want on your media. If using fabric, place a piece of thin cardboard or paper under the top layer. If you are going to silkscreen on a shirt, place the cardboard inside the shirt.
You should always test to make sure that the amount of ink used and technique work for what you are looking to do.
Apply a line of paint at the top of the stencil and use the squeegee tool to “pull” the ink down across the silkscreen. Using enough ink to cover the stencil in one pass gives the best results.
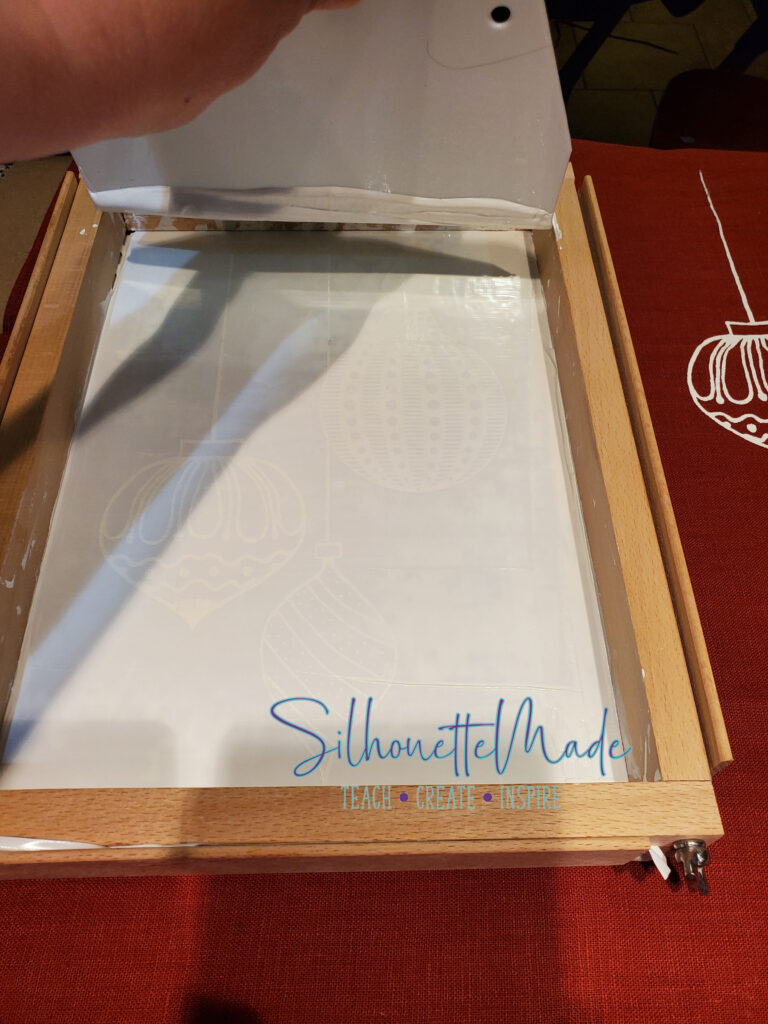
If using the same design multiple times rinse the screen every few ink passes. You will also want to rinse the screen when the project is complete to prevent clogging. Once cleaned and dry, it can be stored for future use.
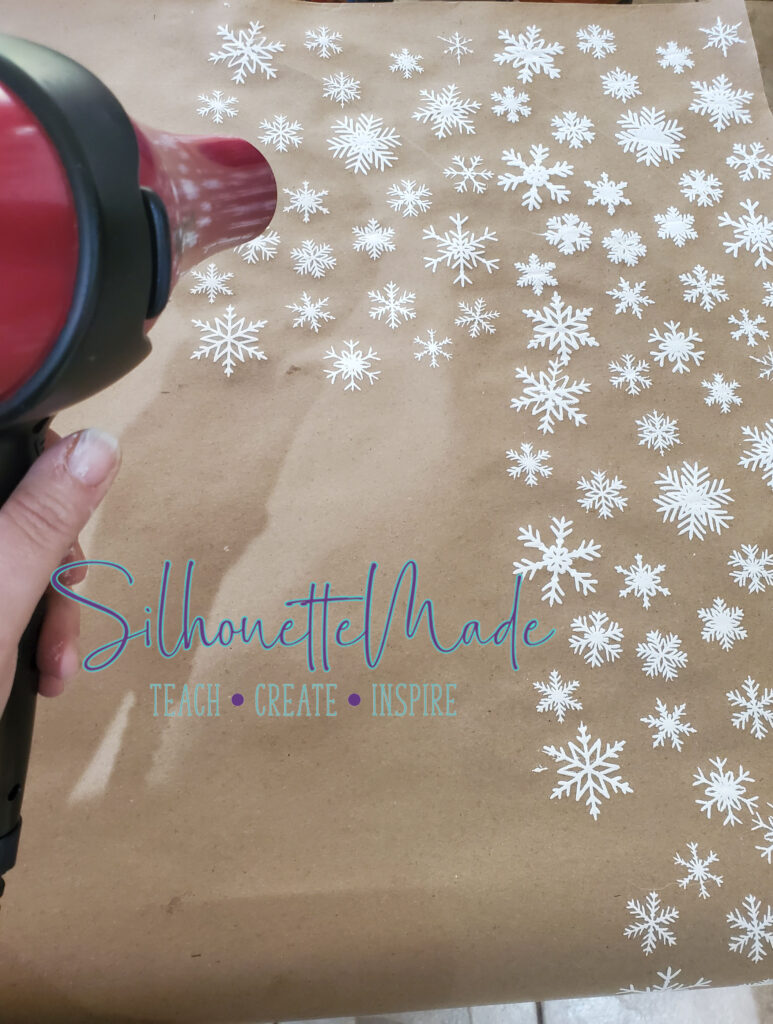
To speed up the drying process between prints, I used a hairdryer. Once the project was complete and the ink was dry, I wrapped the gifts.
Etched Tag with the Curio
I used my Curio with the Silhouette Etching tool and a Metal Etching Sheet in black to make the first tag. I love Silhouette Etching tool, it always gives better results than any third-party tool I’ve tried.
The design I used was design ID 36298 from the Silhouette Design Store.
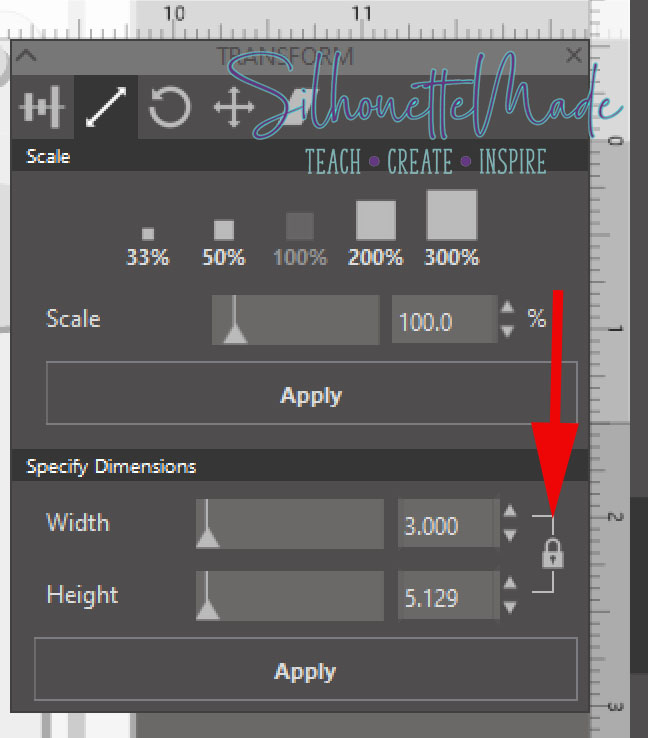
To size the design, I chose a random tag file that I had in my library. I sized it to about what I wanted the tag to be. To do that I locked the aspect ratio and changed the width to 3″. When you lock the aspect ratio, it sizes the other measurement (either height or width) appropriately for the file.
With the tag shape sized, I placed my design for the tag inside the shape and placed it where I wanted. Position the design then delete the tag shape, it was only a guide to help you size and place your actual design.
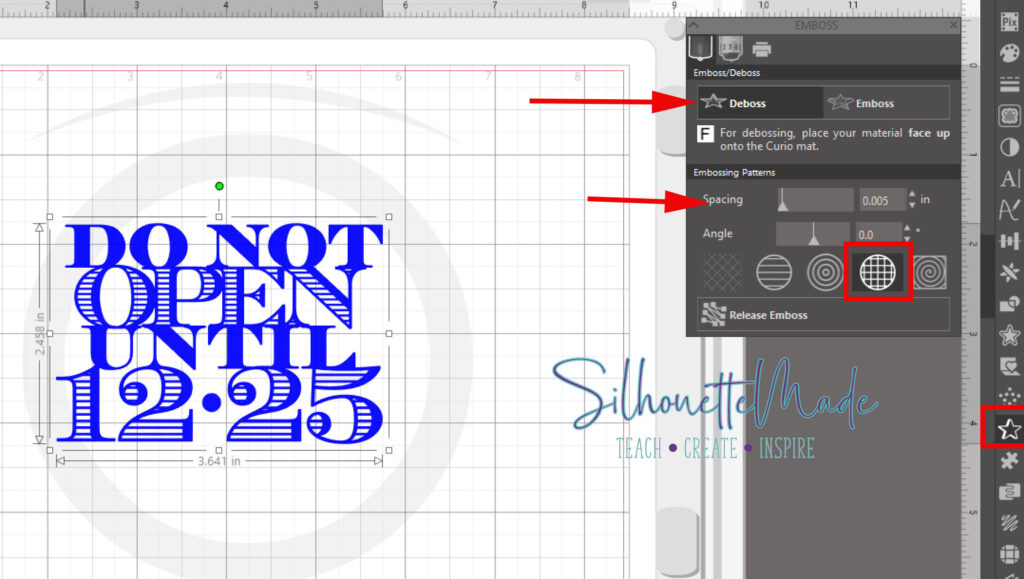
Open the Emboss Panel. When a Curio is connected and recognized in the software, the Emboss Panel is unlocked. This is the ONLY way to get access to this panel. The options in this panel are used to fill a design for etching. In the Emboss Panel you want to use the DEBOSS fills. Deboss fills won’t mirror your design automatically.
With the design selected, choose the fill and spacing you want for the etch. For this tag, I chose the crosshatch fill and the smallest spacing.
Once that is complete, place your metal etching sheet on the mat and platforms and send it to etch. For the metal etching sheets, I used a platform stack of 2+2+cutting mat. I also created my own custom etch settings using the Etch action.
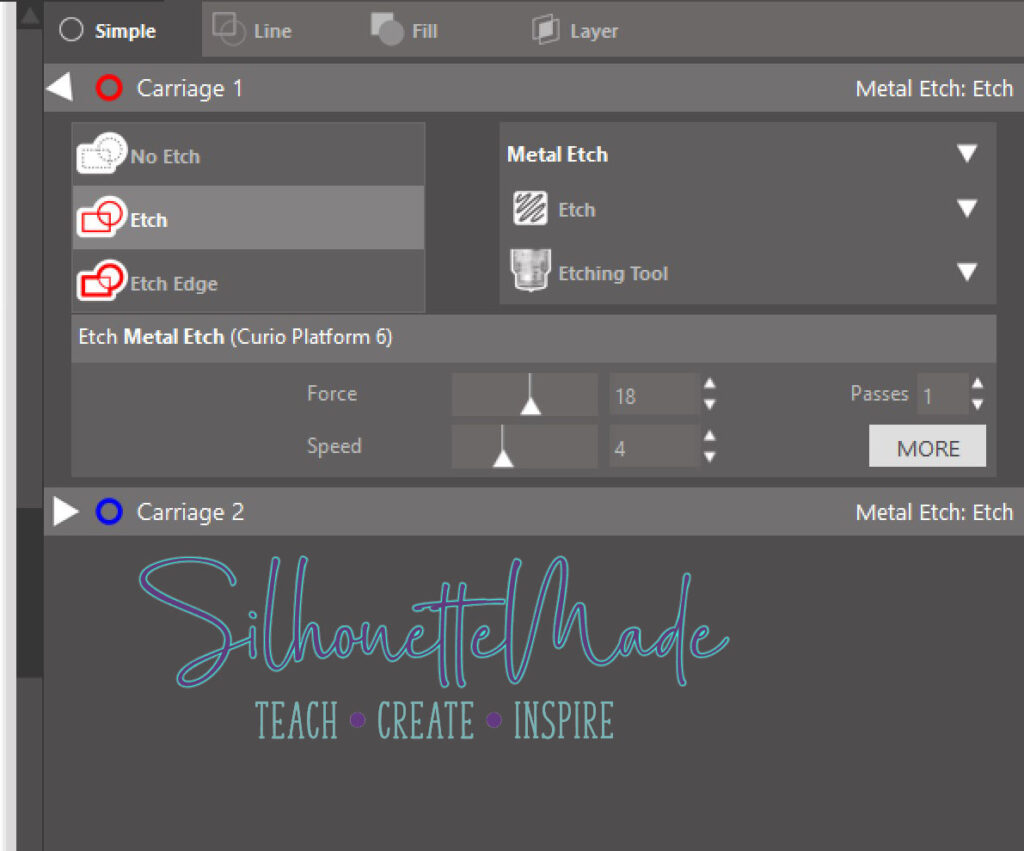
Place the metal etching sheet on the mat, load the platform into the Curio and start the etch. This etch only took a few minutes. But I loved the way it turned out.
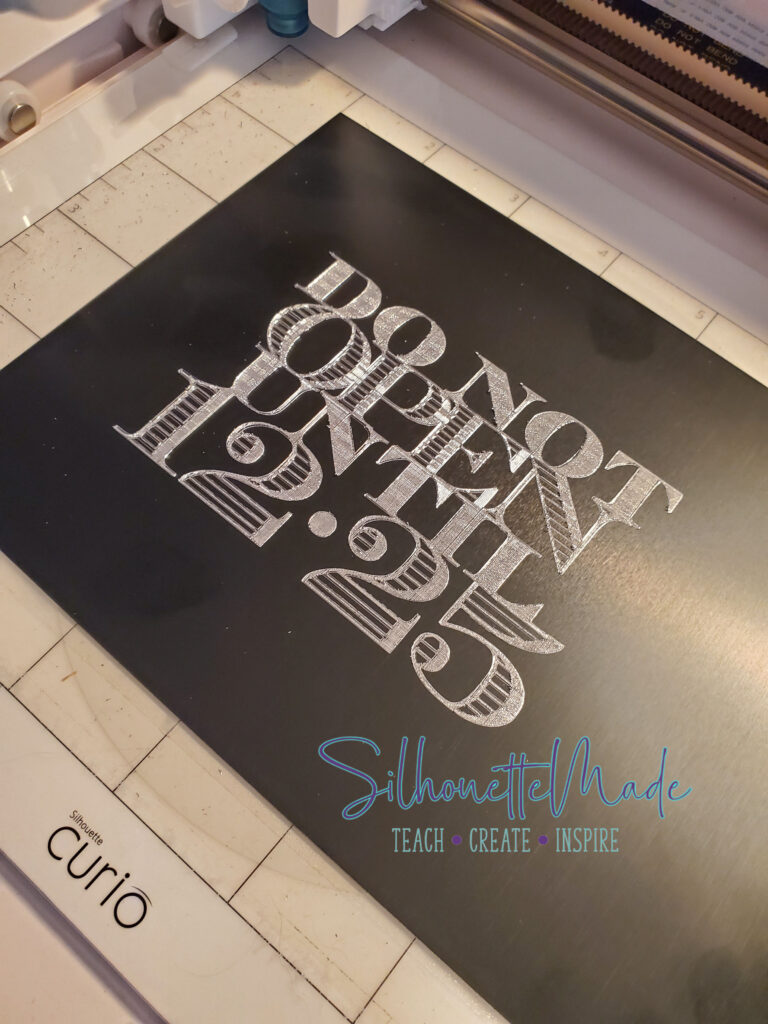
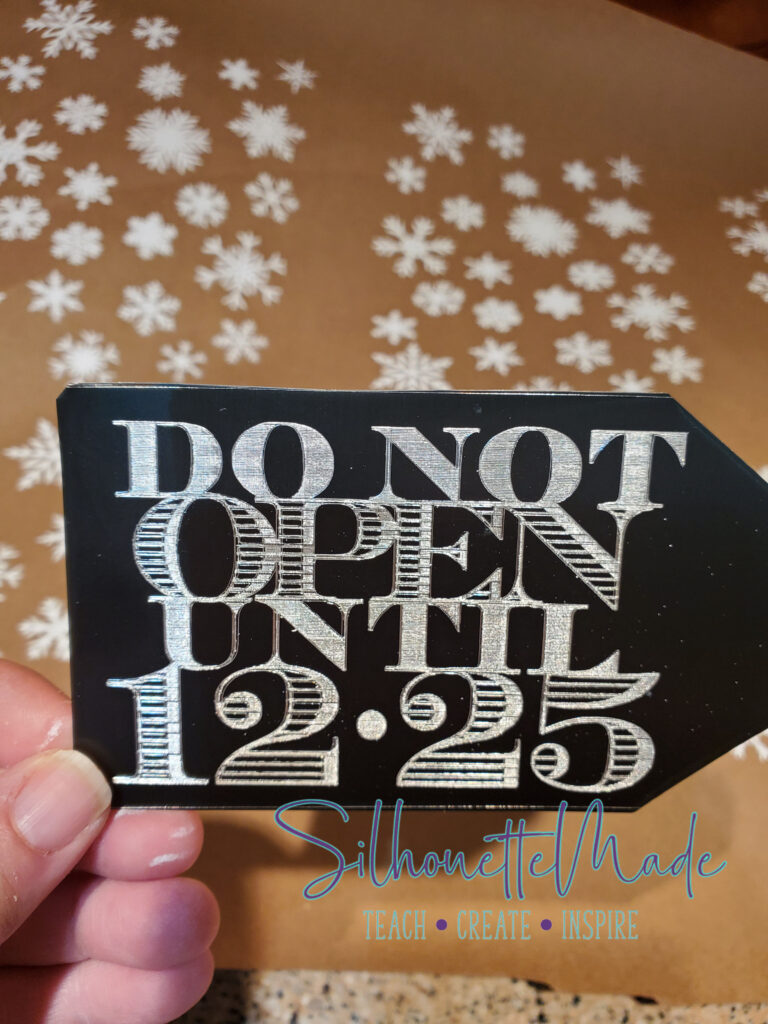
When the etch is complete, remove it from the mat, then use tin snips to cut it out in a tag shape. To make the hole, I used a regular single hole punch.
Wood Slice Tag
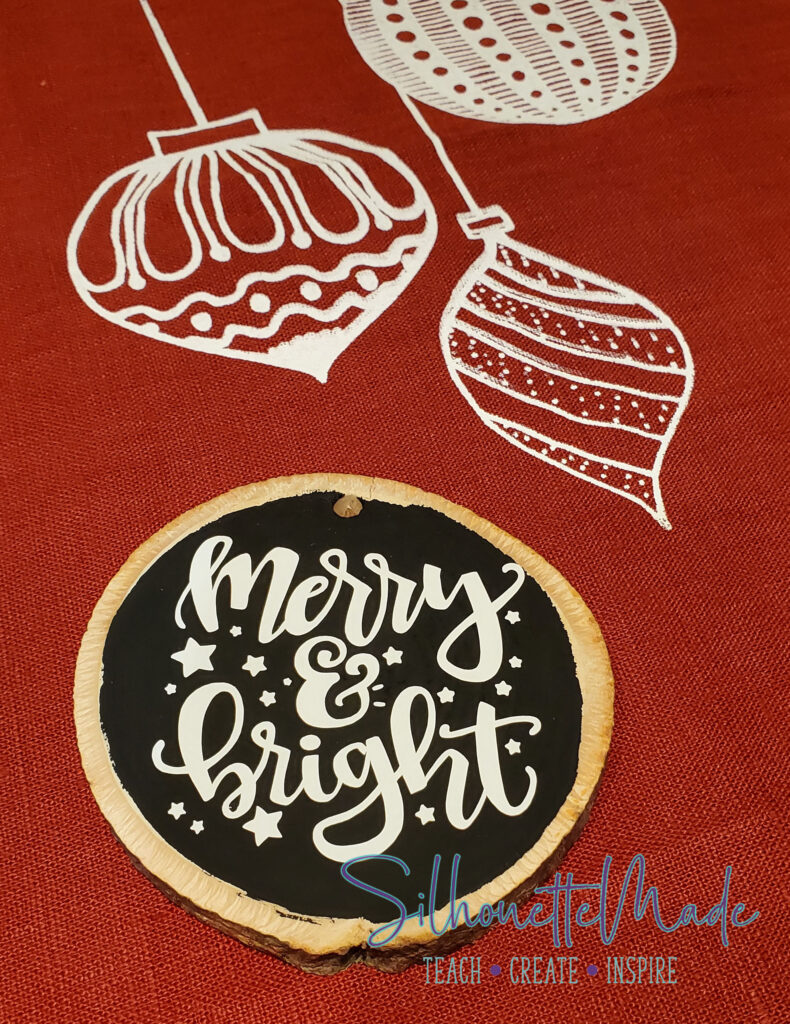
The wood slice tag was quite simple. The wood slice ornament was purchased at Michaels. I measured the wood slice and drew a circle slightly smaller than my measurement. I didn’t want my design to cover the predrilled hole in the ornament.
Paint the inside of the wood slice with black chalk paint. While the paint is drying, create the design. I used design ID 230348 from the Silhouette Design Store. I sized it using the circle I drew based on my measurement.
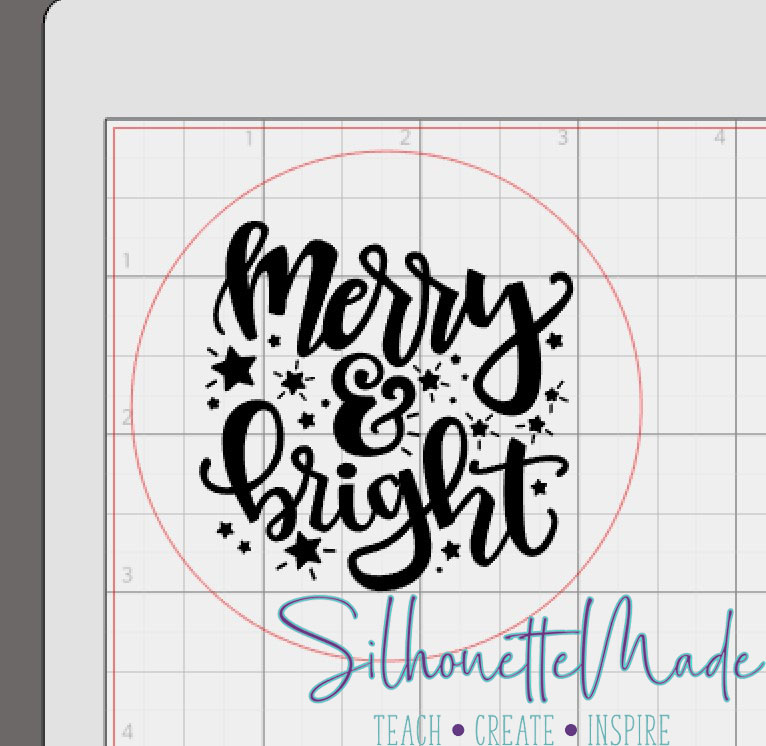
Once the design is sized, remove the circle, load the machine, and send the design to cut.
For this tag, I used white Oracal 651. Once cutting is complete, unload the mat, weed the design, and use transfer tape to apply it to the wood slice once the paint is dry.
3D Printed Cookie Cutters
I could have stopped after making the tags, but I couldn’t help myself. I love using my Alta Plus. It is a great machine. I used Silhouette Brand Silver Filament.
For the designs, I used Candy Cane design ID 34359. I only used the outline piece of this file, not the stripped inside piece. The tree design is one that came free with one of my machines. I opened each file in silhouette studio, sized them to about 4 inches on the longest side and sent them to the Alta software directly from Silhouette Studio.
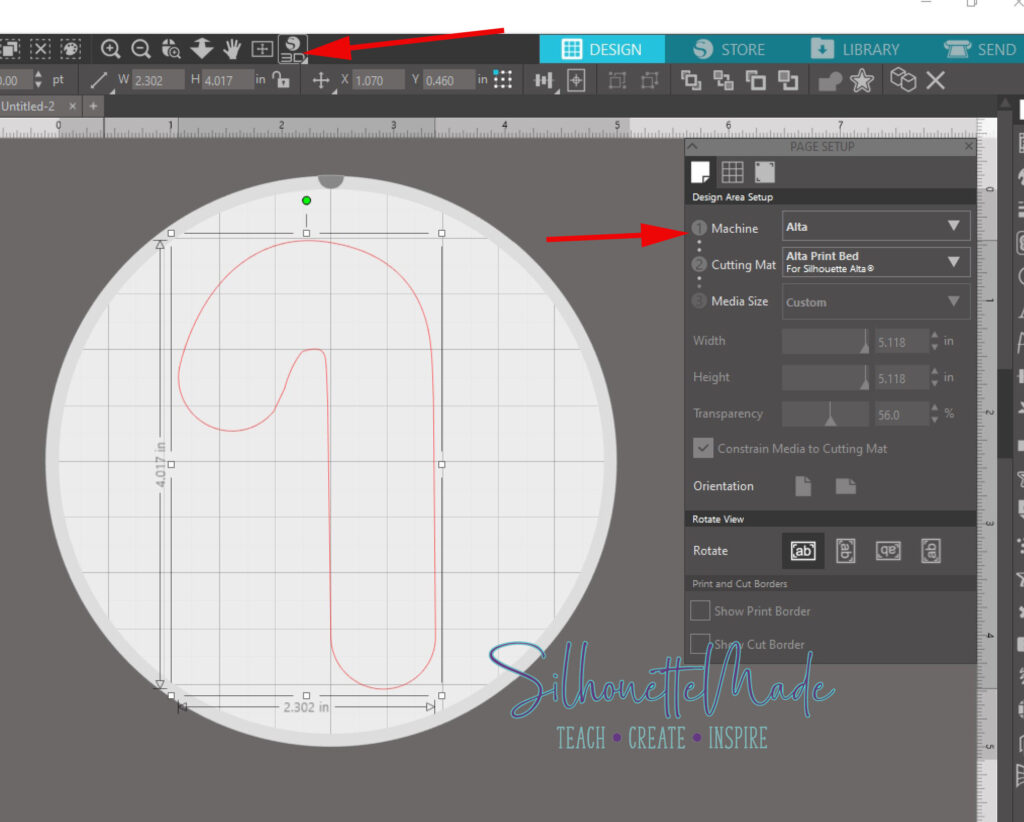
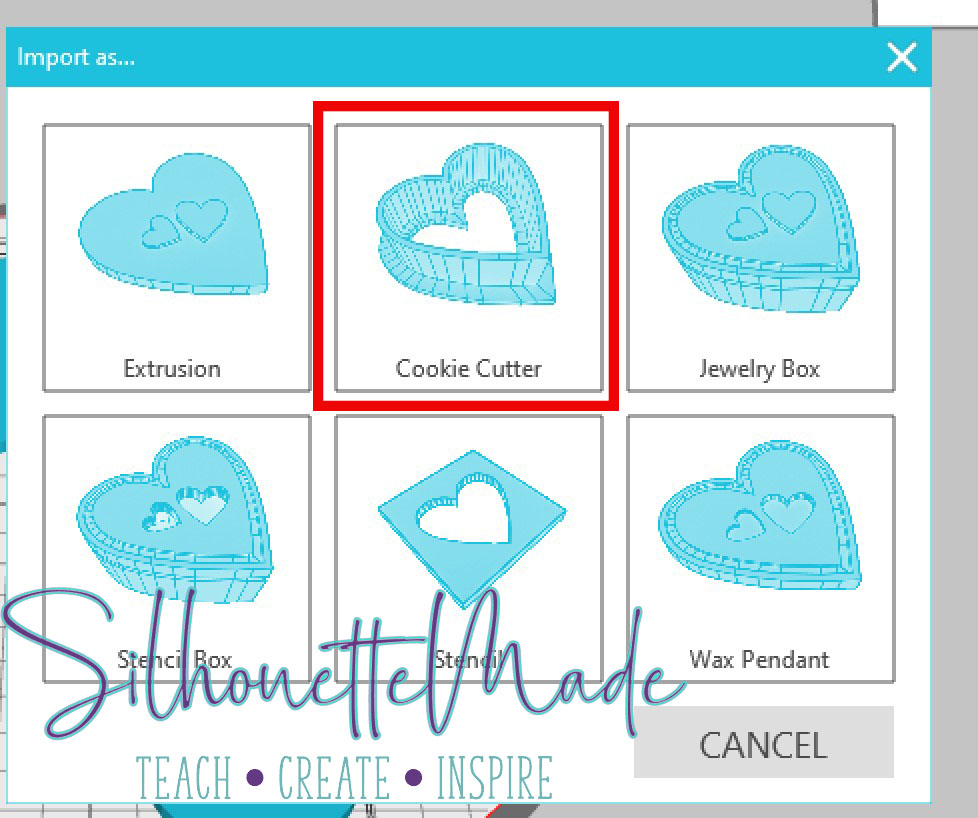
When the Silhouette 3D software opens, it will ask what type of file you want to choose. For this project, choose Cookie Cutter.
It will automatically flip the design and add the “handle” on the top of the cutter.
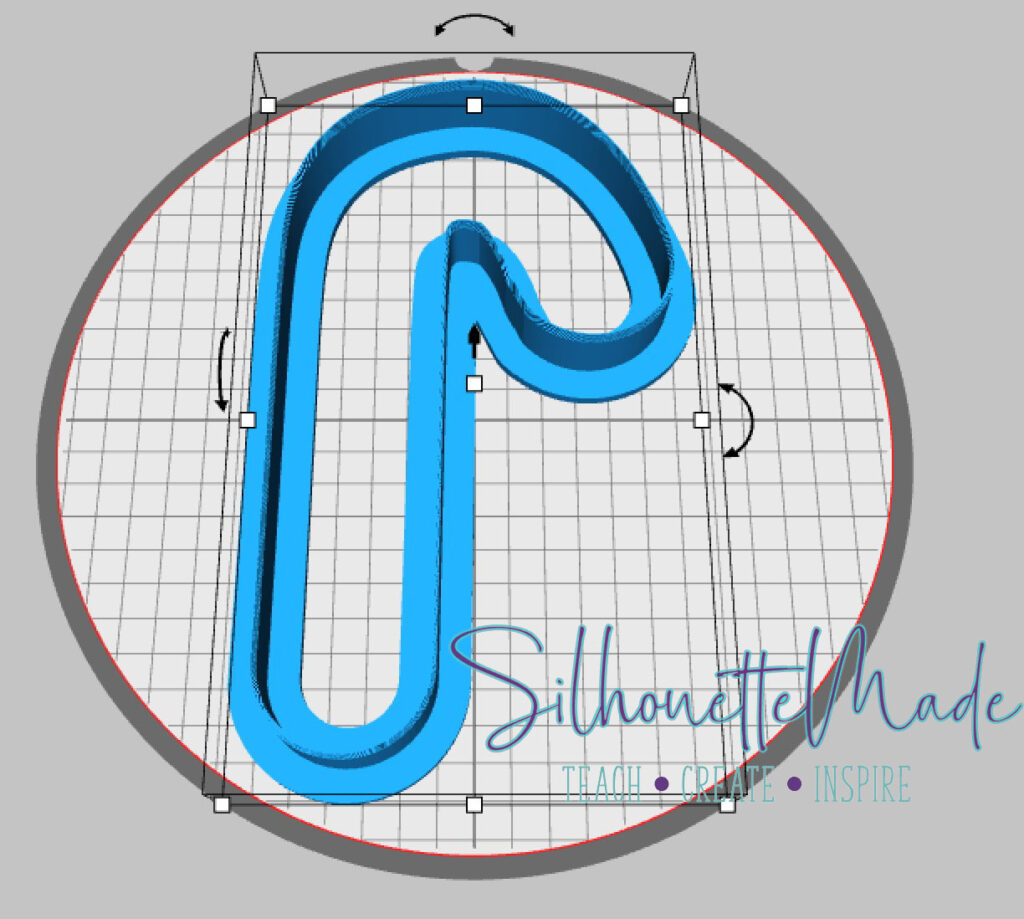
Position the file on the bed, verify the size is correct, then send it to print. I used the Standard print quality and the printed perfect. The print time will vary depending on the design and the print quality. But these cookie cutters printed in about 30 minutes each. Adding this extra touch was so fun. I love finding ways to incorporate my different machines in the same project.
I would love to see what you create! Feel free to share your projects with me. You can post photos or ask questions on my Facebook page or group:
www.facebook.com/groups/SilhouetteMadewithSarah
www.facebook.com/SilhouetteMade
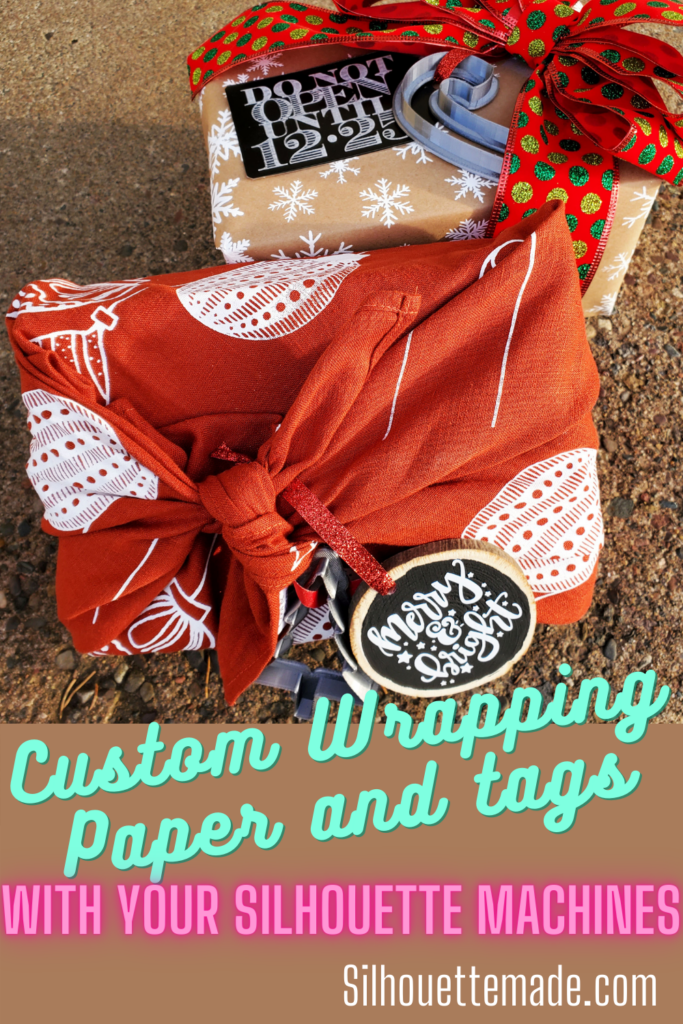
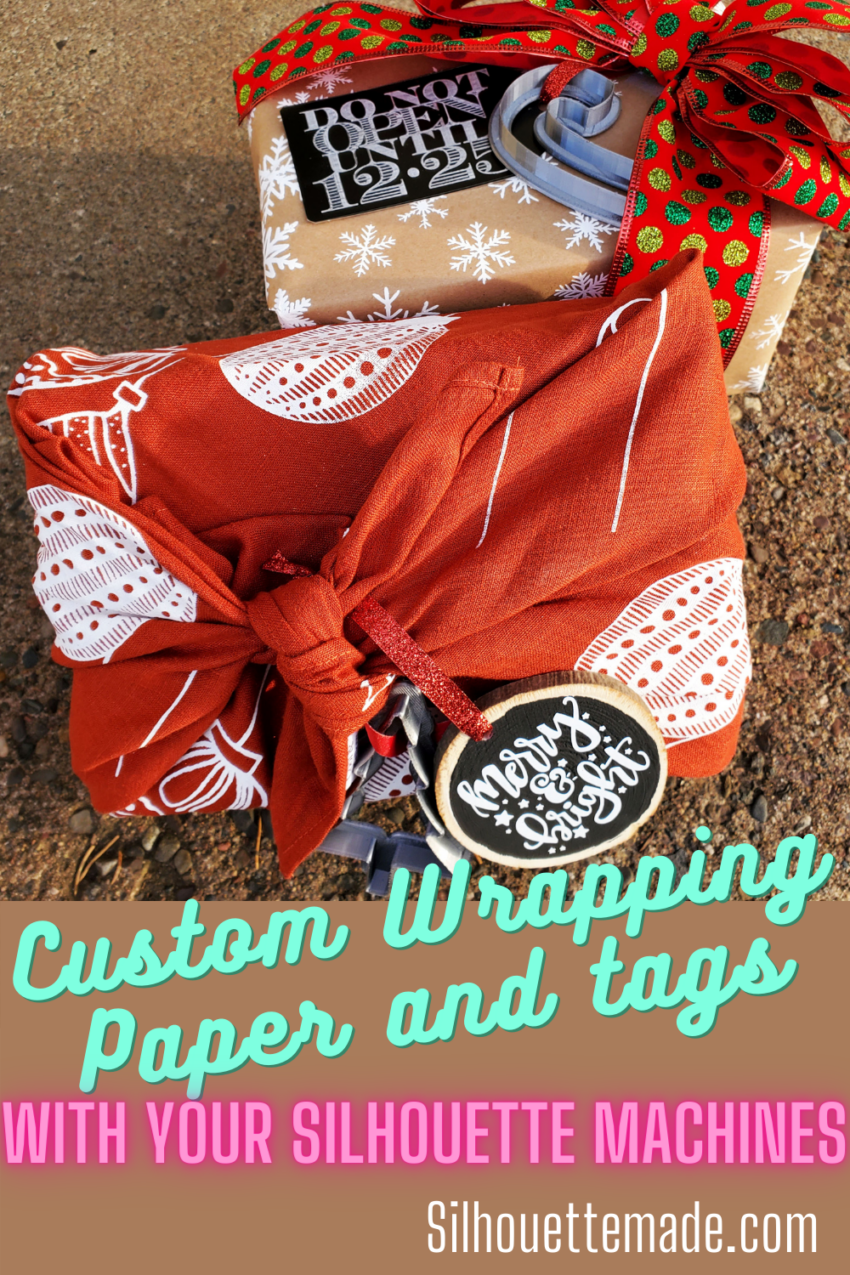
To share or save this post please pin the image below.

1 thought on “Custom Gift Wrap and Tag with Your Silhouette”