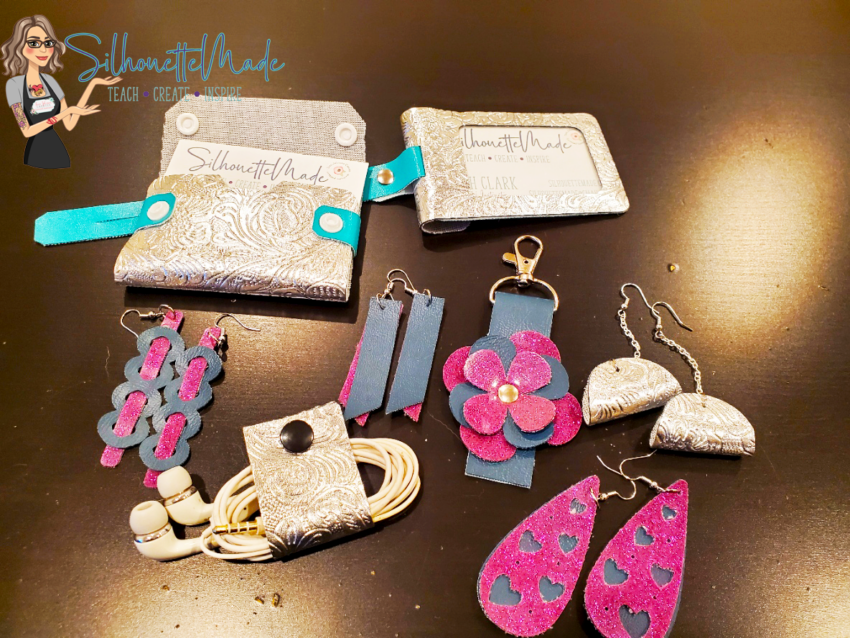
I love cutting faux leather and make something with it at least once a week. It is one of my favorite materials. You can make hairbows, earrings, luggage tags, business card holders, keychains, and many other things. The possibilities are endless.
Faux leather is one of my favorite materials to work with. It is a very versatile material, and it can be difficult to cut. Cutting it takes testing to get the settings right and it isn’t something that can be typically cut with one setting. It takes a series of passes at varying blade depths.
Another thing to keep in mind is that faux leather is called many different things: leatherette, embroidery vinyl, marine vinyl (used for boat & car upholstery), faux leather, etc.
Where to get Faux Leather
There are so many vendors that sell faux leather, but I get mine from a few select places. I have tried many different vendors. I stick with the ones that I have the best experience with and who sell nice quality faux leather.
My primary source is Craft Chameleon. I love this vendor. Not only do I get my faux leather from them, but I also get my acrylic blanks for etching on my Curio. They have fantastic prices and tons of options.
My other “go to” place is MyPunkBroidery because they have excellent quality faux leather and have so many options.
Hobby Lobby, Etsy, and Amazon are other places I have purchased faux leather. I prefer the above vendors. It is all personal preference, but just know that it will take some trial and error to get the cuts right and that some will cut better than others.
What blade and mat do I use?
The blades I use are an autoblade, ratchet blade, premium blade, and deep cut blade to cut all my faux leather. I have never needed a Kraft Blade or Rotary blade.
I keep two dedicated blades just for faux leather, just like I have one for cardstock and one for vinyl. Why two? Well, I’m glad you asked. I have one ratchet type blade and one autoblade and depending on which machine I am using depends on which one I use. If I’m using my Cameo 4, I will use the autoblade. If I’m using any of my other cameos or my portrait, I use the ratchet blade.
I would not use a Kraft or Rotary blade anyway because those blades work best with very basic designs and do not do even slightly intricate designs very well.
I use a high tack mat for my faux leather. A regular mat will work as well. I just make sure I don’t use it for anything else and always put the cover sheet back on when I’m not using it. You want it to be sticky. It will hold the faux leather firmly in place.
Setting up the project
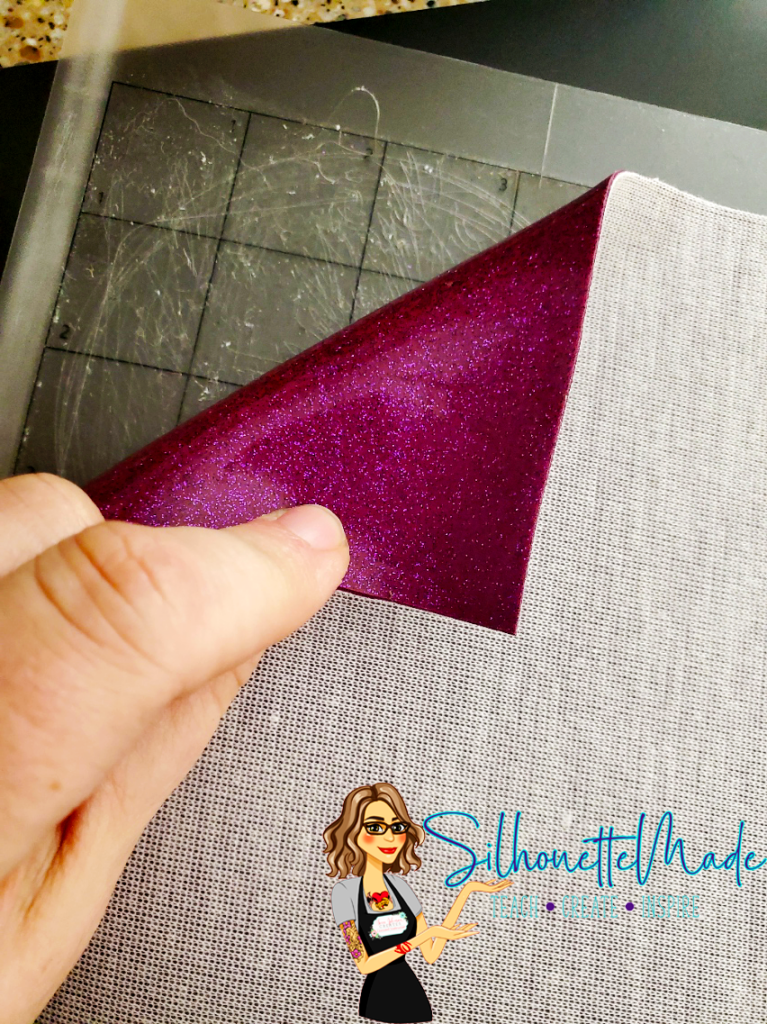
When cutting faux leather, it is best to lay it face down on the mat, so the backing is face up. Because of this, don’t forget to mirror your design if you need to. I don’t mirror all my designs; it just depends on what it is. For example, if cutting teardrop earrings, I don’t mirror. They are the same regardless of which direction you cut them. But if cutting a keychain that has a monogram or name then you want to make sure to mirror. You will have to mirror manually by flipping the design horizontally. The software will not ask if you want to mirror when sending to cut.
Do not place your design right on the edge of your media. If it is too close to the cut border it will have issues while cutting. Also, do not put your designs too close together. If you are cutting something with a straight edge don’t put it right up against another shape with a straight edge. It will cause cutting issues. You want to make sure there is some space between your design pieces.
If you are cutting earrings or something that has a small hole, do not try to cut the hole with your machine. When I make something with a small hole, I use a small hole punch to punch the hole for the hardware. If you use your machine you run the risk of it not cutting the hole correctly or cutting right to the edge of the design.
Prepping the material on the mat
Once you have your project set up (don’t forget to mirror), it’s time to cut it out. Put your faux leather FACE DOWN on the mat. I use a brayer to make sure it is stuck down very well. You don’t want your material to shift when cutting. I have seen where people will tape down their faux leather, but I wouldn’t recommend this for two reasons: (1) the tape can interfere with the rollers and may cause the mat to shift during cutting and (2) if you mat isn’t sticky enough then it can cause an issue with your faux leather where you are cutting. The cuts can shift because the tape only holds down the edges, not the middle where you are cutting.
Cutting the project
In the software, position your design where you want it on the screen. Remember don’t put it too close to the edges and, if needed, don’t forget to mirror your design. Then click on the SEND tab at the top. This will take you to the send screen.
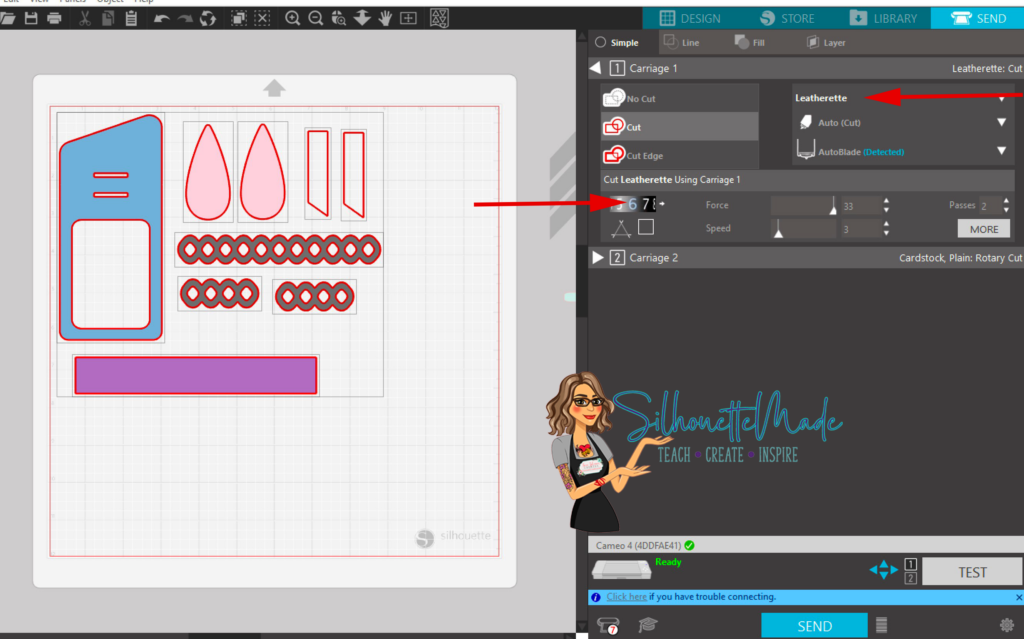
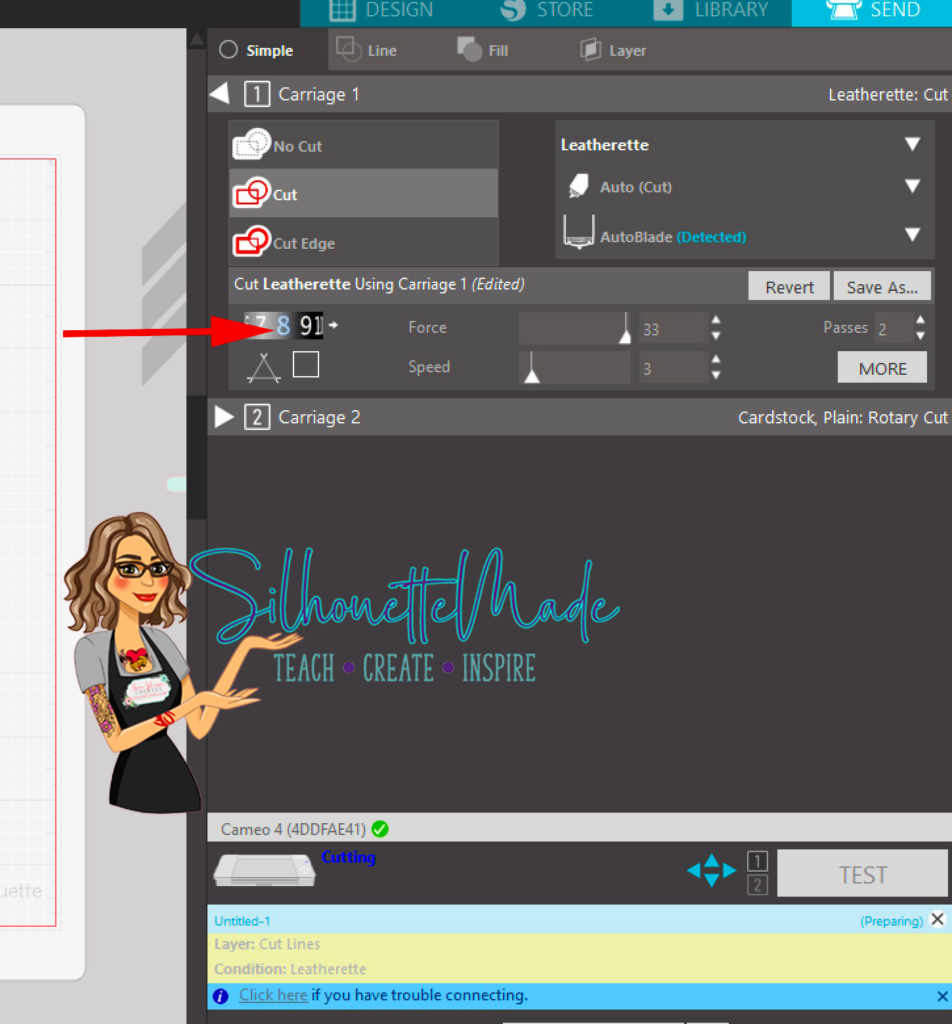
On the send screen you want to set your material type to Leatherette. This is the setting I always use as the first cut. You do not want to use the “faux leather paper” material because that is a setting for paper that looks like faux leather. The default leatherette setting has a blade depth of 6. This is usually a good starting point for this type of material. So once the design is ready to go with the leatherette setting, click send.
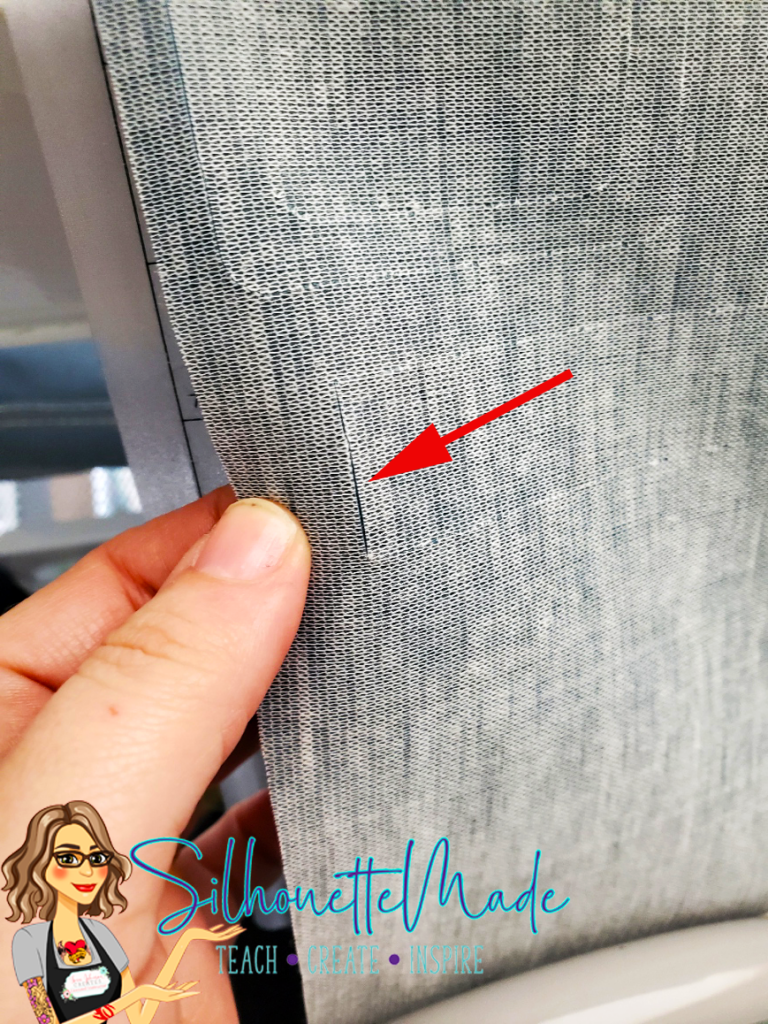
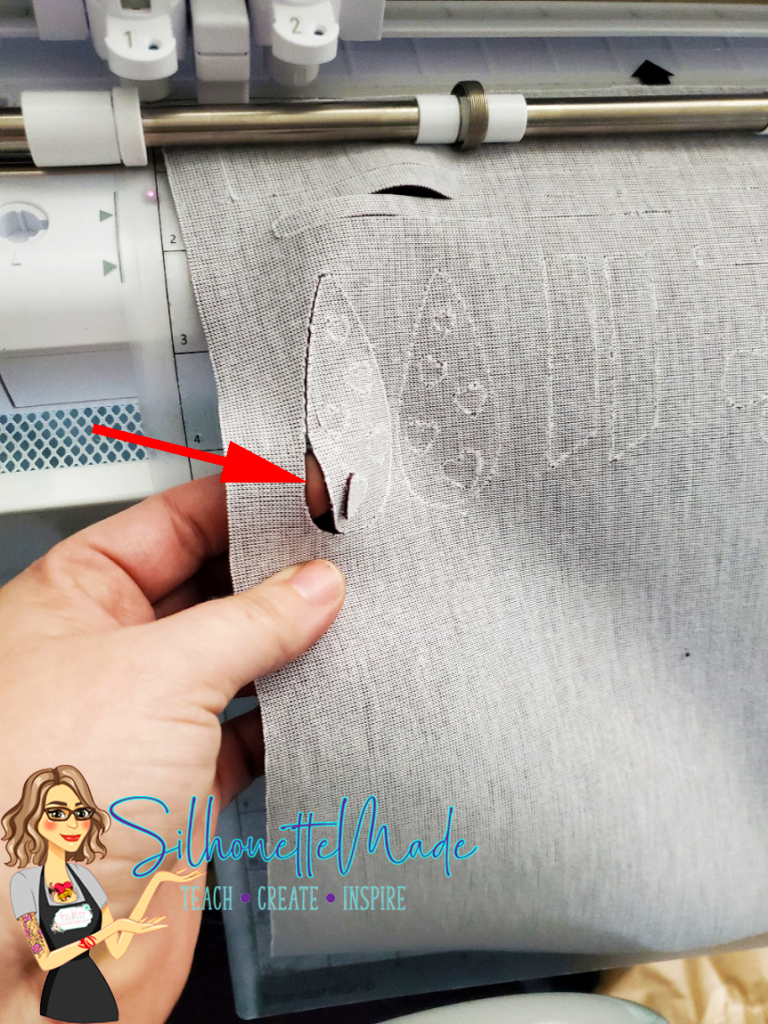
Once the design is done cutting, DO NOT UNLOAD THE MAT, check the cut, and see if it cut through. I cannot stress this enough. If the mat is unloaded and the material has not cut all the way through, you won’t be able to realign it back perfectly to cut it again. When you have to reload, the cut will be off, this is true of any material you cut.
If the material is not cut through, change the blade depth to 8 and cut again. Again, do not unload the mat. Check the material to see if it is cut through. If it is not, increase the blade depth to 10 and cut again.
Repeat this process until the material is cut through or at least cut through enough where it can be “popped” out.
Additional Notes
On rare occasions, I have had to exceed a blade depth of 10. If I am using an autoblade, premium blade, or ratchet blade, and I need to cut deeper, I will switch to a deep cut blade. But in all the time I’ve been cutting faux leather, I’ve only had to do that twice.
I have never successfully cut chunky glitter faux leather with any of my cutting machines. What I do instead, is use my pen holder and draw the pattern on the back of the faux leather with my machine then cut by hand.
I hope you enjoy working with faux leather as much as I do. I would love to see what you create! Feel free to share your projects with me. You can post photos or ask questions on my Facebook page or group:
www.facebook.com/groups/SilhouetteMadewithSarah
www.facebook.com/SilhouetteMade
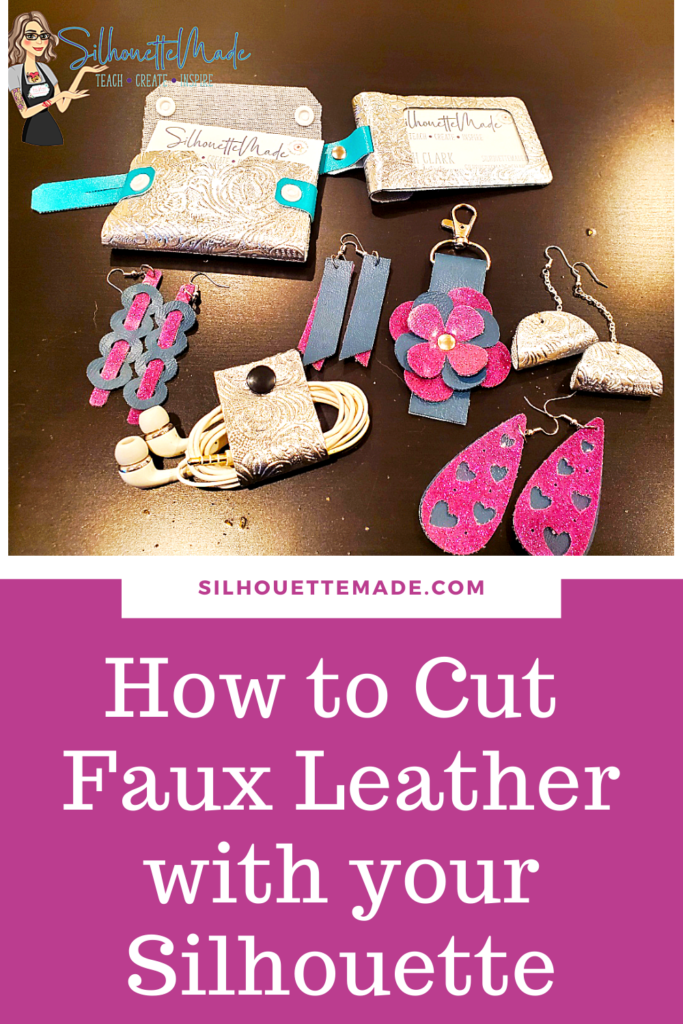
To share or save this post please pin the image below.

I’m looking at getting a Silhouette but one of the things I want to do with it, is embossing (?) the leather as well. Is this possible? Kind of like this; https://5.imimg.com/data5/GJ/FY/MY-27023400/embossed-garment-patch-500×500.jpg
Kind regards
To do something like this you would need a Silhouette Curio. The Cameo and Portrait machines were not designed to emboss. The emboss tools in the Silhouette software are only made available when a Curio is connected to the computer. I have done several leather embossing projects with my Curio and they are really fun and do come out quite well. The image you shared was done with leather stamping, the embossing function would look slightly different than that.
Thank you so much for this. I have been seeing so many different methods etc. I bought leatherette from my local fabric/haberdashery as I am not in the US. Got the thinest one. Used the default settings as you suggested (with a new blade in as I had just changed it for another project) and it worked really well. I plan on making some no sew hand sanitizer holders and this tutorial has really helped. Thanks again!
I am currently working with faux leather from Indolove creations. It has a beautiful hand for some purses. I want to cut on my Cameo 4 and have success most of the time. Would you ever suggest using temporary adhesive spray on the mat.
I would not use a temporary adhesive spray on the mat because any “overspray” can gunk up the rollers or stick to the blade and cause issues. I have used protecto film on my mat when I’m cutting things that will cause the adhesive on the mat to become not sticky quickly. You can find it on Amazon
thanks for the info-i have an older silhouette-first version i think. it shows setting for leatherette-but would you happen to know if i can use the deep blade on this particular model. i am wanting to cut leatherette. Silhouette website is no help whatsoever.