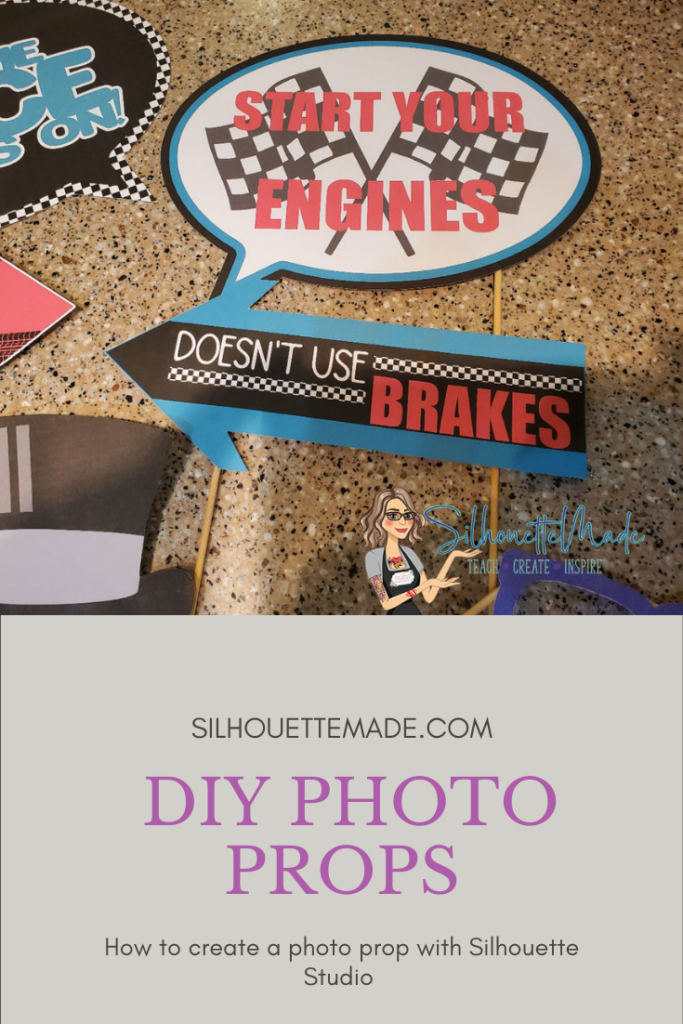
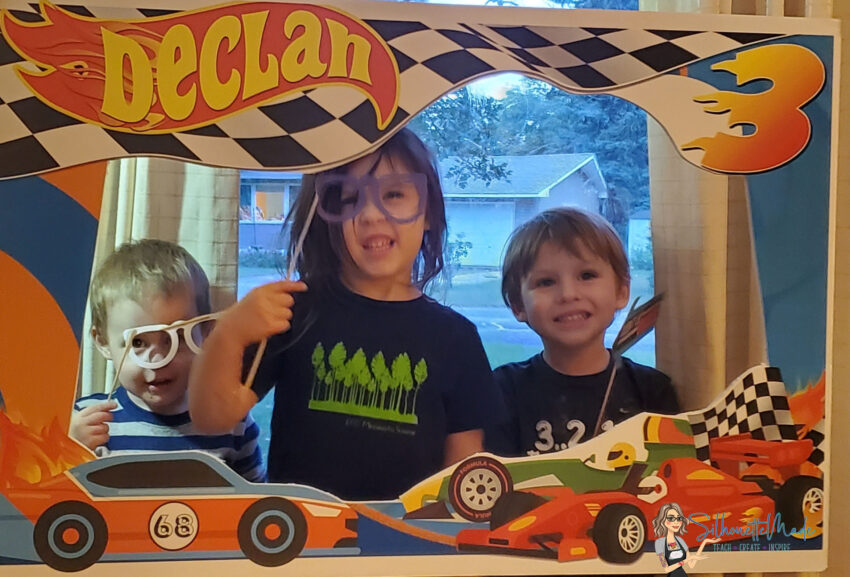
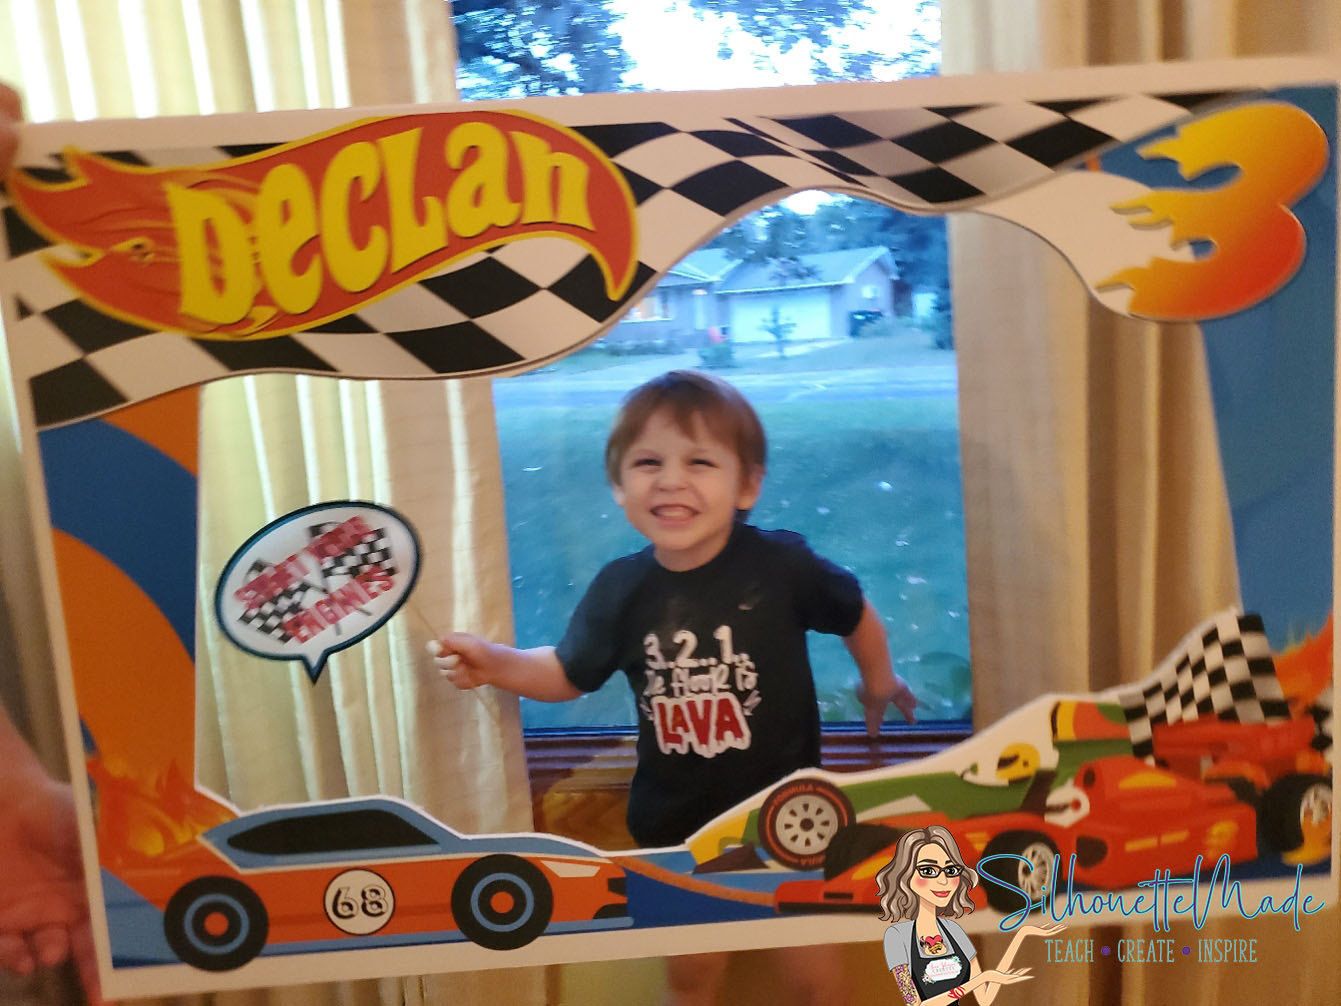
I just finished one birthday and I moved onto the next. My two youngest kids are 11 months apart in age. So, for 3 weeks they are the same age. That also means that once I’m done with one birthday, I move directly onto the next. For Ian’s birthday, I made him a birthday banner, I’ve made a banner for all 3 of my littles now. So, for Declan’s 3rd birthday, I decided to have a photo booth. They LOVED IT. For the photo booth I made a bunch of props to go with it. Since it was a racecar theme, I made some photo booth props with that theme. But I also used some “ready-made” ones from the Silhouette Design Store.
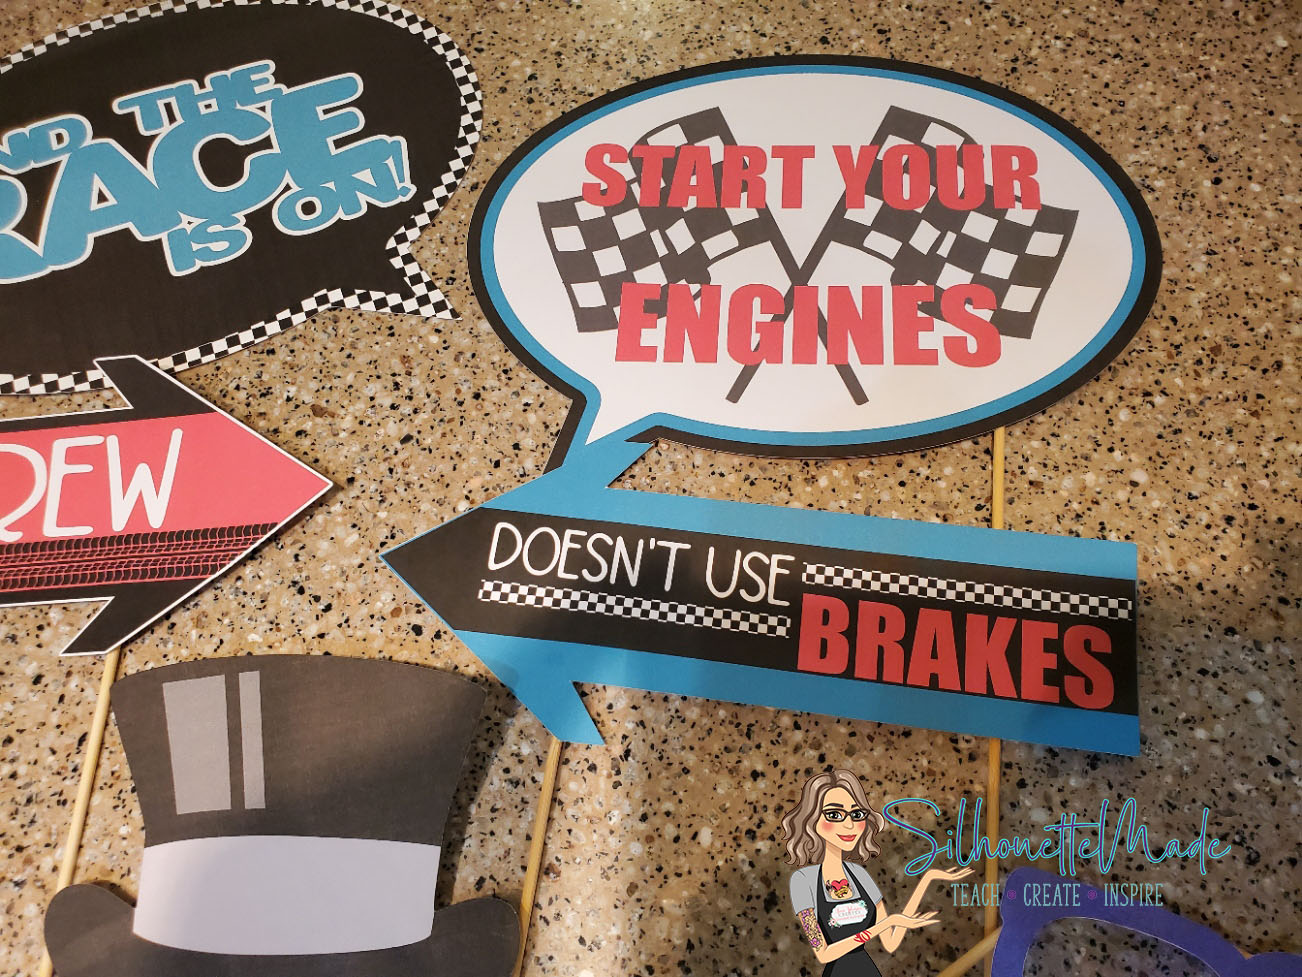
Since I wanted these to be done quickly and I knew that the kids were going to destroy them after a while, I did a print and cut instead of layering my designs. You can do them either way and they will work great. I just chose what I would consider the “easier” route.
As with all print and cuts, the first thing I do is set up the page. On the page setup panel, I choose my machine, mat, and media size. For the media size I ALWAYS choose printer. Then I turn the registration marks on and leave them at the defaults. Since I don’t have a wide format printer, I always use my portrait for print and cuts.

Now to make the speech bubble, I used the drawing tools on the left toolbar to create my oval. I sized it how I wanted. I made sure it was within the cut border on my page setup.

After I had my circle sized how I wanted. I used the drawing tools to create my triangle. This will be the “pointy part of the speech bubble. Once I draw the polygon, I use the slider to bring the number of sides down to 3. Then I use the bounding box to shape the triangle how I want it. I made it a bit thinner.
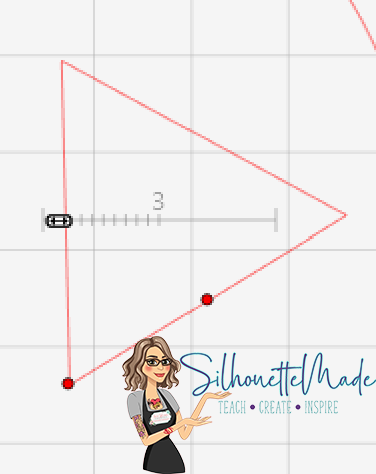
Next, position the triangle where you want it on the circle. I put it in what would be the bottom left area of the circle. Once it is where you want it, select both the triangle and the circle, right click, and weld. You can also use the Modify panel on the right toolbar to access the weld tool.

Now to do the offsets. For this photo prop, I did two internal offsets. I did not adjust the distance of the offset. I selected the shape, internal offset it, then selected that offset, and did it again. Once I had the offsets, I filled them with what colors I wanted.

Now that the speech bubble is how I want it, it’s time to add our image to it. I used a flag file from the Silhouette Design Store. The file is called Racing Flags and it is by Loni Stevens. The design ID number is 14052. When I opened this file from my library, it was separated into pieces. So, I selected all the parts, right clicked on it, and made it a compound path. Then I went to the fill panel and filled it with black.

The flag can now be sized and positioned within the speech bubble. For this speech bubble I typed the text “Start Your Engines” using Impact font. Once I had it typed out, I filled it with red and positioned it how I wanted on top of the flags inside the speech bubble. With everything positioned how I want it is time to send it to my printer to print. I printed on white cardstock. When printing was done, I placed the page on my mat and loaded it into my Portrait.
Then I went back to the software and clicked on the SEND tab. Now when you first go to Send, everything has a cut line.
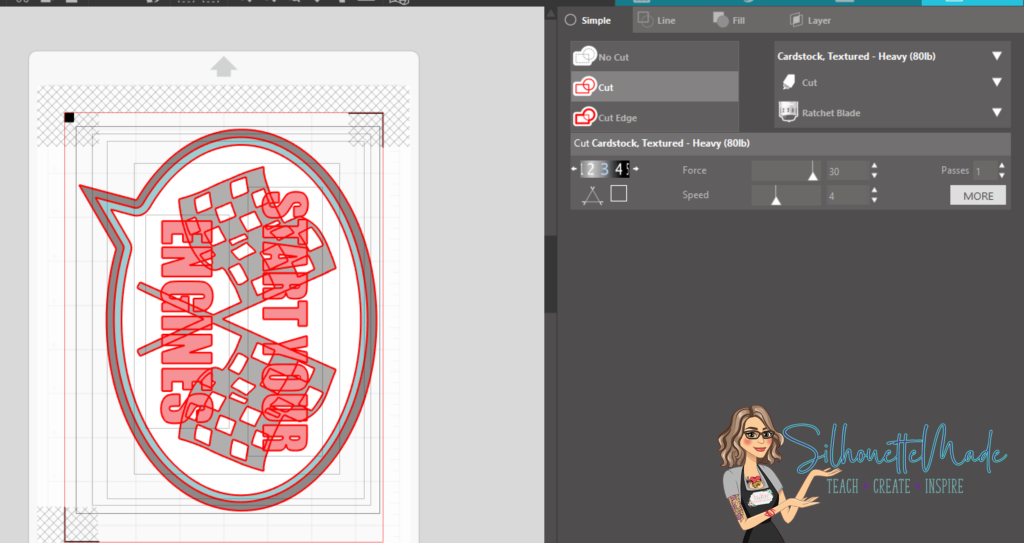
Since I am doing a print and cut I do not want each individual piece to cut out. I only want the outline of the speech bubble to cut. At this point, I select everything EXCEPT the outer most speech bubble shape and set it to NO CUT. Now the only bold red line showing is around the outside of the speech bubble. Once that is set, I hit send at the bottom of the screen and my design gets cut out.

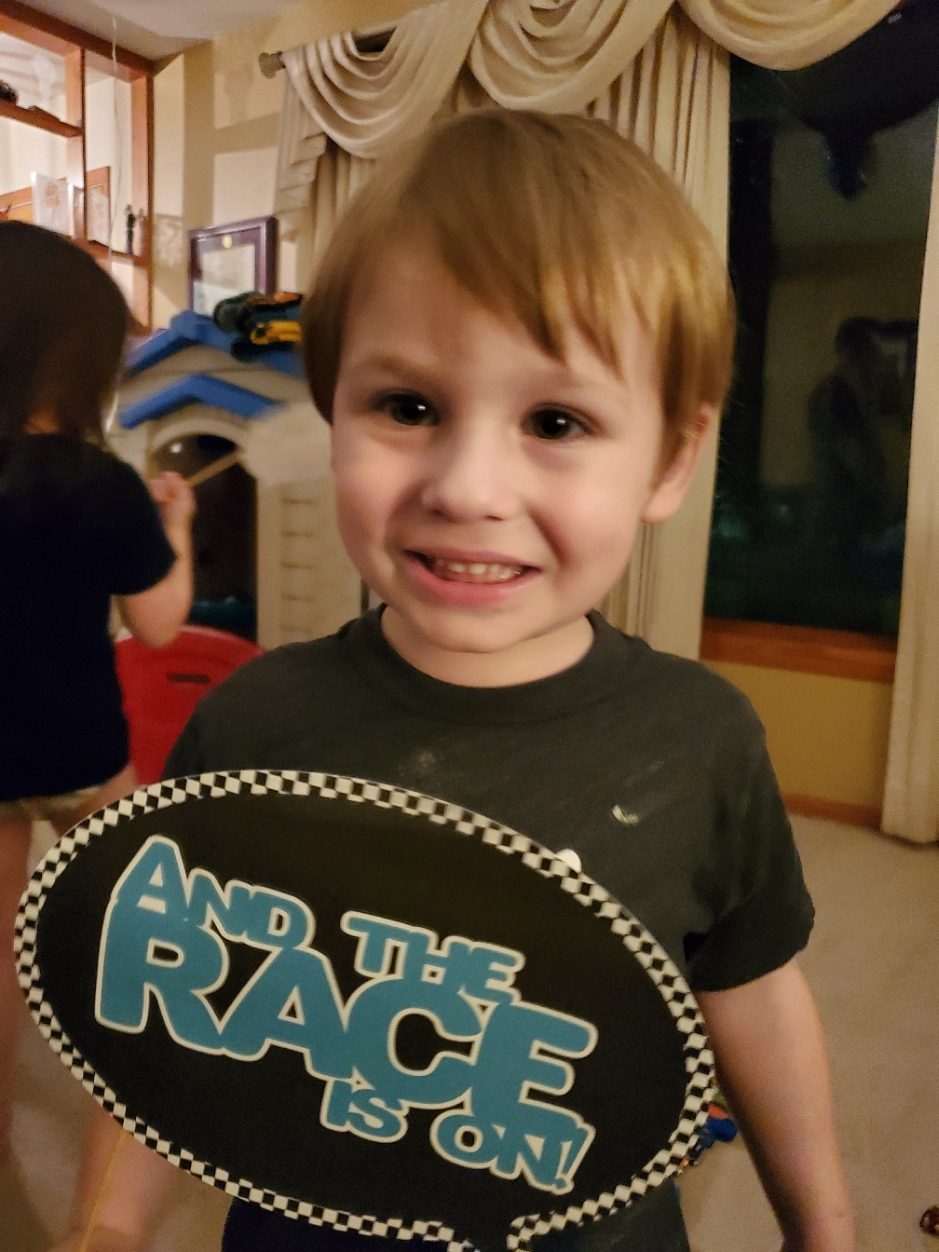
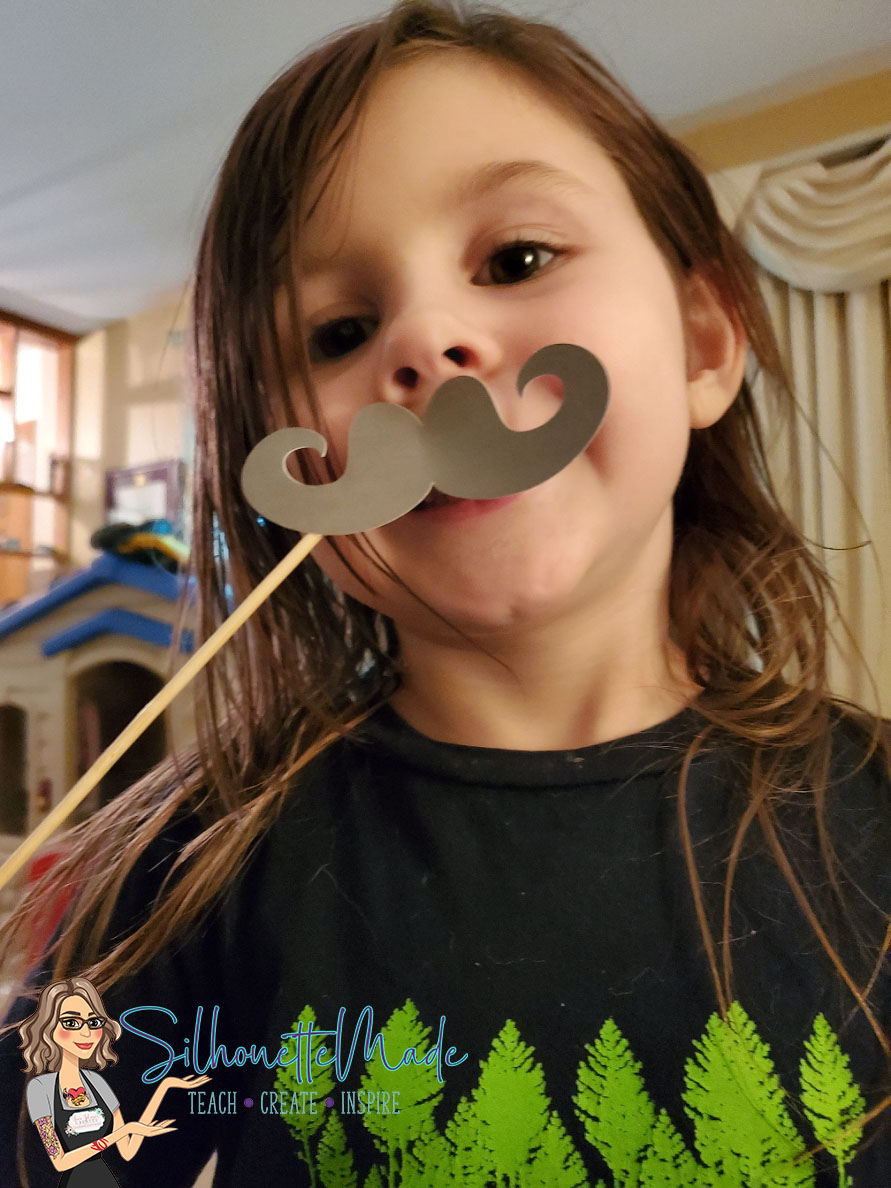
When it is done cutting, I unload and remove the speech bubble from the mat. Then I used hot glue to glue a wood skewer to the back of the speech bubble. And the project is complete. I made several different kinds of photo props. Some were arrow shapes; some were speech bubbles. I also cut out some common shapes for photo props, like hats, mustaches, and glasses. All in all the kids had a blast taking pictures with all the different props. It was fun to watch them and see how they would mix and match the props they had available.
I would love to see your projects. You can post photos or ask questions on my Facebook page or group:
www.facebook.com/SilhouetteMade
www.facebook.com/groups/SilhouetteMadewithSarah
To share or save this post please pin the image below.
