So this past weekend was my youngest second birthday. He really likes monster trucks, so that was the theme we went with.
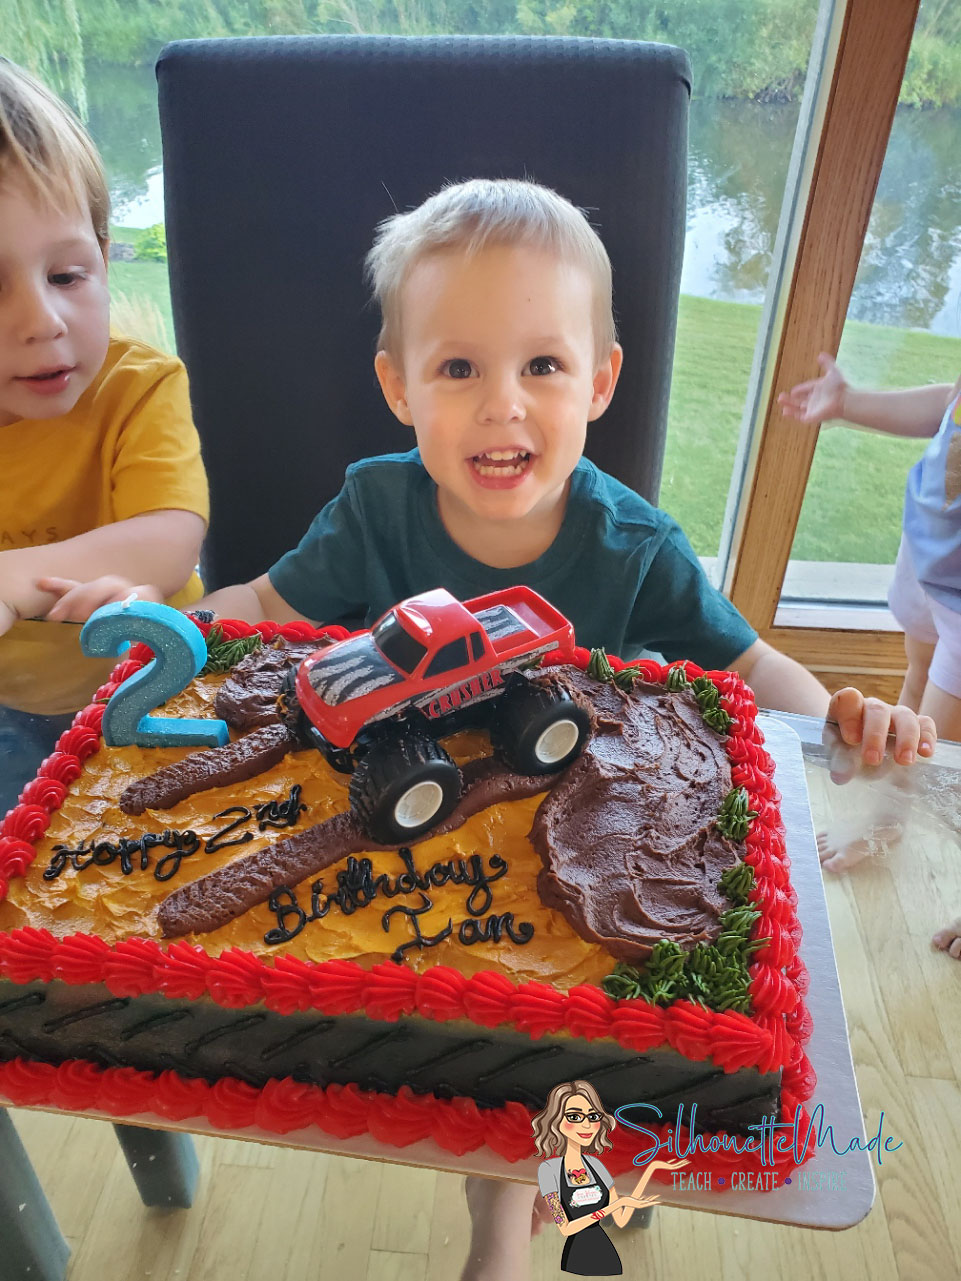
We don’t have a whole lot of family in the area and with this whole pandemic, it was just our immediate family and my husband’s grandfather. So I didn’t go all out, but I did make a birthday banner with my son’s name on it. I made one a few years ago for my now 4 year old daughter, and next month I will make one for my soon to be 3 year old.
Yes, you read that right….for one month I have two 2 year olds. It makes our household extremely interesting at times. We are definitely always on our toes.
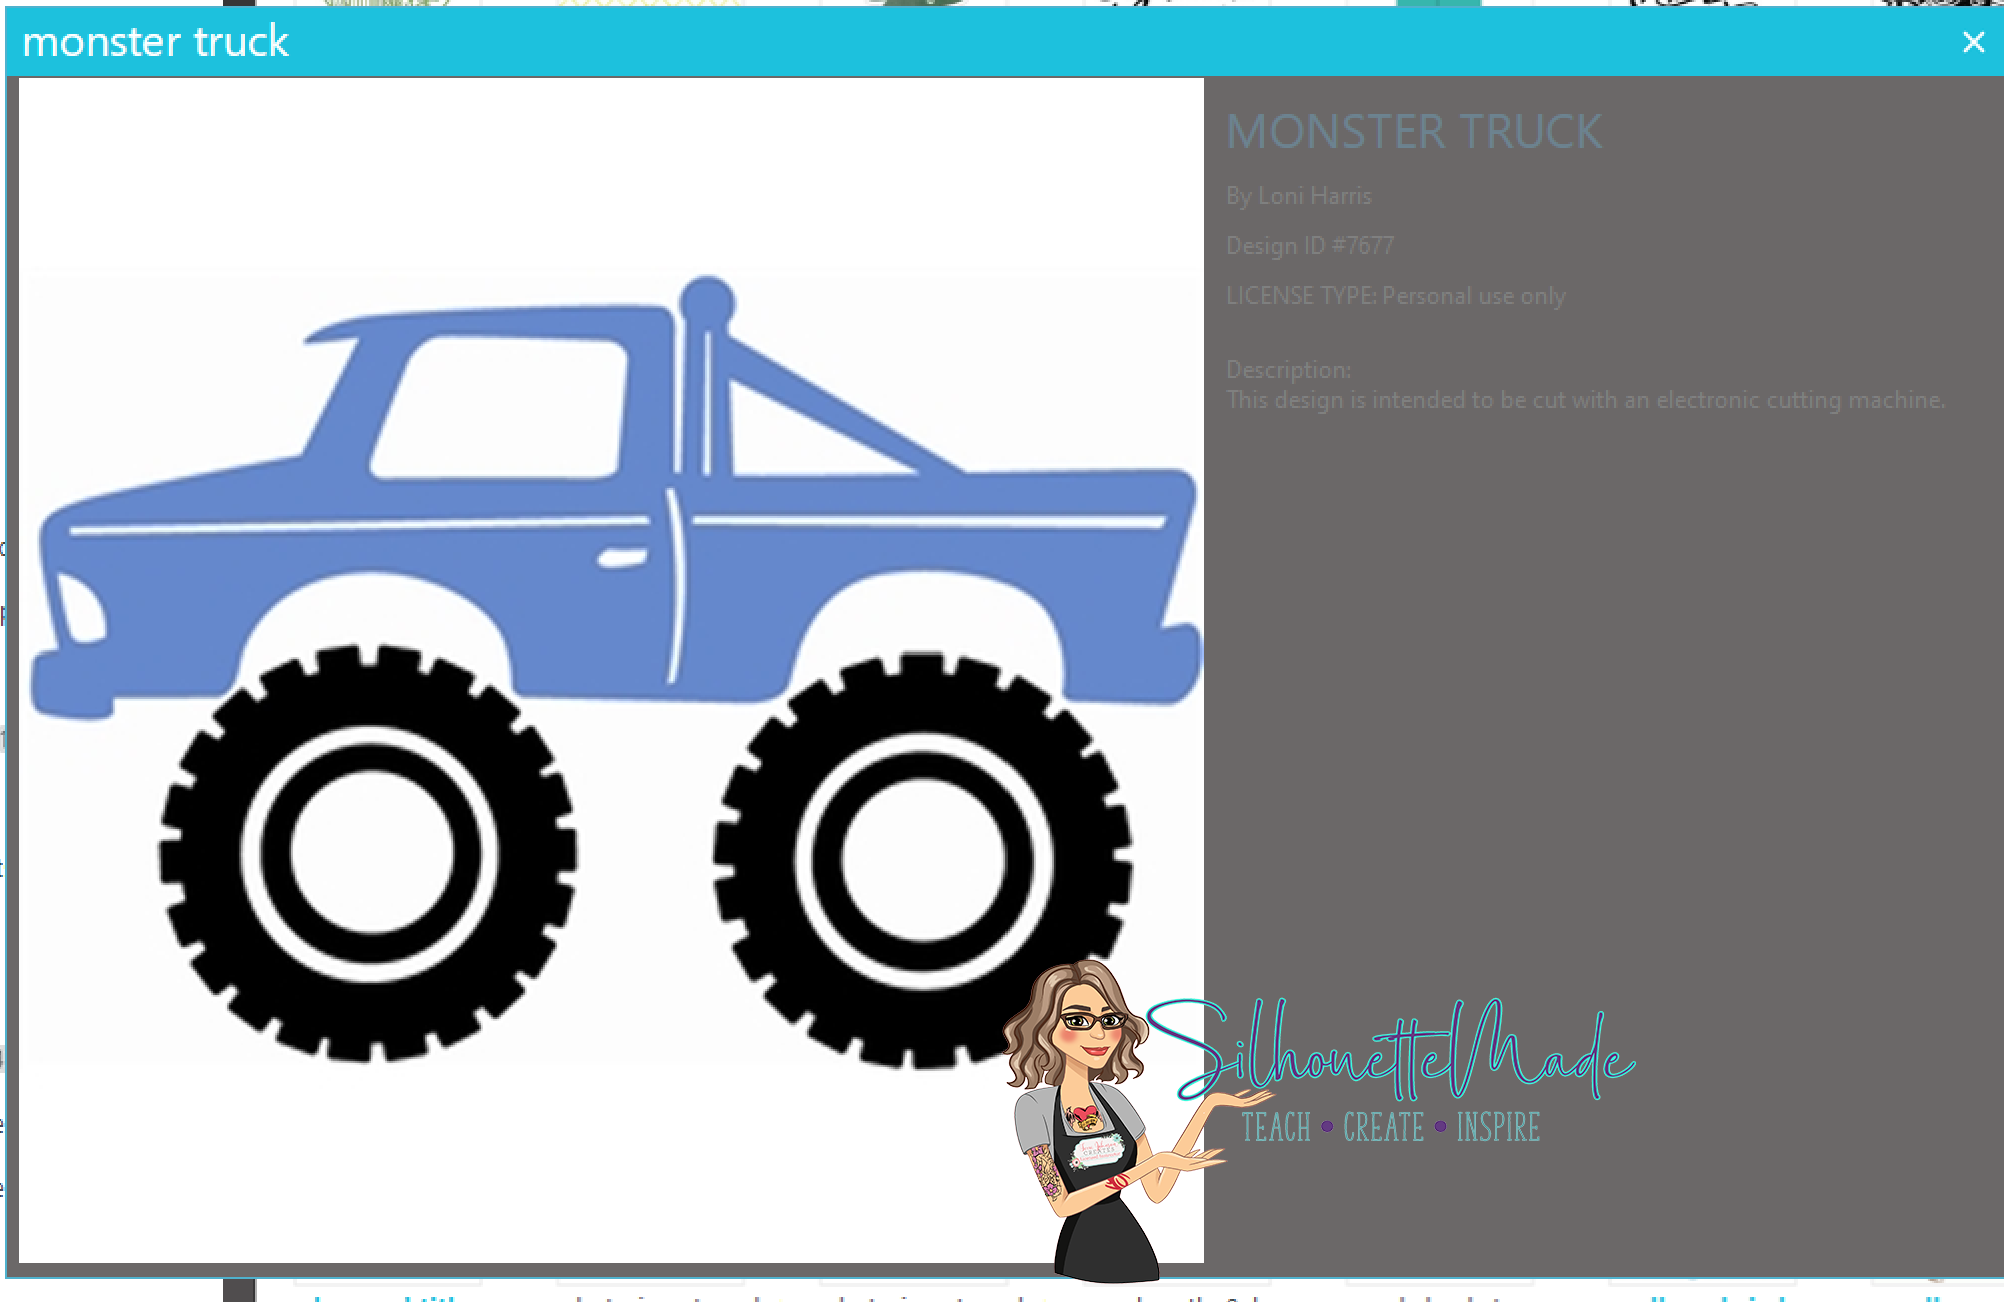
So to start out I had to choose a file. Since I wanted something quick and easy I chose a file from the Silhouette Design Store. The design I used was Design ID # 7677. I did have to manipulate the file just a bit to get it to look how I wanted.
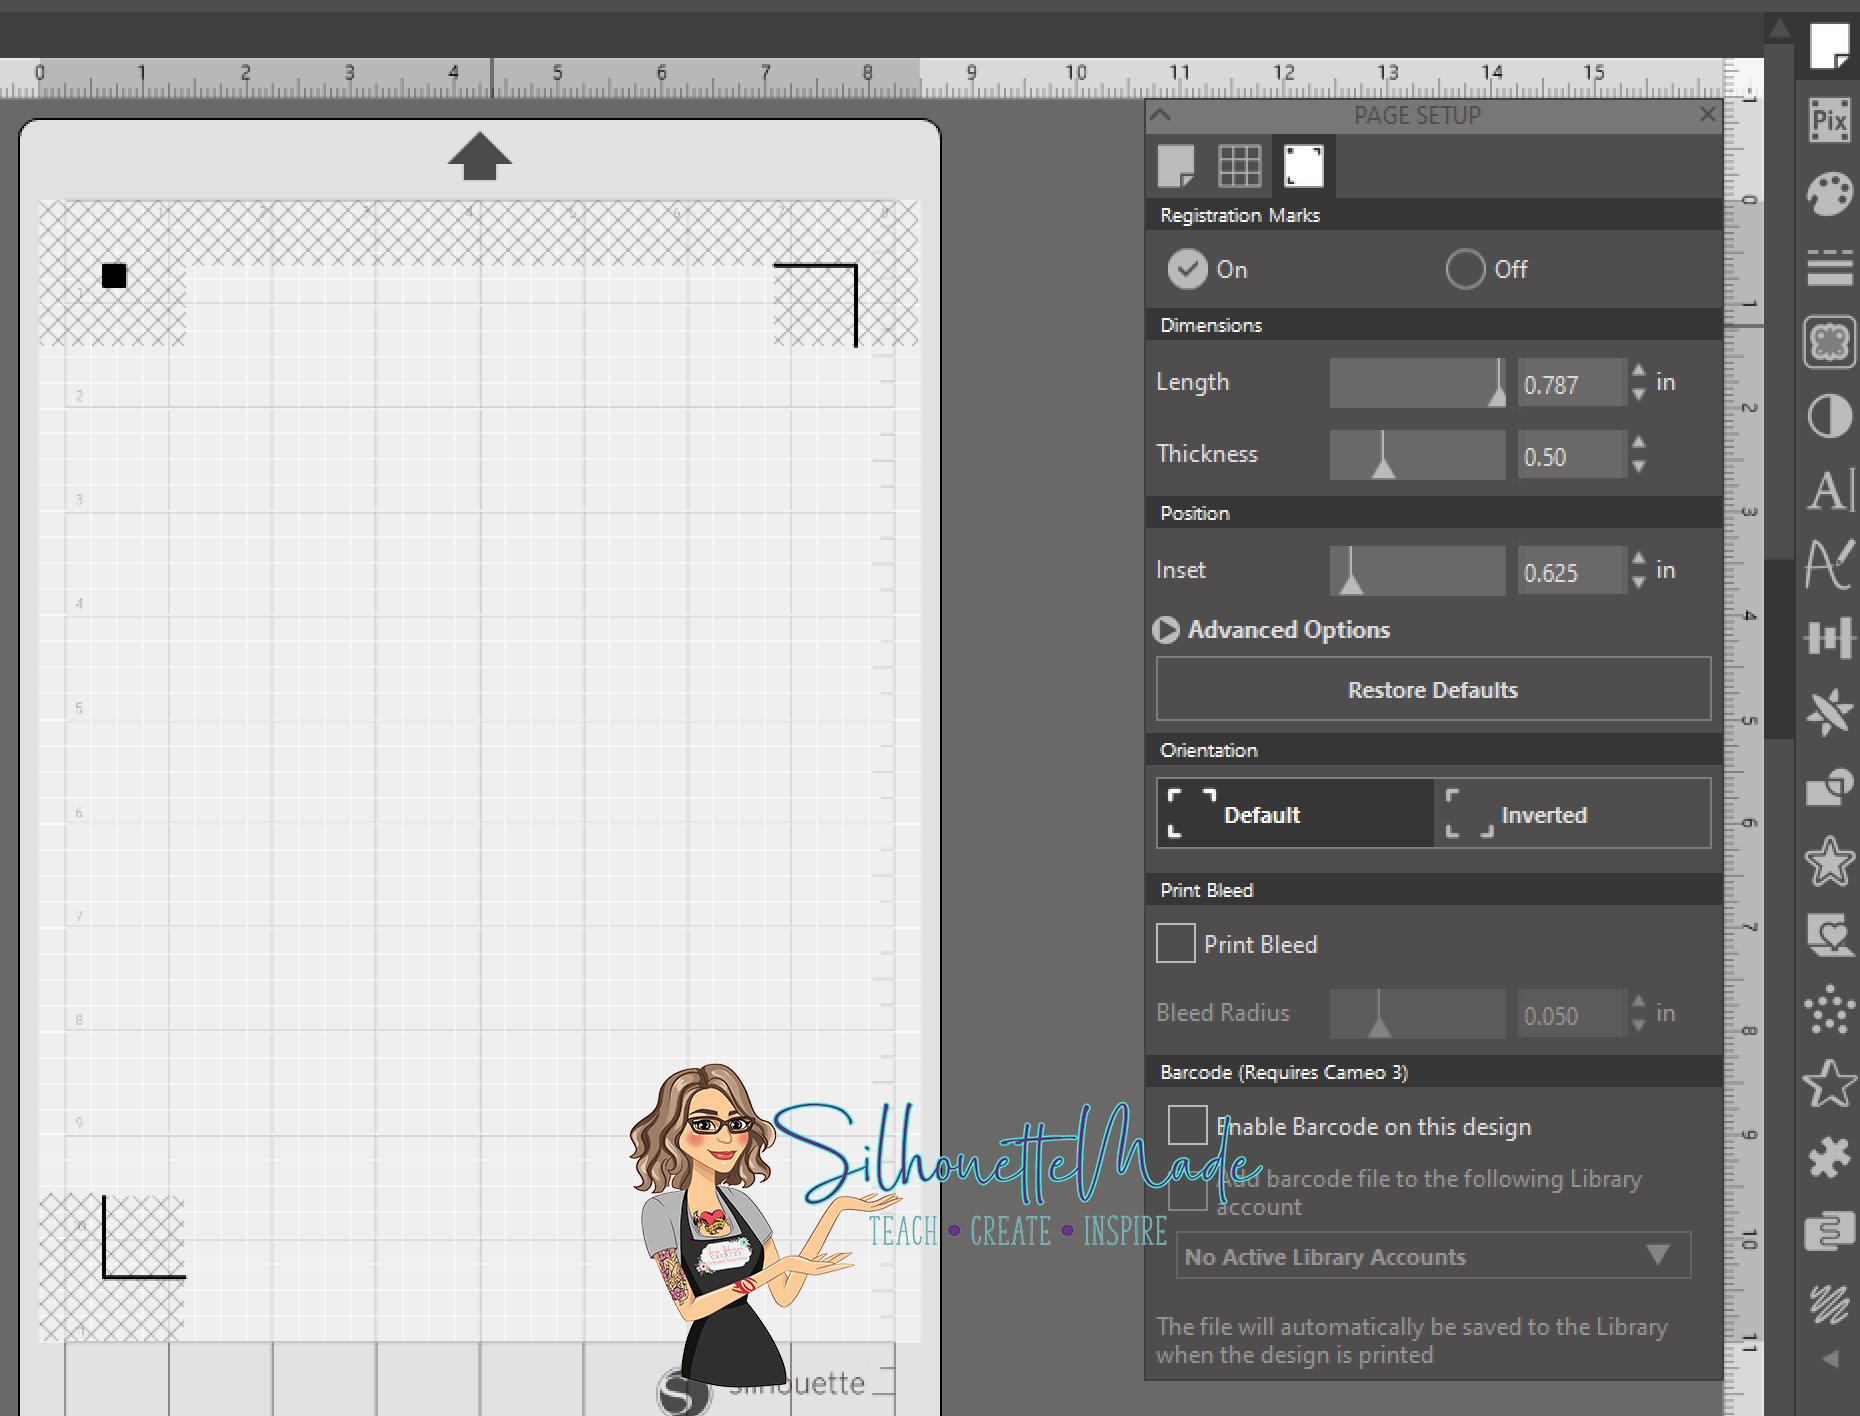
Since this is going to be a print and cut, the first thing I did was set up my page. I am using my Portrait 2 for this. I do not have a wide format printer, so I almost always use my Portrait for my print and cuts.
On the page setup panel, I choose Portrait for the machine, for the Mat I select the Portrait 8×12, and for the page size I always choose Printer. Even though Letter and Printer are the same size, I still choose Printer. I find I have less issues that way. Once that is set up I go to the Registration Marks tab and set them to ON. I do not move the registration marks or edit them in any way. I find that the further out you move your marks, the less accurate the cut can be.
Once my page was setup. I opened the design and sized it how I wanted. I didn’t measure it to be a specific size. I just eyeballed it to make sure it fit on the page within the print and cut borders.
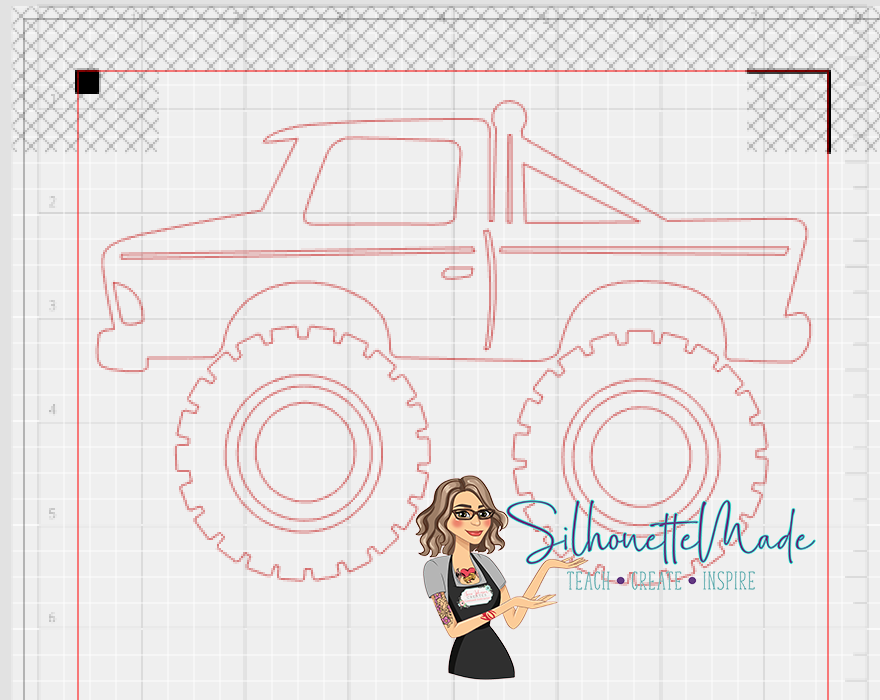
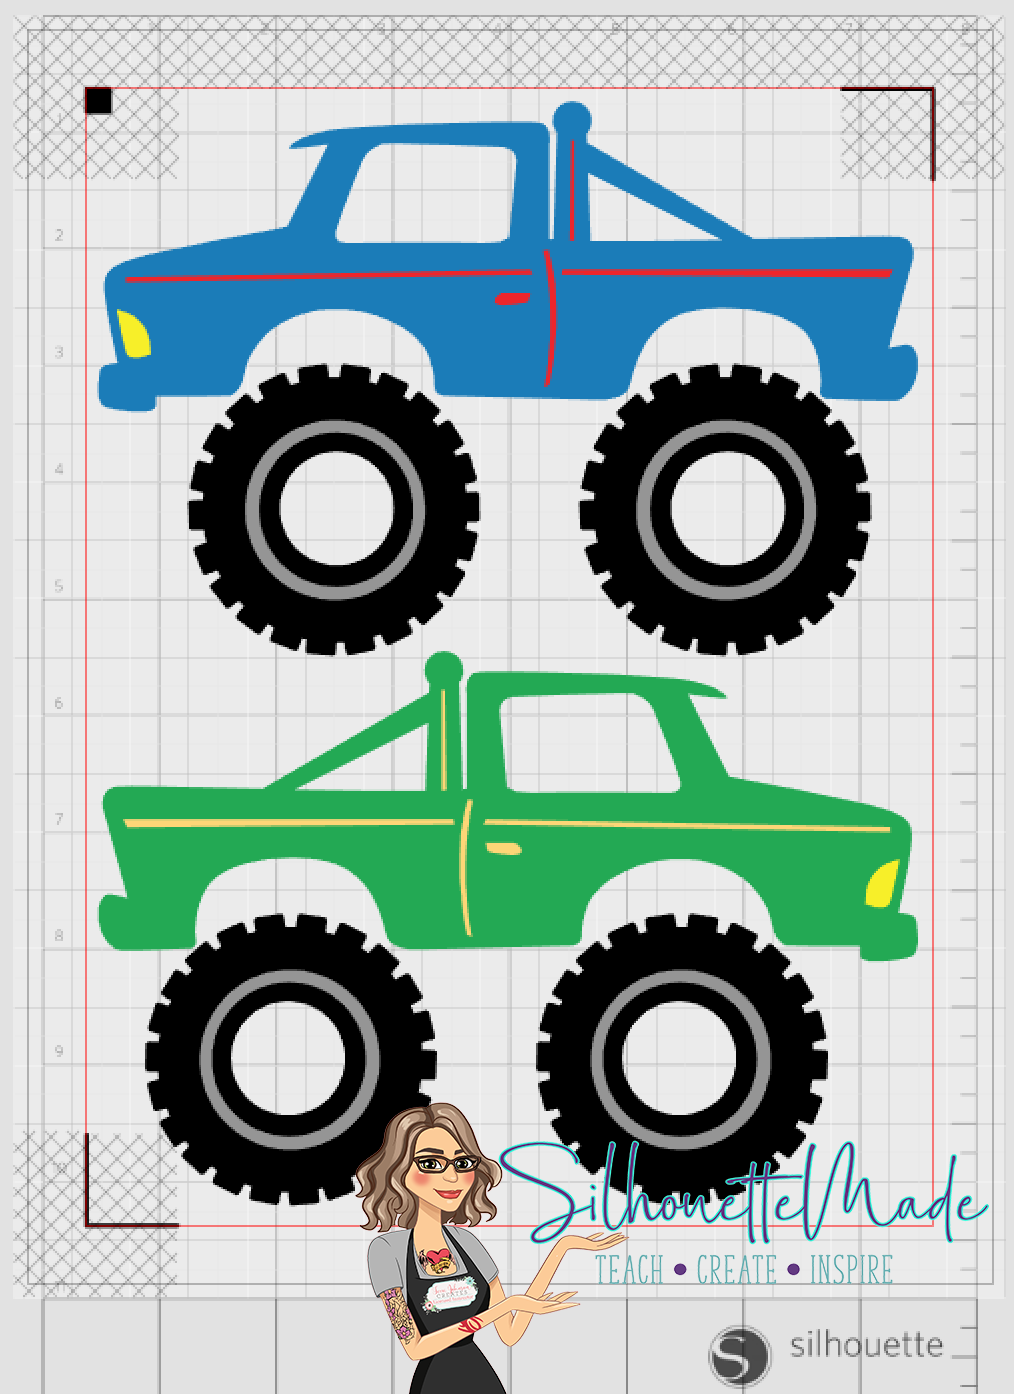
The next step is to color it in the way I wanted. To do this I selected all the “stripe” pieces and grouped them together and used the fill panel to color them. I chose red for the first truck. I also colored the headlight yellow.
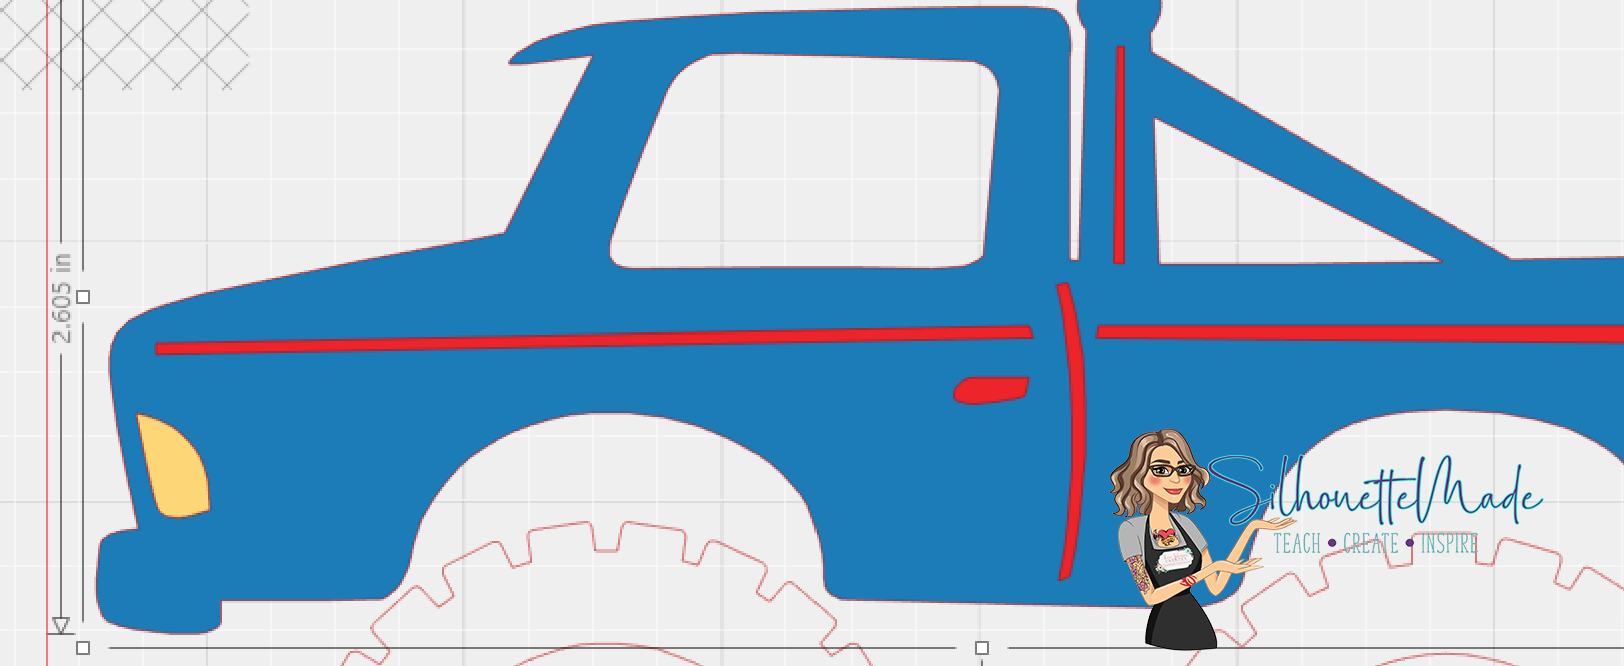
Next I selected the truck body, window, and space under the “rollbar” in the back of the truck and made them a compound path. I did this because if you don’t those pieces won’t fill with color correctly. I then filled the truck with color. In this truck I choose blue.
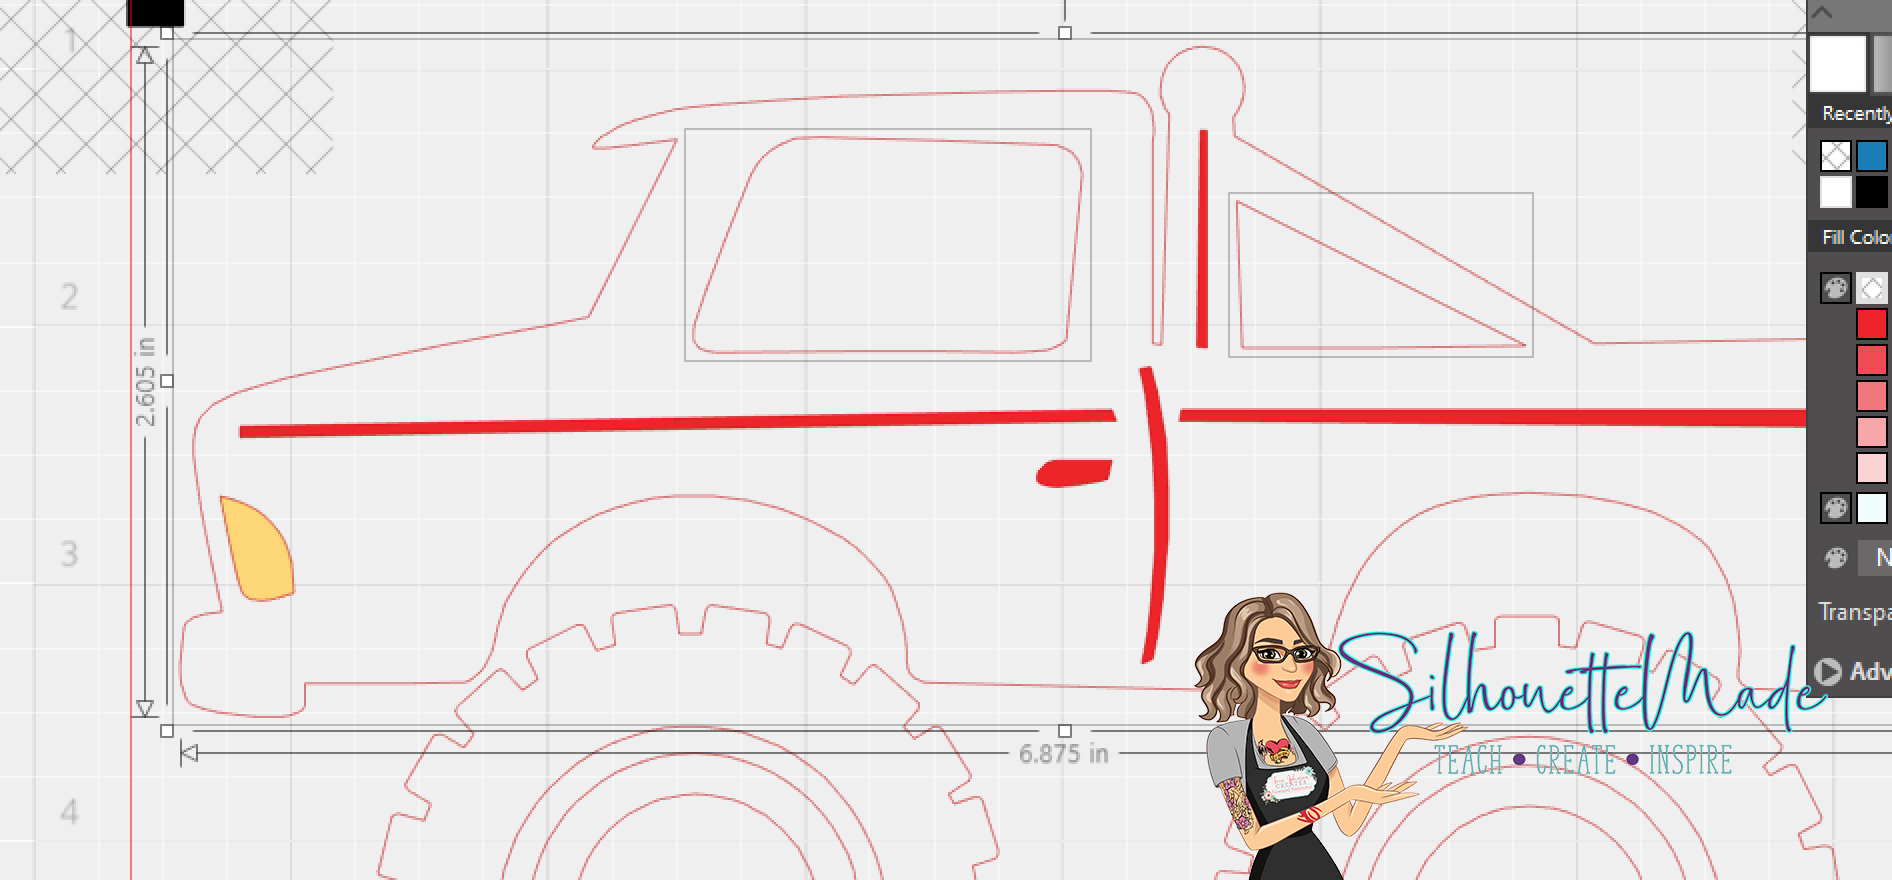
When you make an object a compound path it brings that part of the image to the very front. So once I filled it with color it looked like my trim and headlight pieces were gone. They are not gone so don’t panic. Just select the body of the truck, right click on it, and send it to back.
Next we have to move to the wheels. I wanted the wheels to look a specific way so the first thing I did was choose the two middle circles of the wheel. Not the very center one, but the two between the outside of the wheel and the very center. Once they were selected I made them a compound path. I then filled them with a greyish white color.
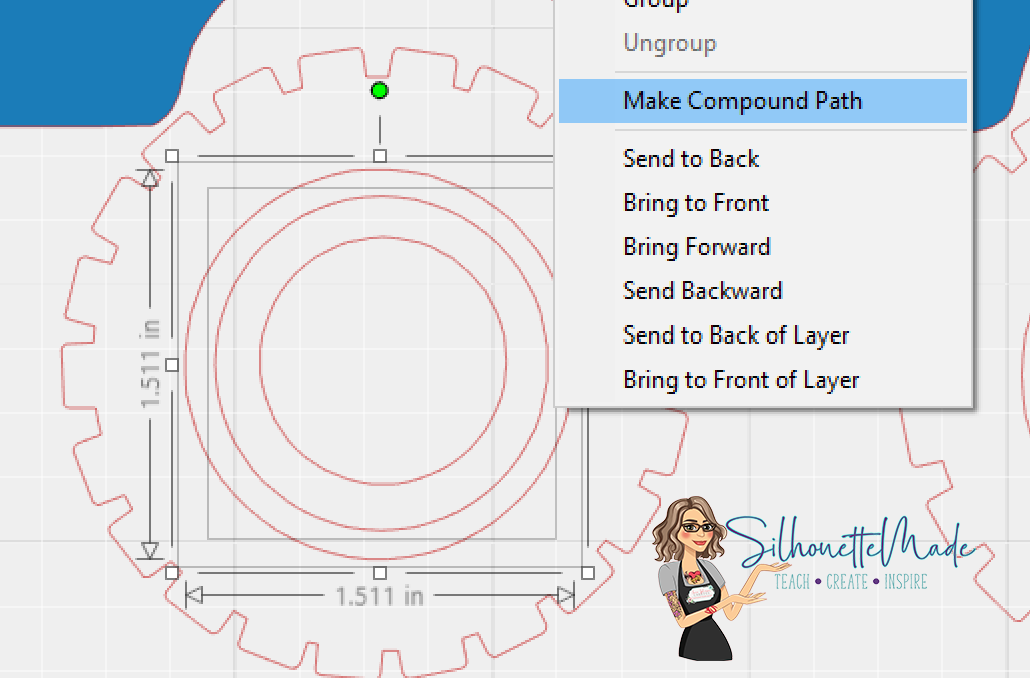
I then selected to very center circle and the outside tire circle and made those a compound path. I filled that shape with black.
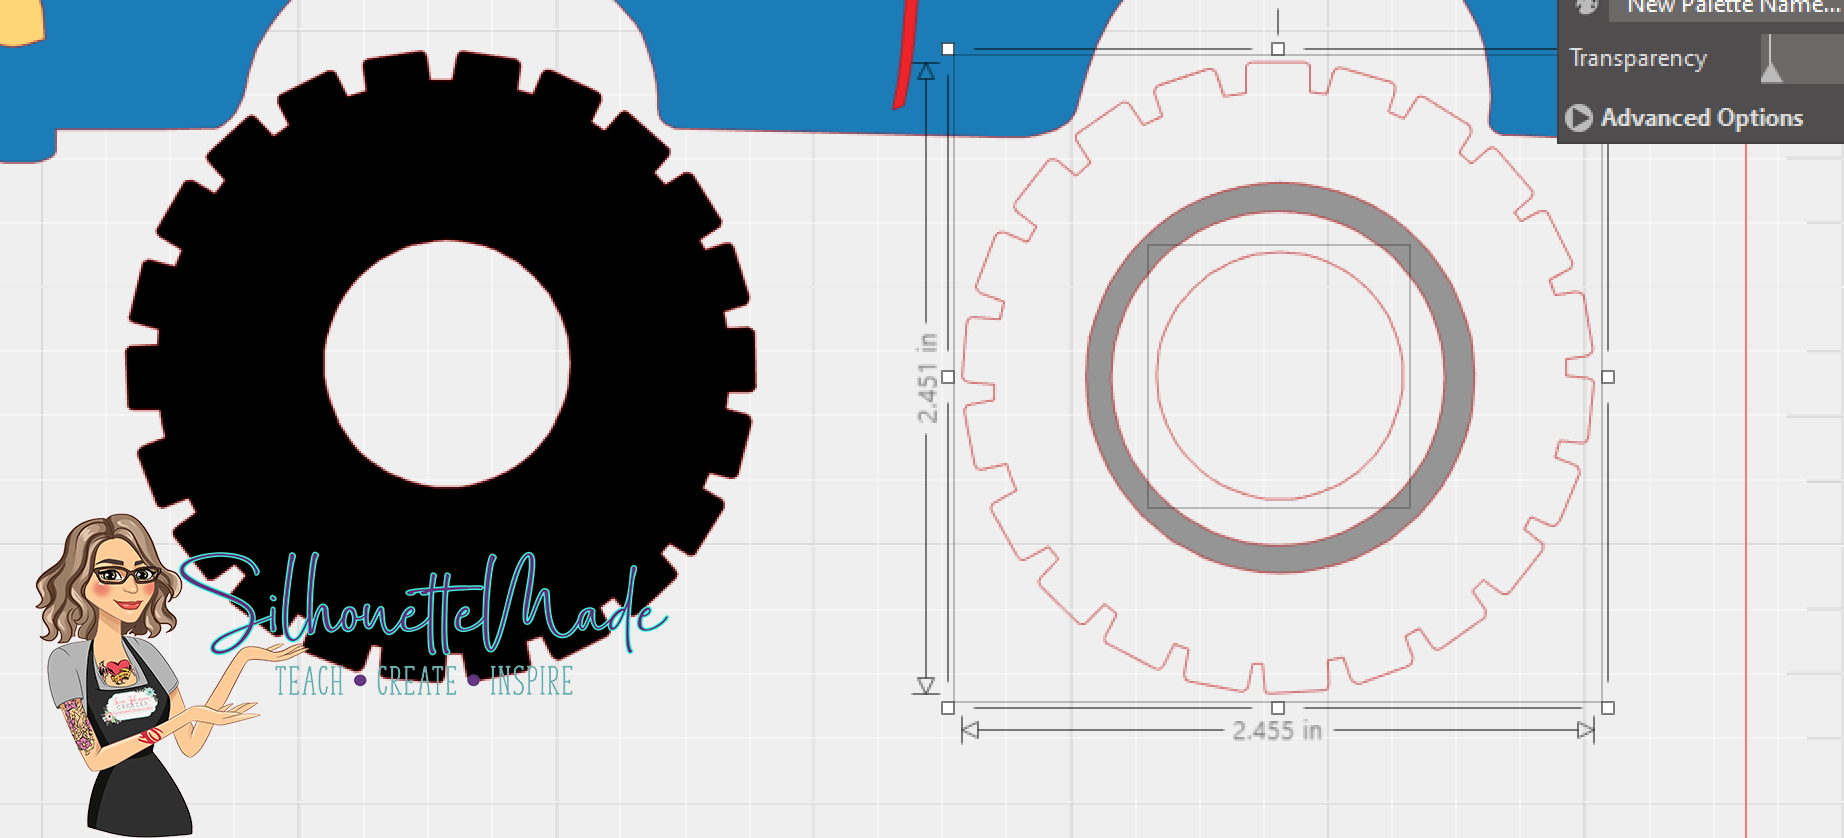
Once again the outside tire shape is on top of the other circle. so I selected it and sent it to back too. Once it is sent to back it will look like it should.
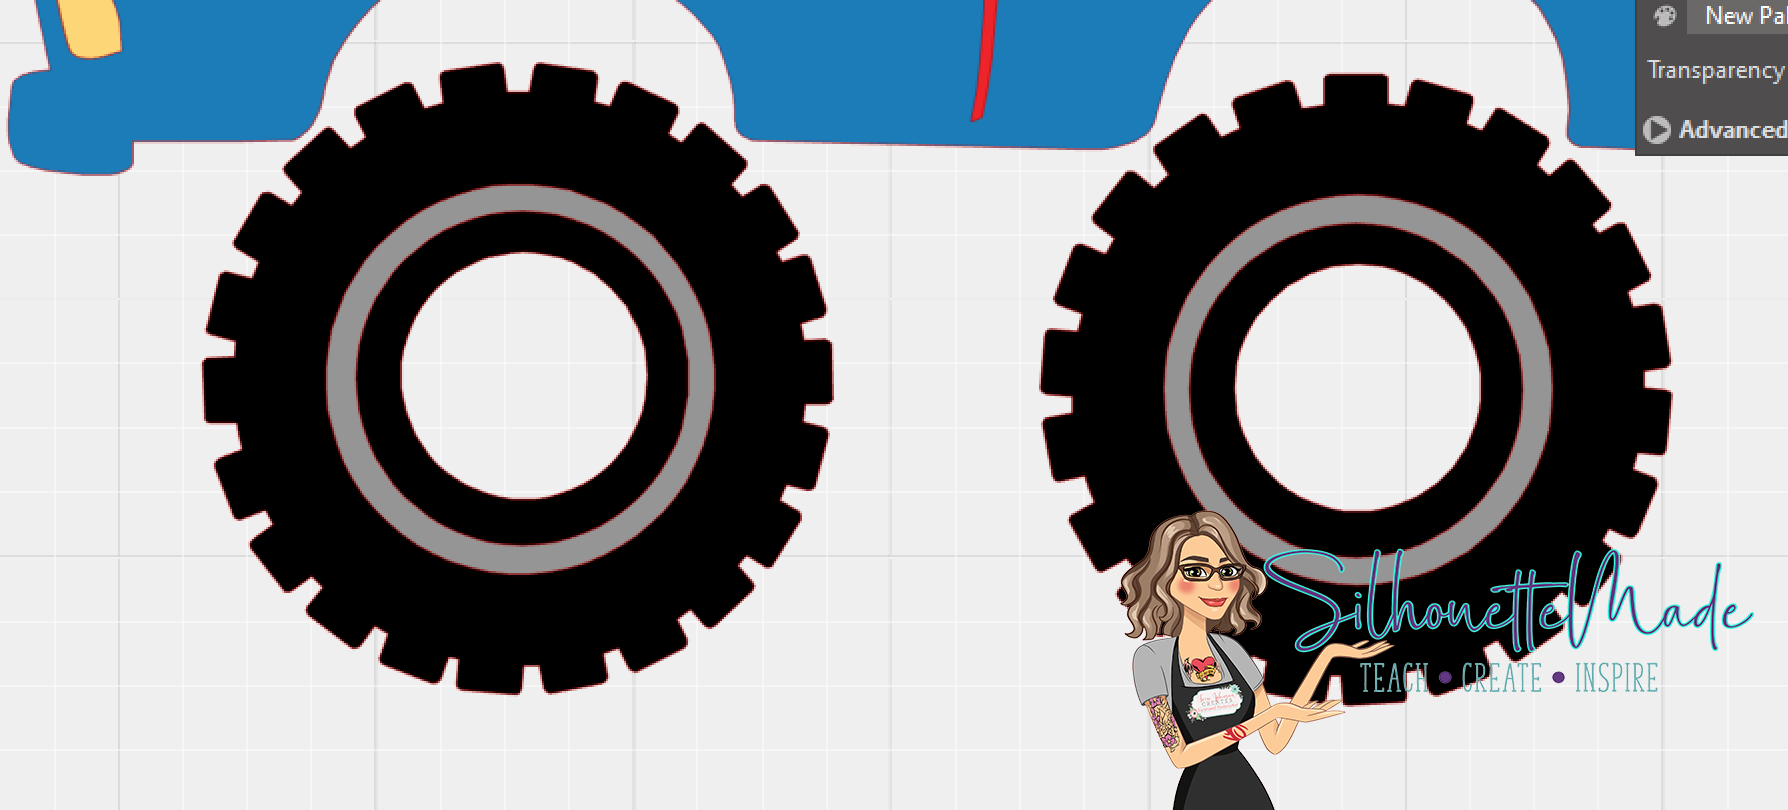
When that was complete, I went to the send screen. I selected the entire design and set it to NO CUT. This is because I am doing a print and cut and I do not want it to cut out each individual piece.

After setting the truck to no cut, go back to the design screen. Open the offset panel. I select the truck and offset it. I set the offset to .060 and click apply.
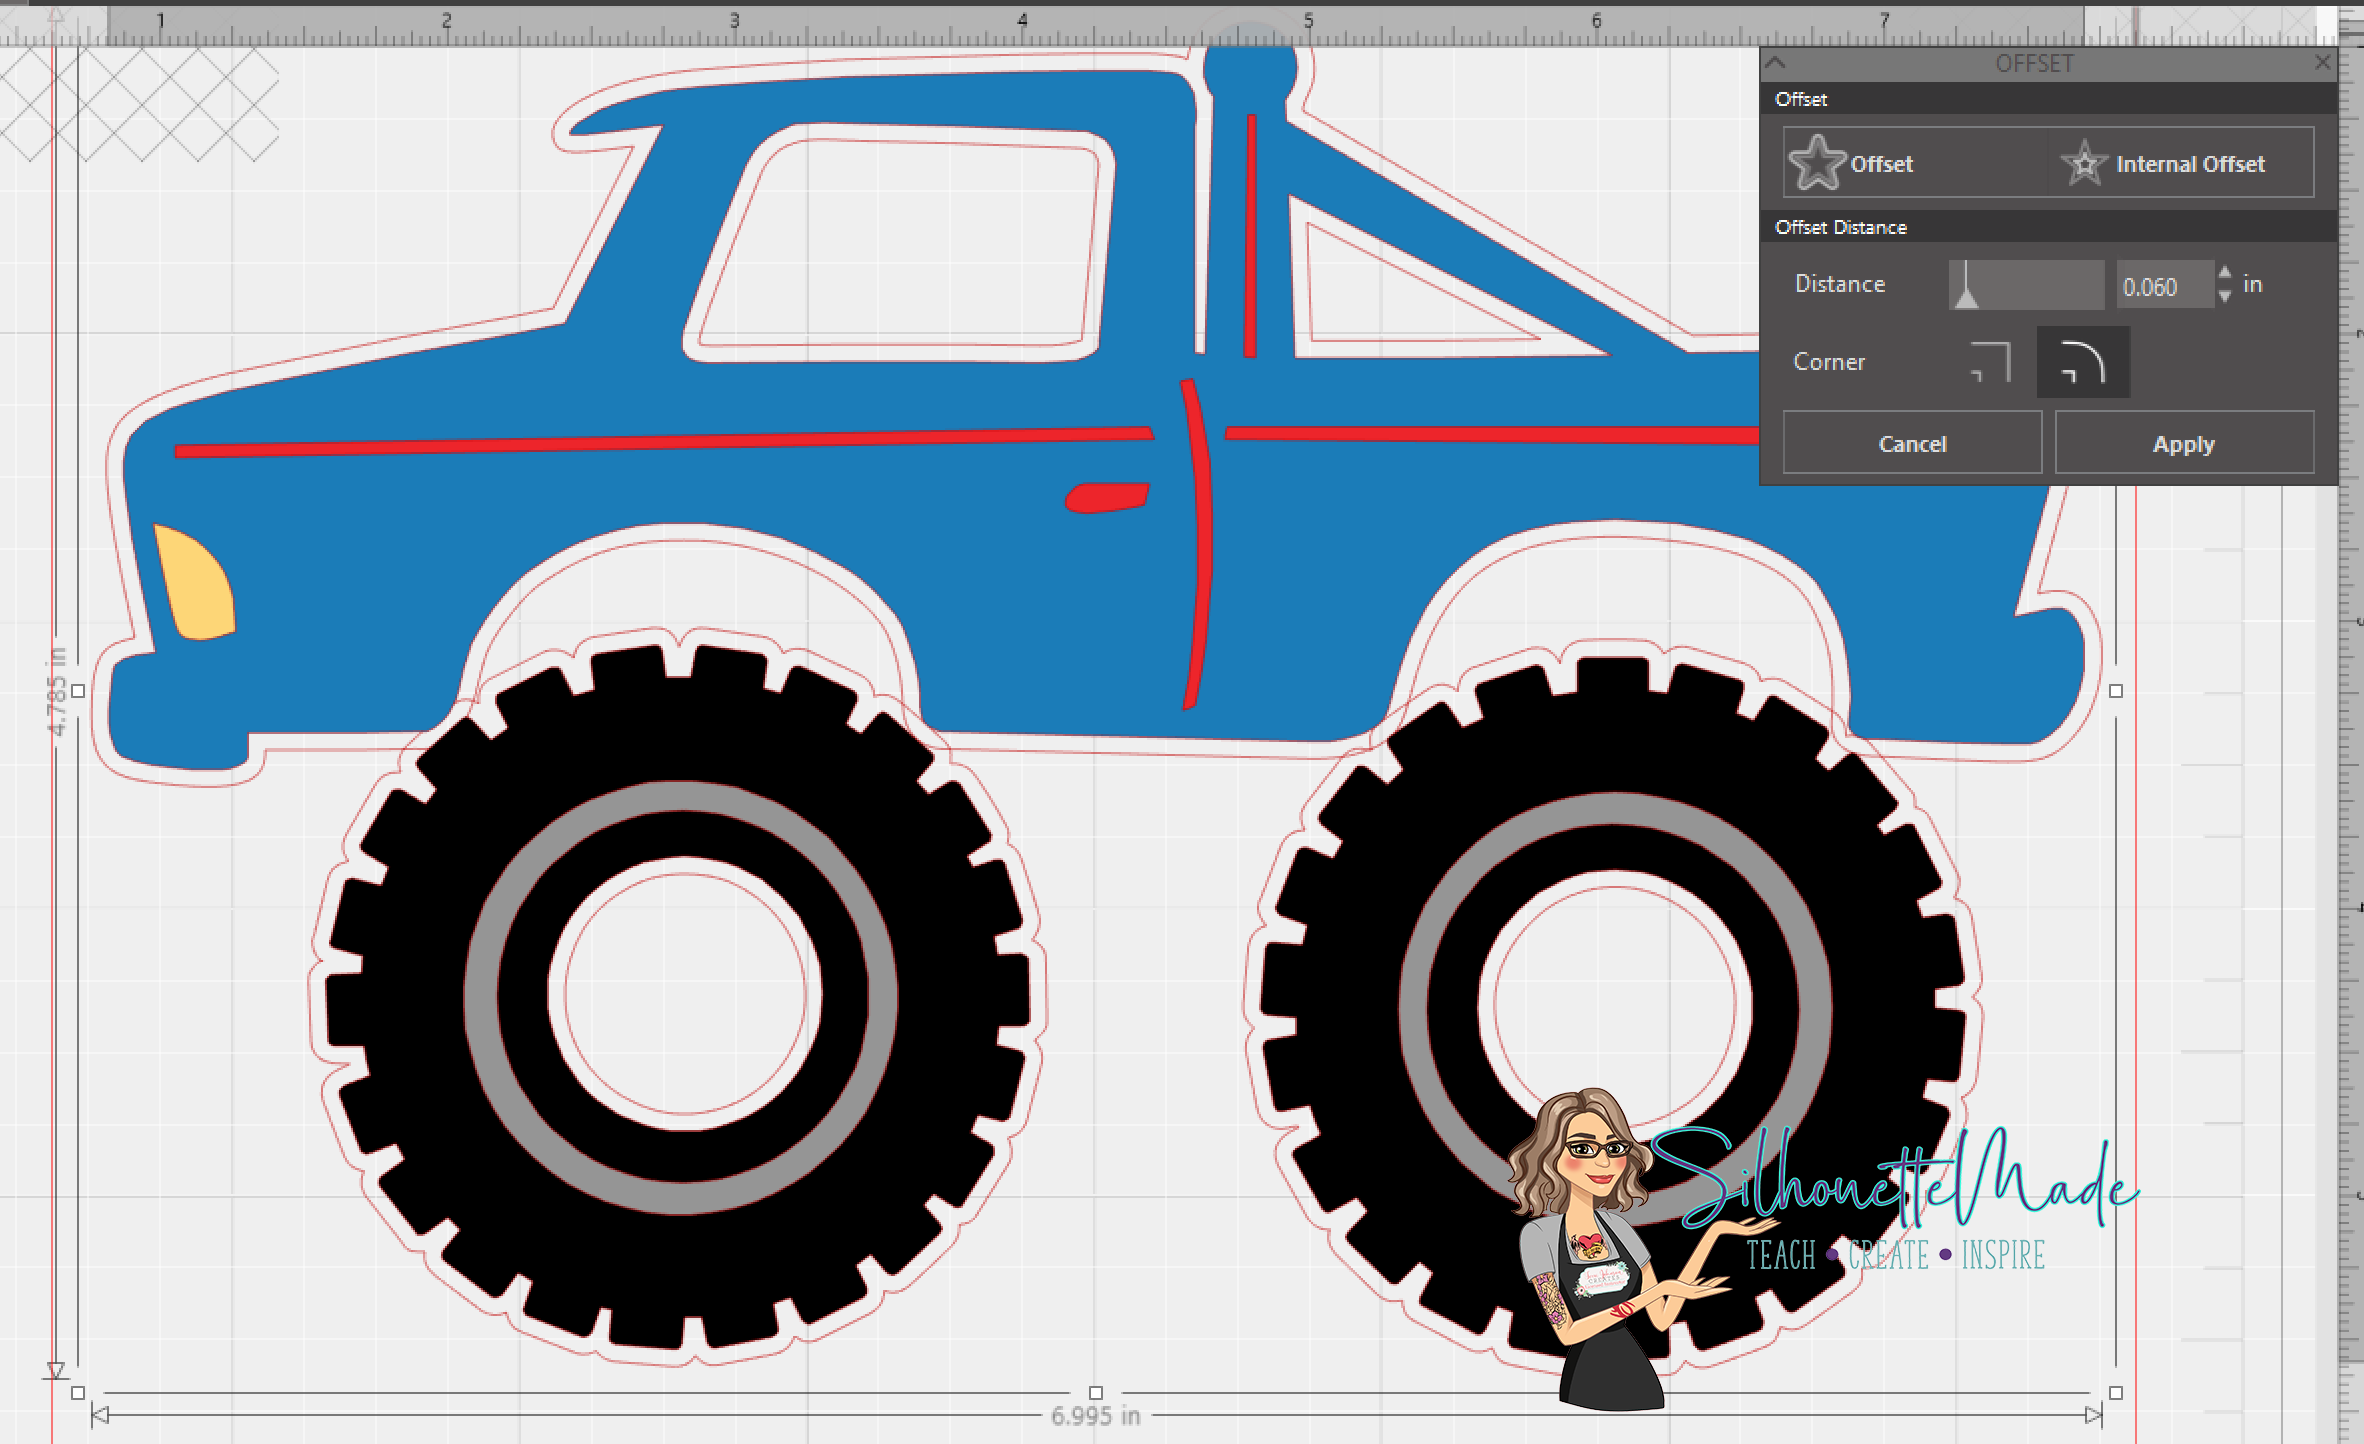
There are some pieces of the offset that I do not want. I don’t want the middle of the tires, window, wheel wells, and under the roll bar to cut so with the offset selected, I choose release compound path. Then I delete the areas I do not want. The only thing left is the outline of the truck. You can see in the image below the red line around the outside of the truck.
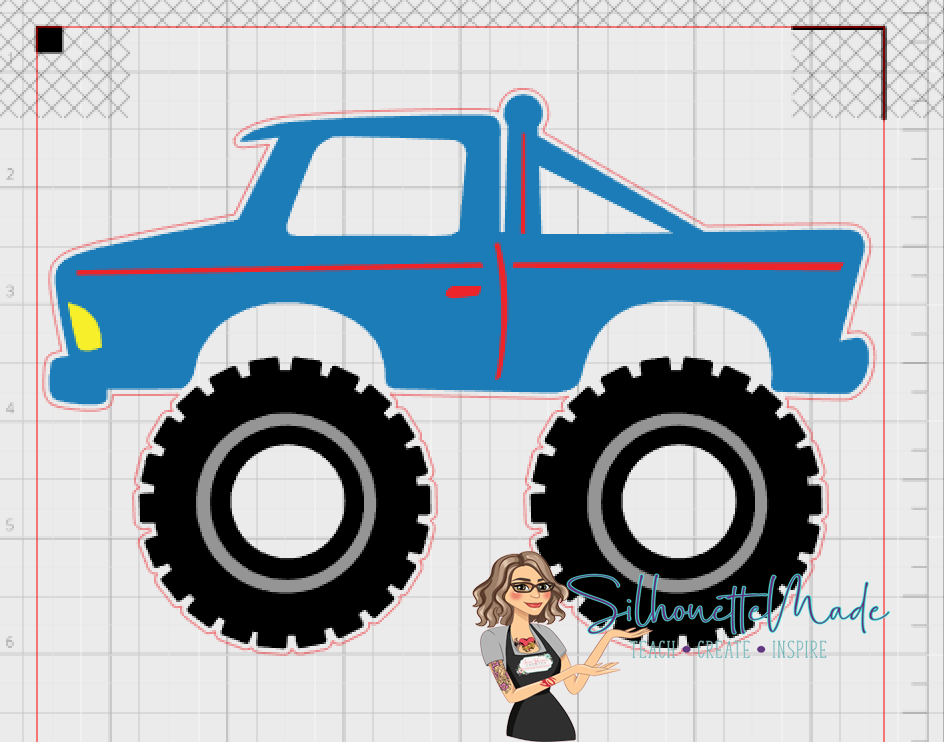
This truck is now complete, but I want two trucks, both different colors facing opposite directions. So I select the entire truck and the offset, duplicate it, and flip it horizontally.

Next I selected the pieces of the truck on the bottom and changed their fill color. The body of the truck I made green and the “stripes” I made yellow. I left the headlight color the same on both trucks.
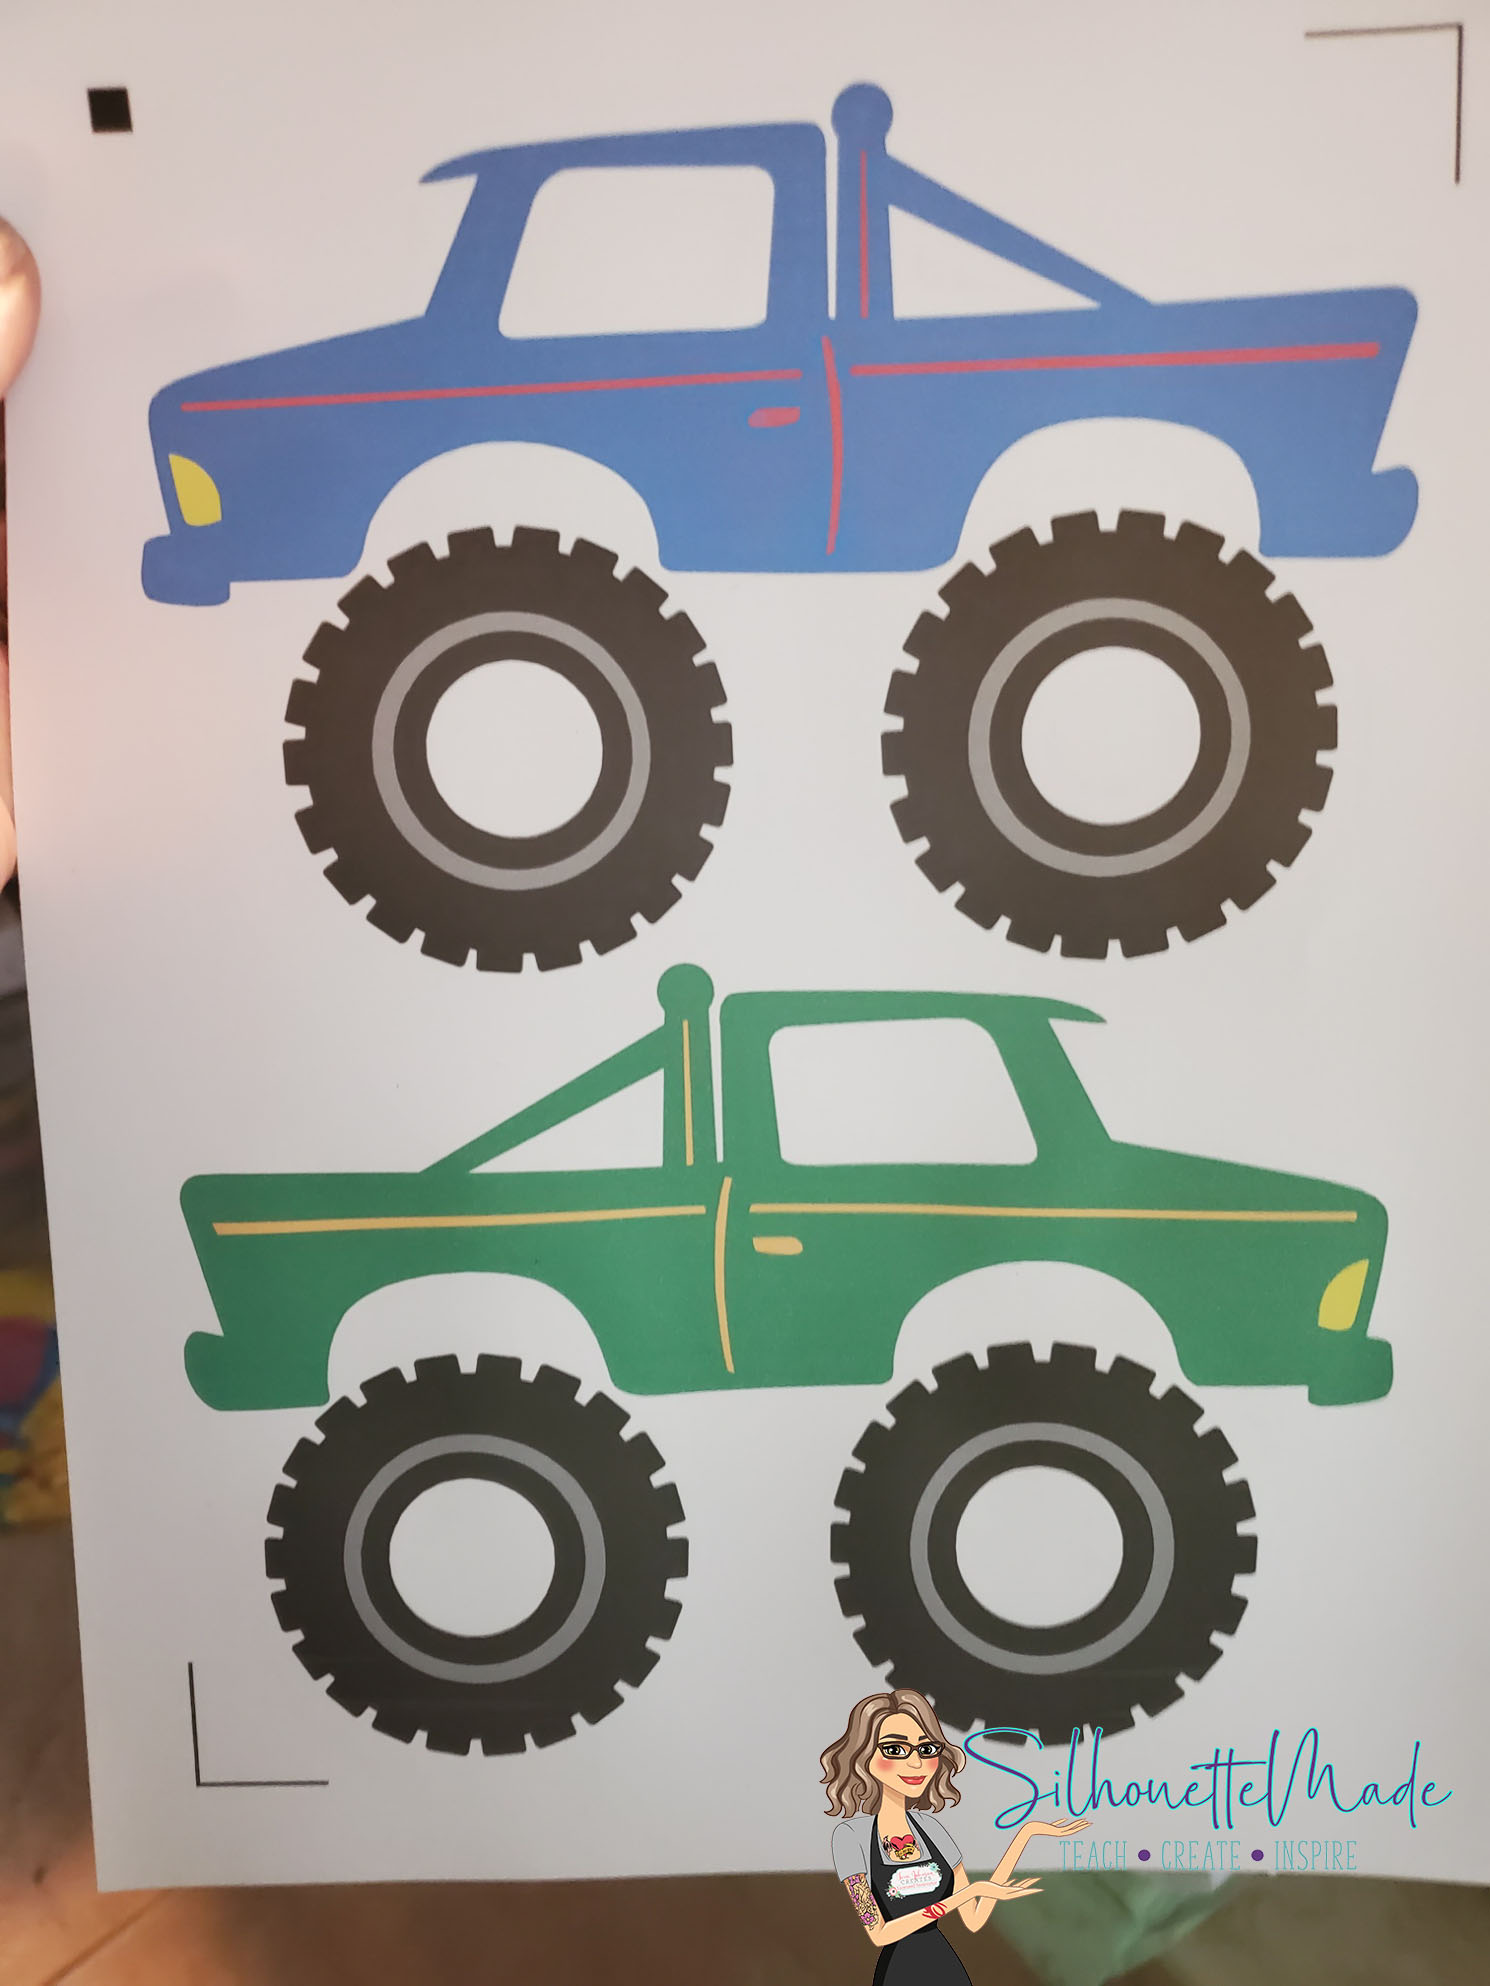
Once I made sure I had the trucks positioned where I wanted them. I loaded the cardstock into my printer and sent the file to print. I changed my print quality to best. Once it was done printing I made sure that all three registration marks printed completely. I do this with every print and cut I do.
Then I put the page onto my mat and loaded it in my Portrait. Once the mat was loaded I went back into the software and clicked on the send tab. Now the last time we were on the send tab, I set the truck and all its individual pieces to no cut. This time, I want to make sure just the offset we created is selected and set to cut. You can see the bold red lines around the outline of the trucks, that is where the machine will cut.
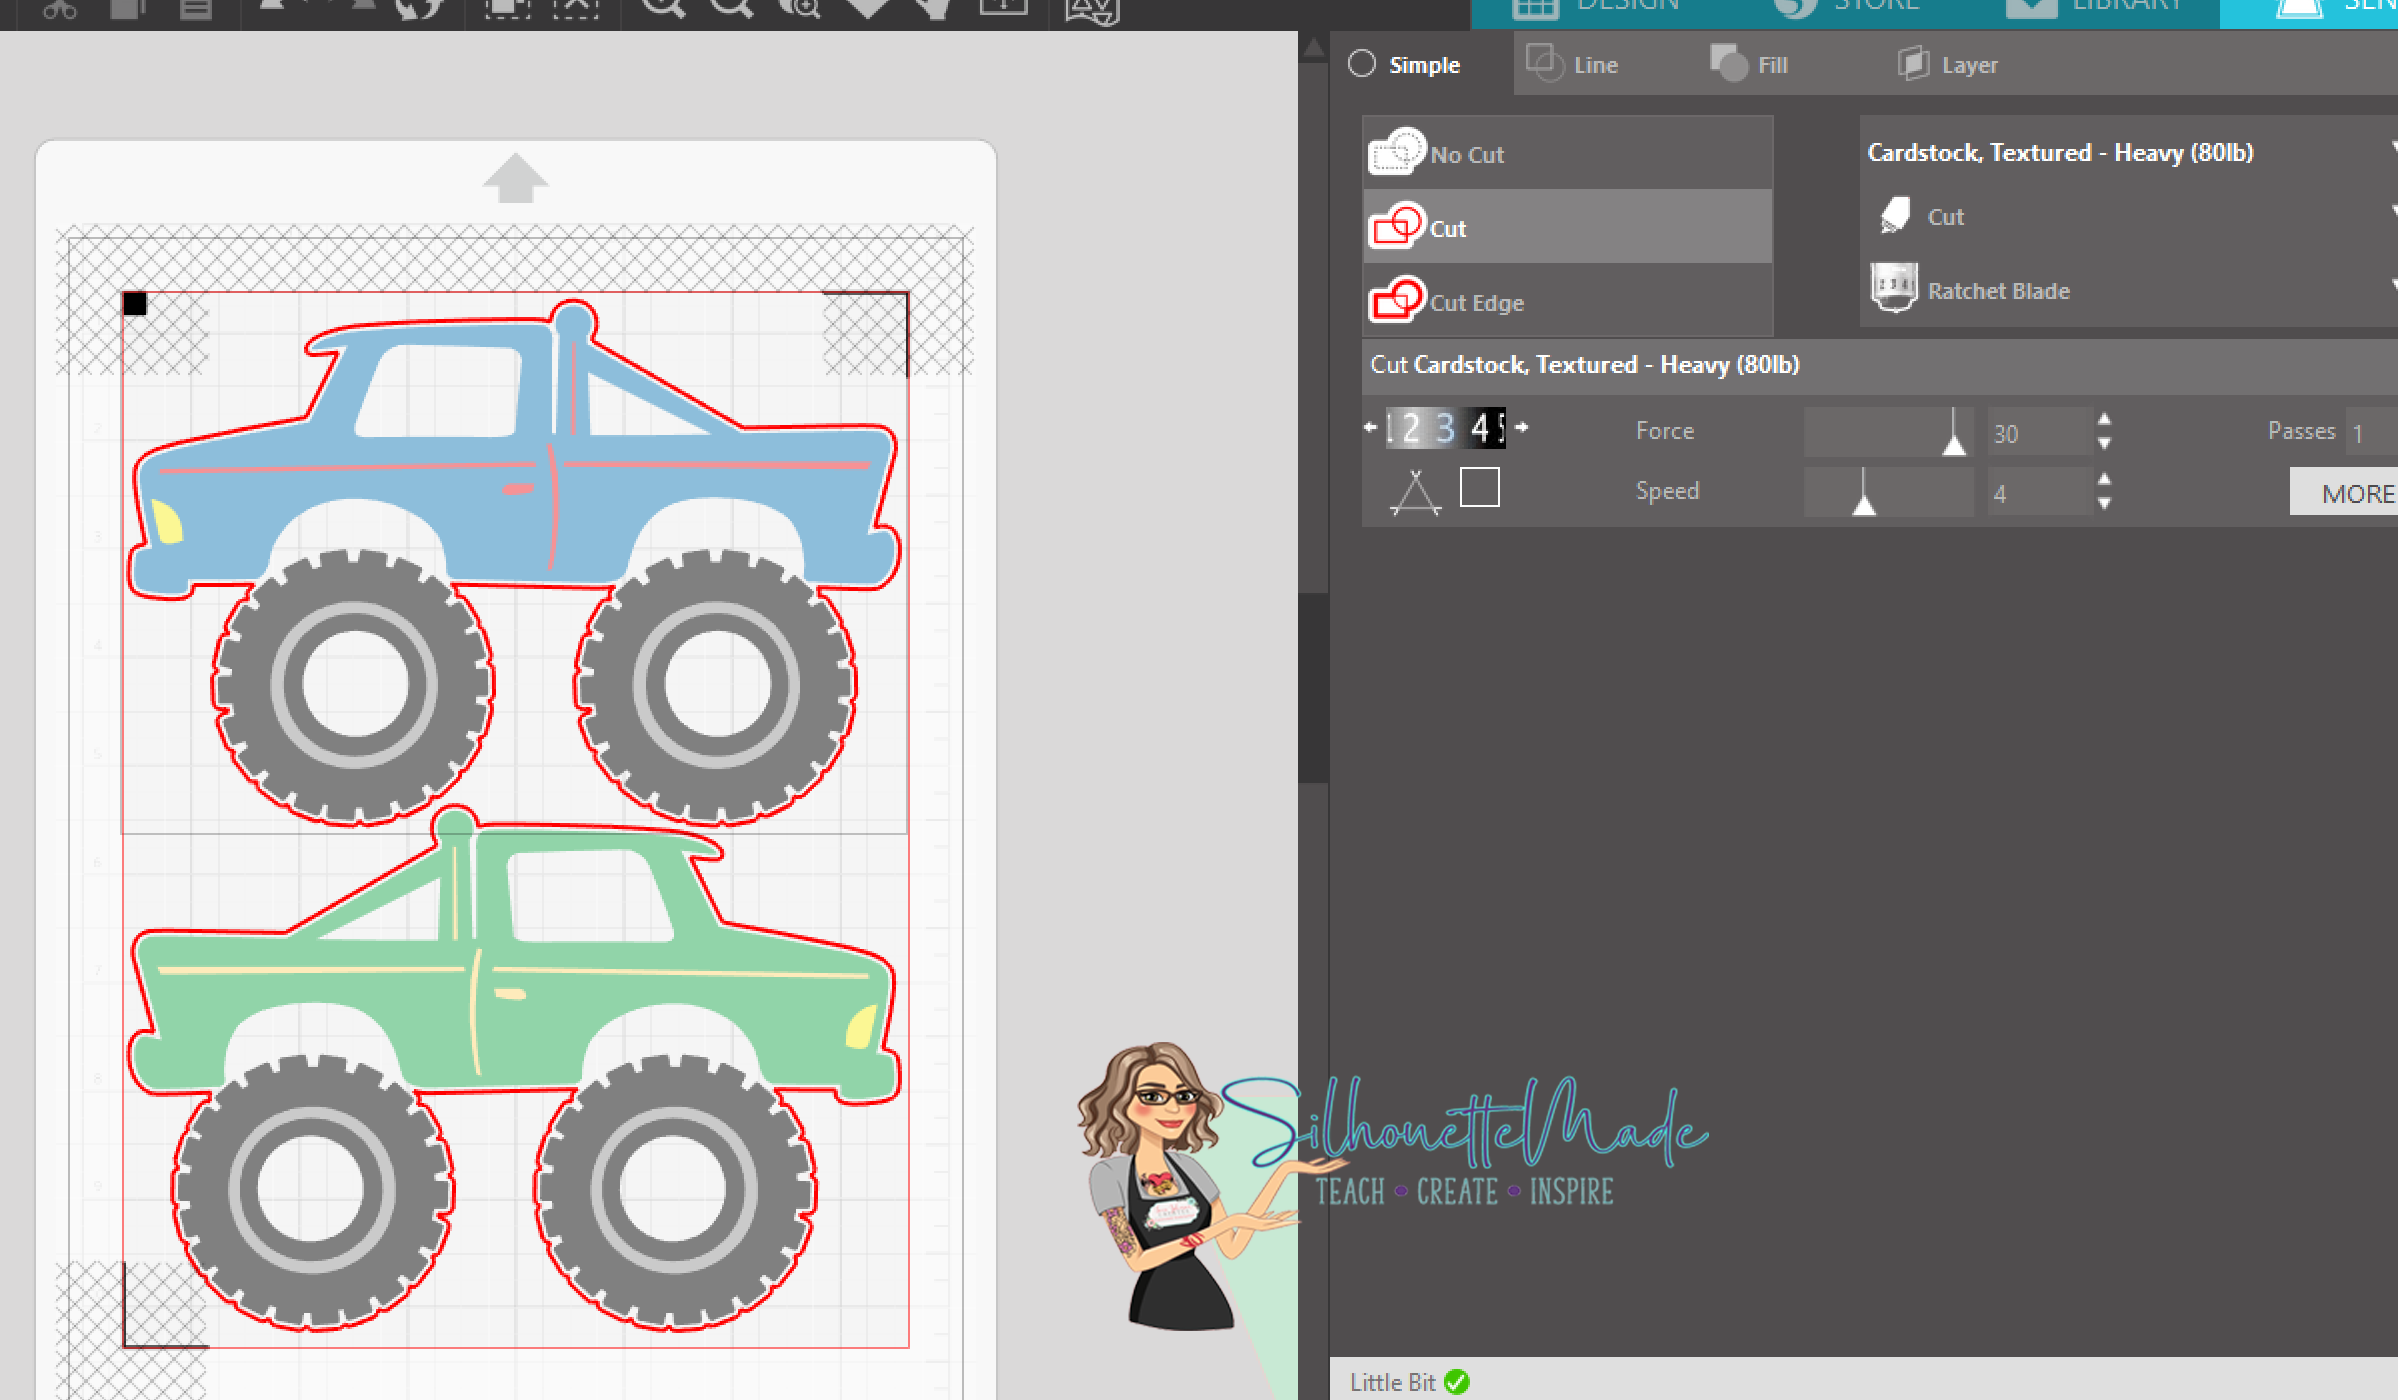
Once that is done, set the material for Cardstock. I use the Textured Cardstock setting for almost all cardstock. I find I get a better cut that way. I am also using a premium blade, so I make sure I set my tool to Ratchet Blade. Then I adjust my Premium Blade to match the setting shown on the dial in the software, before I put the blade into the blade holder on the machine. Then, I hit send.
When it is done cutting, before I unload my mat, I check to make sure it cut through my cardstock. If it has, I unload the mat. If it hasn’t, I send the cut though one more time.
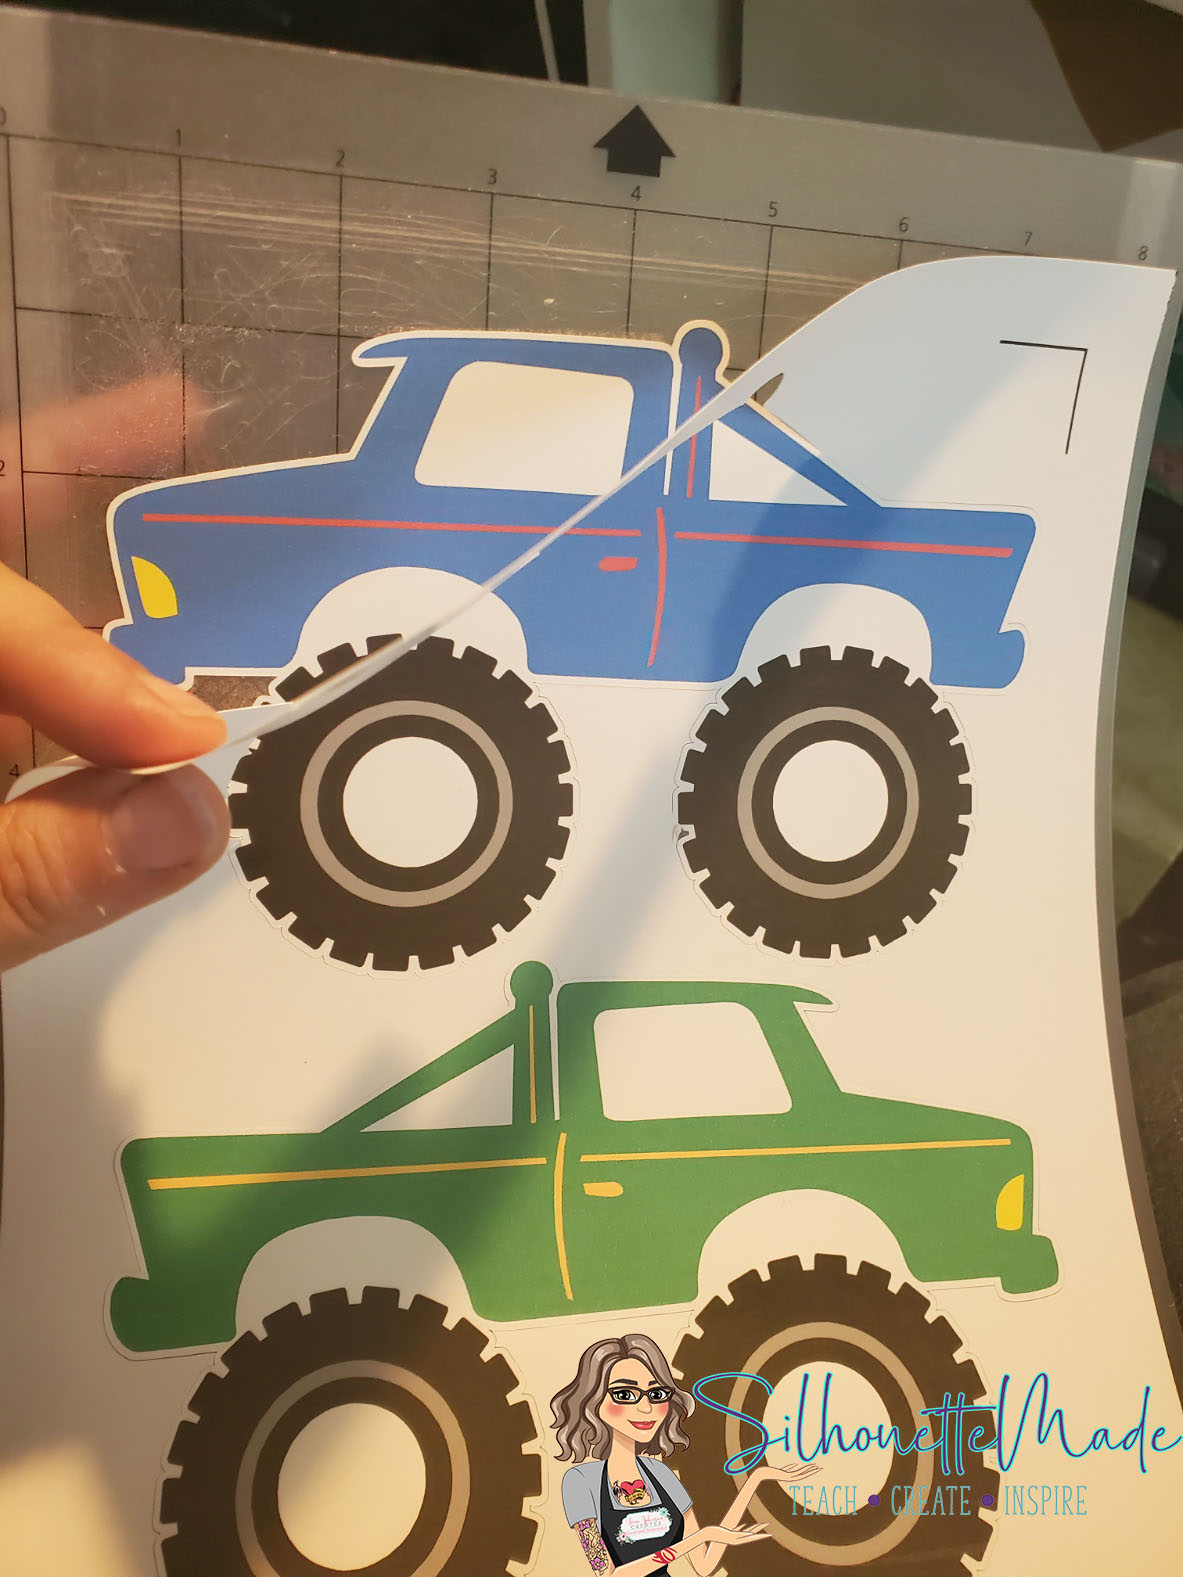
Take the pieces off the mat. For the actual trucks, I turn my mat over and peel the mat off the trucks. I don’t pull the trucks off because that can make them curl. Then I set them aside. Now I can move onto the other pieces of my banner.
For the “base” of the banner I used triangles. I created a triangle in the software and once I sized it the way I wanted it, I created another one using the internal offset tool in the software. I wanted the top triangle to be slightly smaller than the bottom triangle.
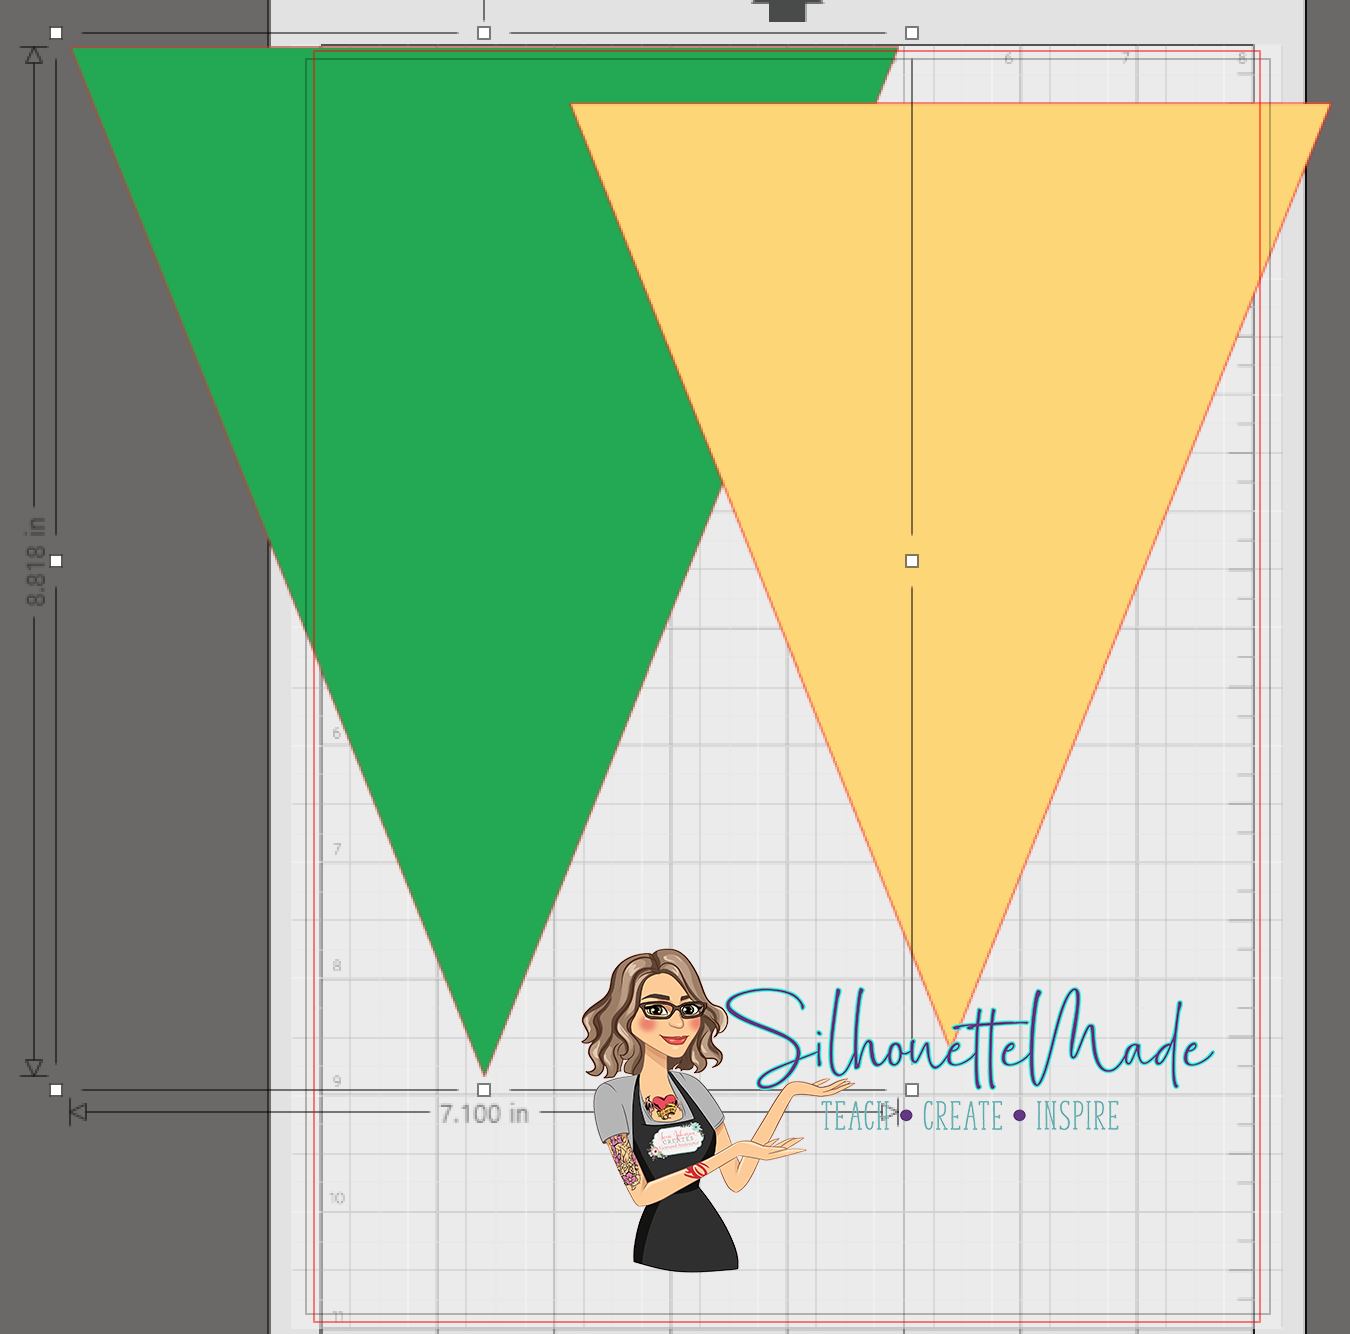
I knew I needed 5 of each size of triangle, one for each letter of my son’s name and one for each of the trucks. So I picked 10 pieces of cardstock, I used 5 colors. I had one big triangle and one small triangle in each color. I then sent those to cut, one at a time until they were all cut out.
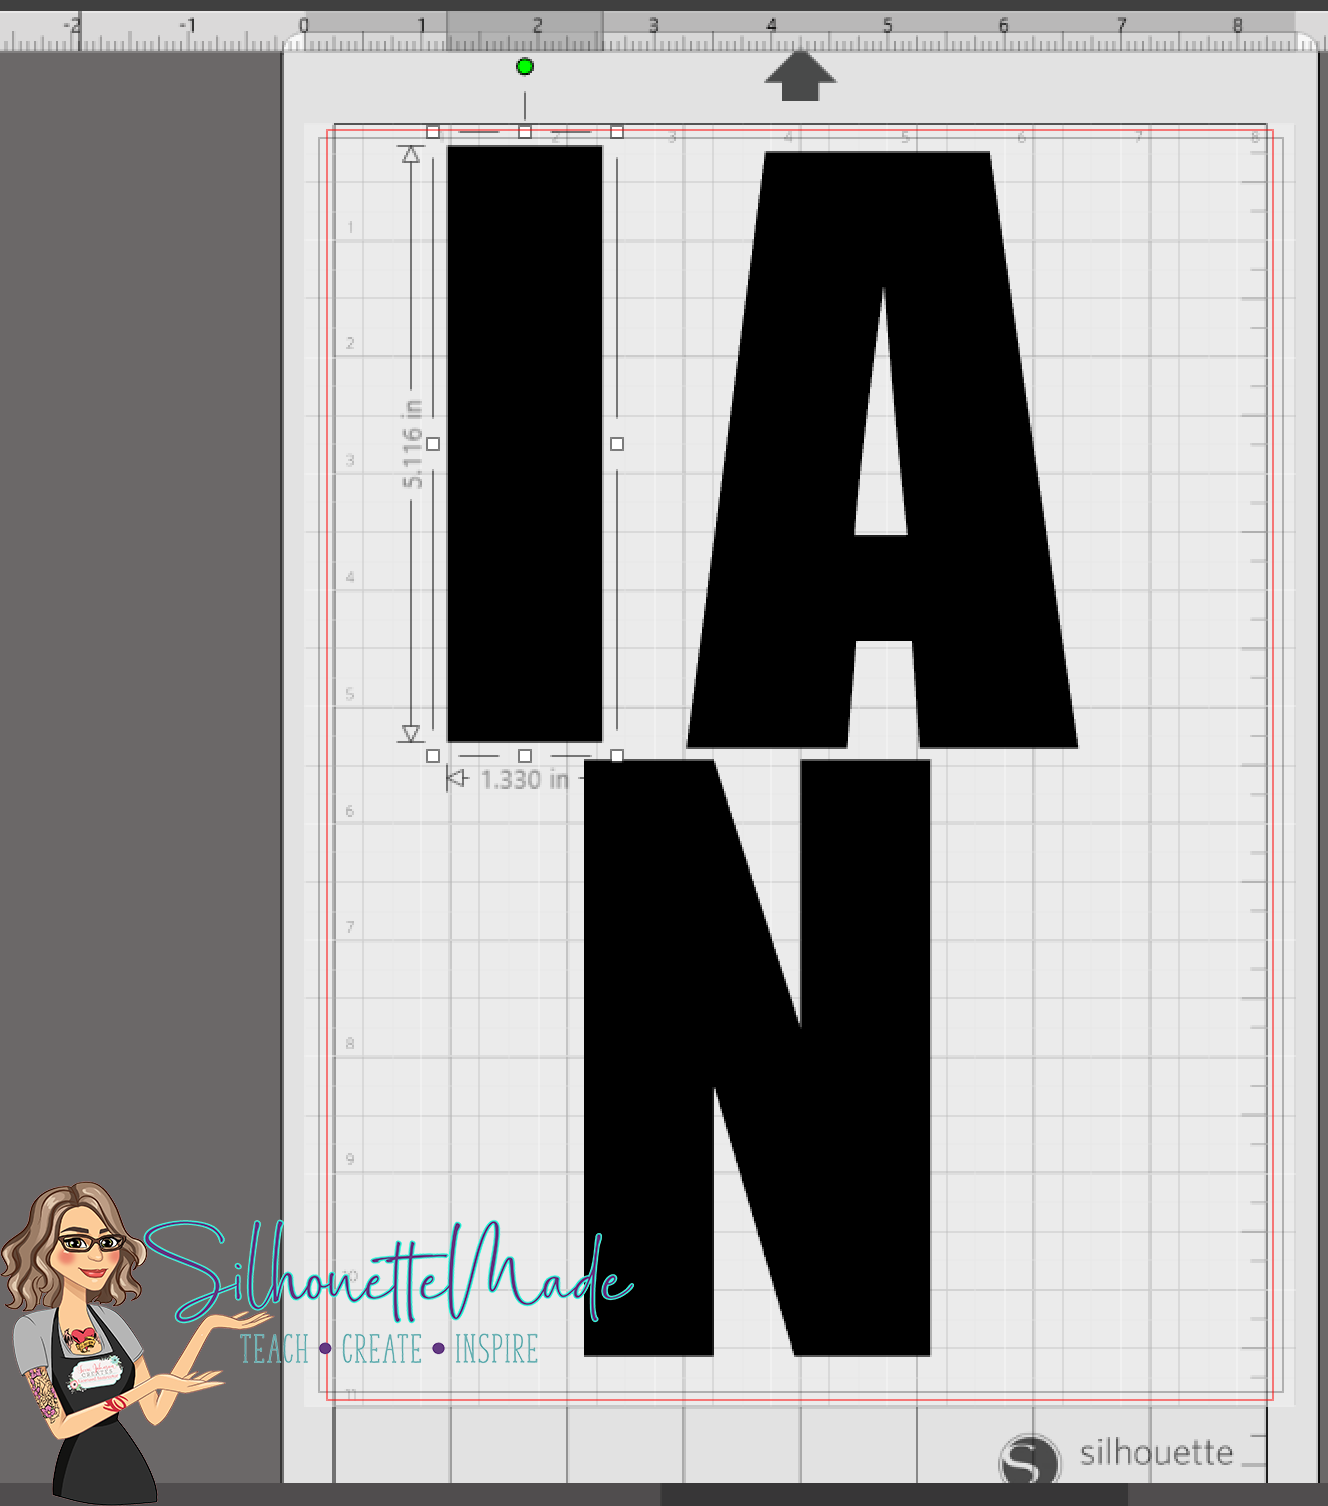
Then I moved onto my son’s name. I wanted a font that was big and thick so I used Impact. I typed out his name and just eyeballed the size I wanted each letter to be. I compared it to the smaller of the two triangles so I could see how it would fit on the banner. Once I had them sized the way I wanted, I sent them to cut.
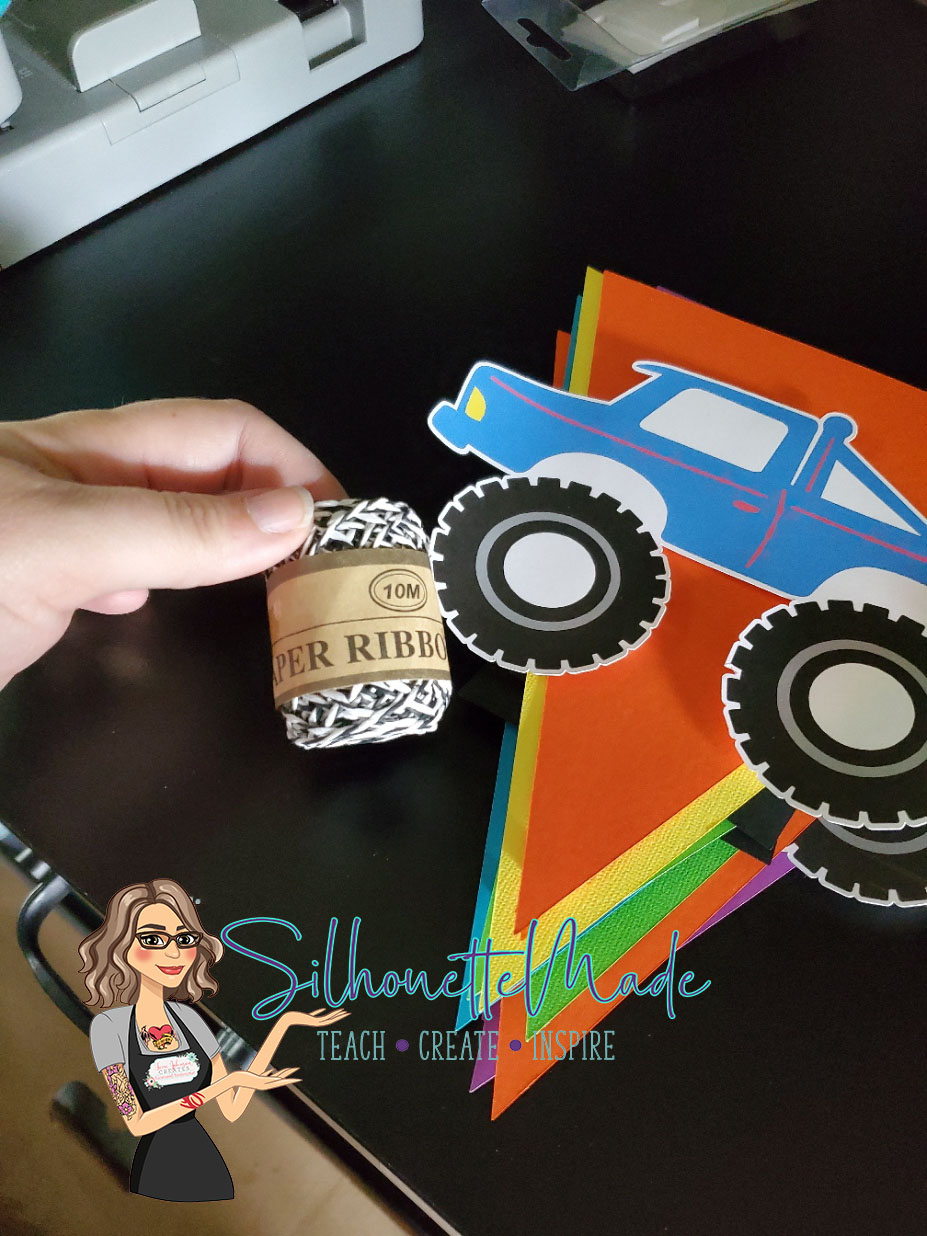
After all the pieces were finished cutting. I placed them in the order they would go. I tried to not have two of the same colors next to each other, but I also didn’t want the blue truck on the blue banner or the green truck on the green banner.
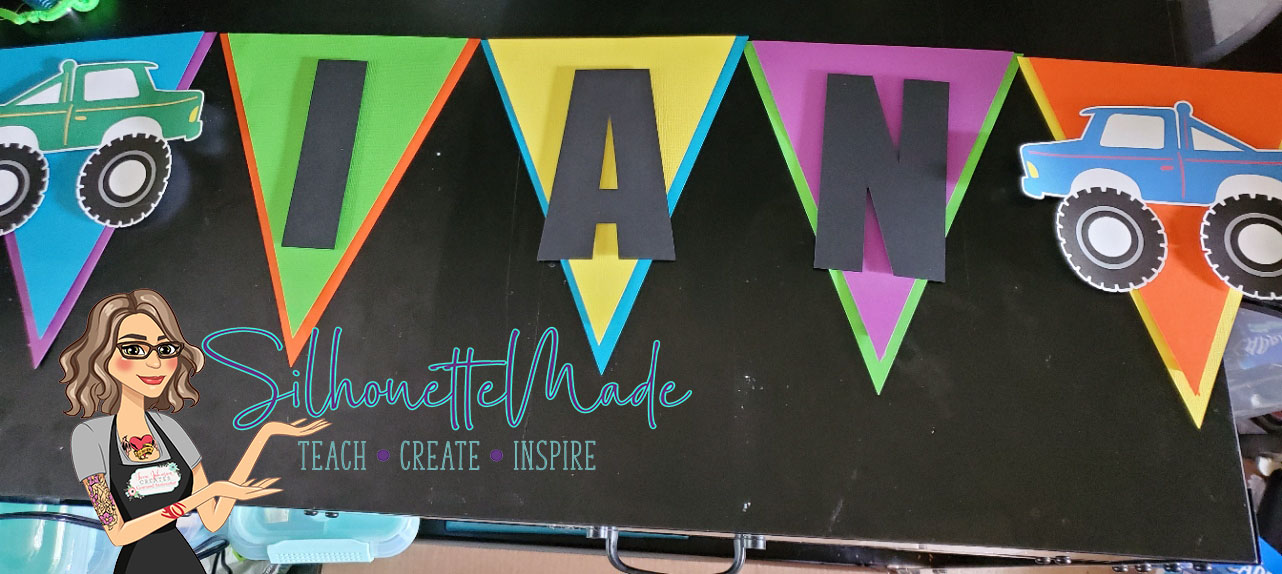
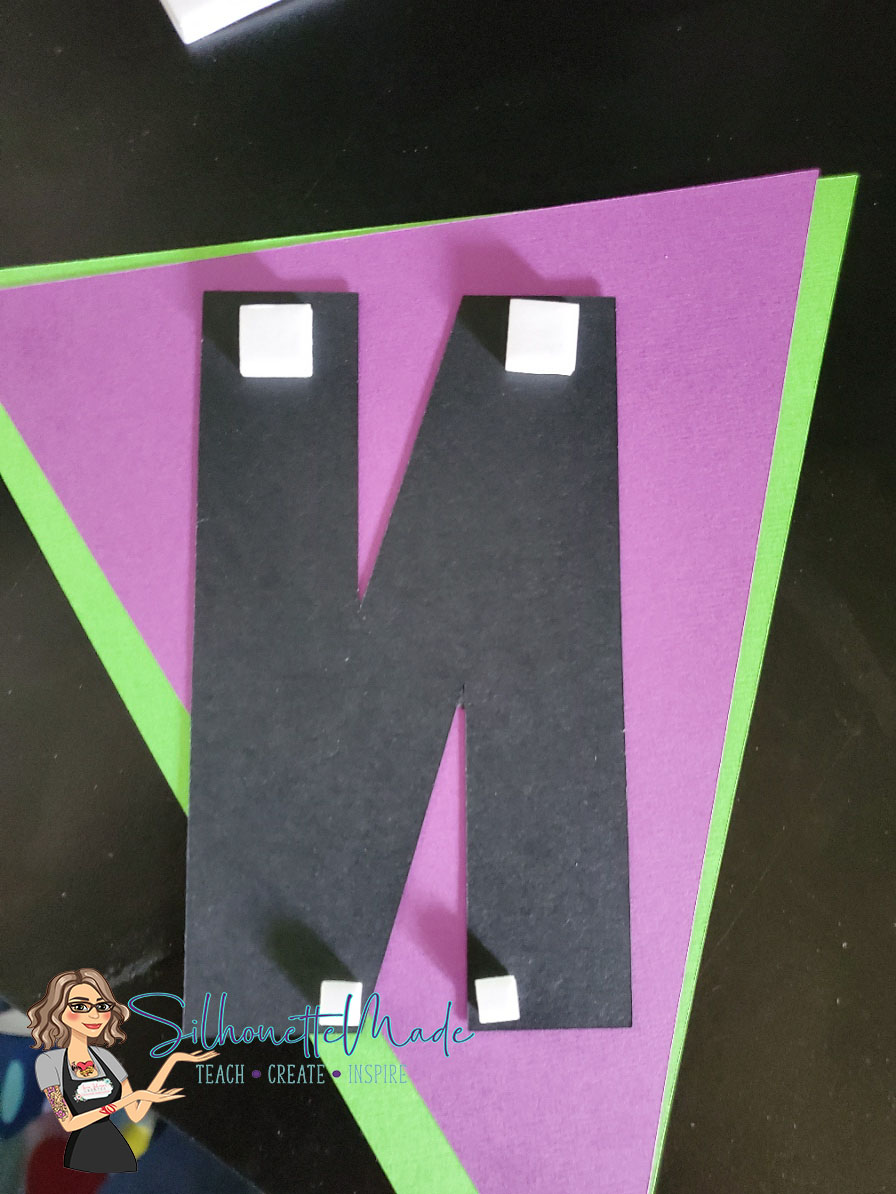
When they were arranged in a way I was happy with, I used adhesive squares to assemble them all together.
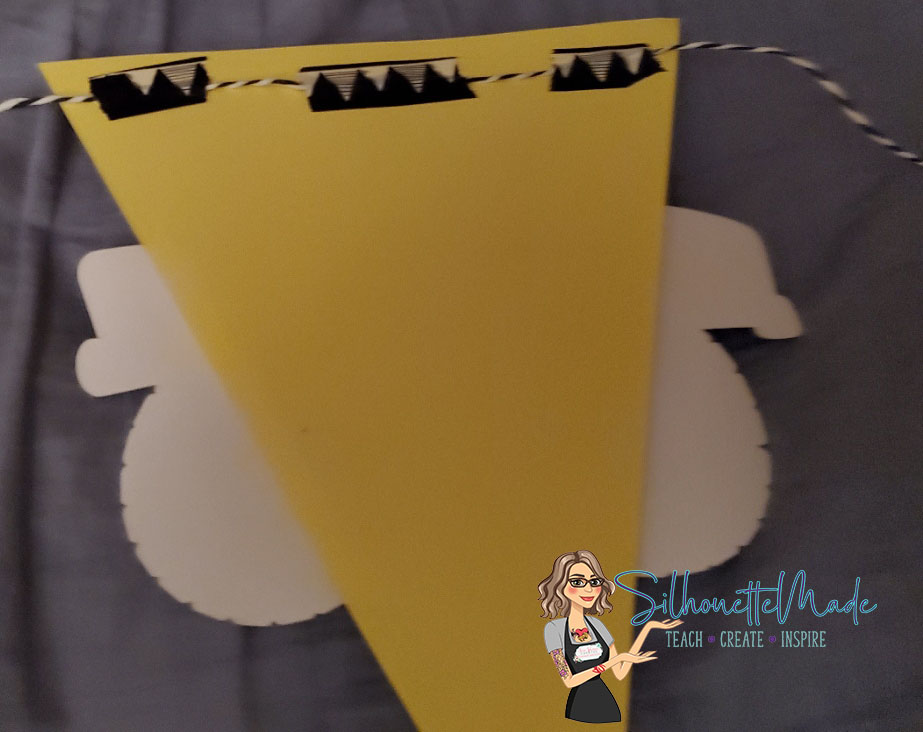
I then used paper ribbon and washi tape to adhere the flags to the ribbon.

I would love to see your projects. You can post photos or ask questions on my Facebook page or group:
www.facebook.com/SilhouetteMade
www.facebook.com/groups/SilhouetteMadewithSarah
To share or save this post please pin the image below.

