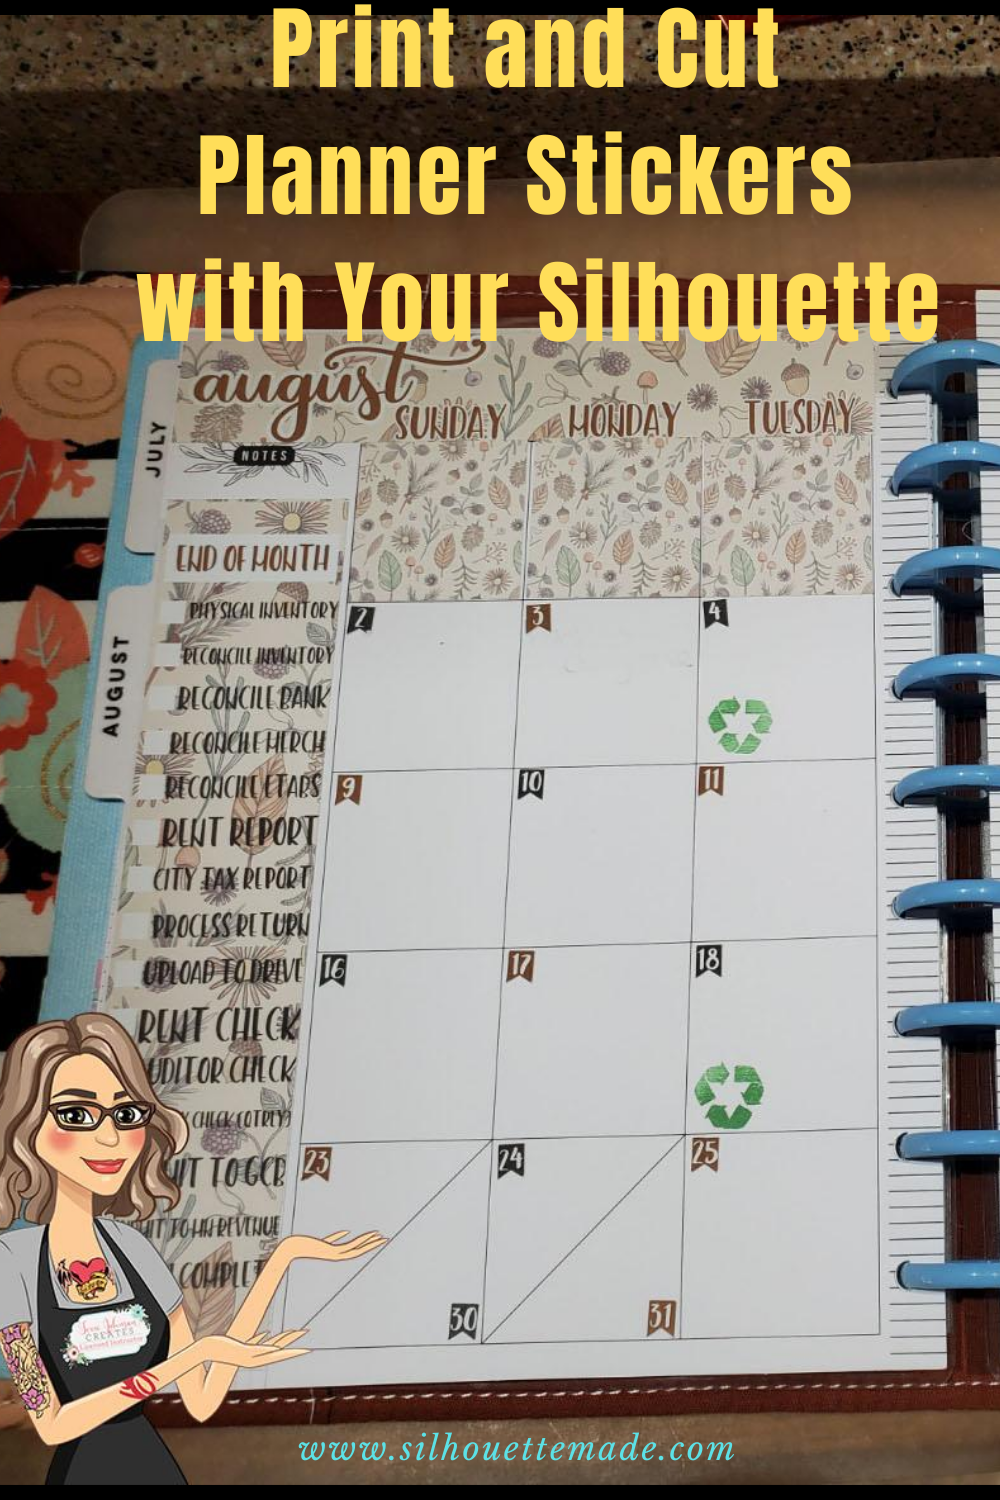
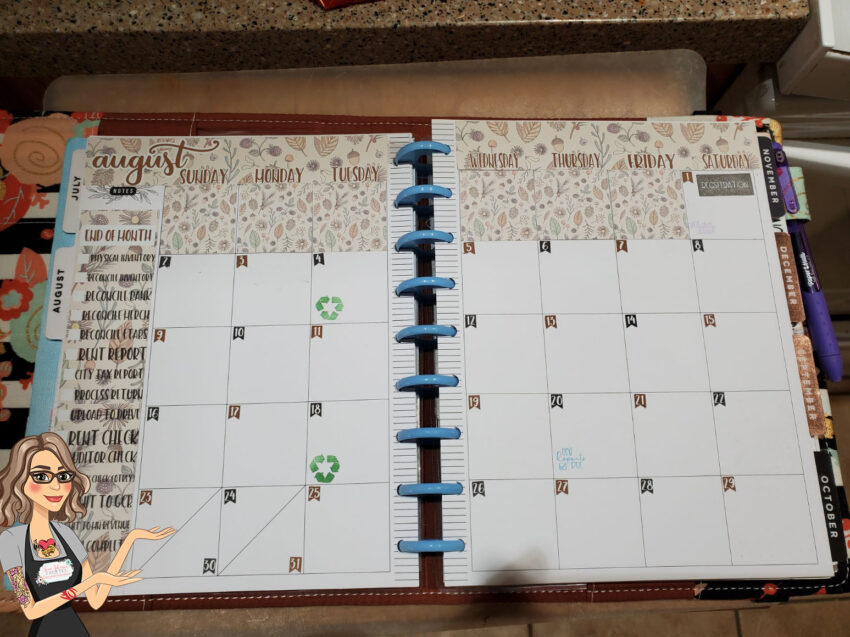
I love my Happy Planner. I use it all day long. I have everything listed in there that needs to get done. I have work stuff, home stuff, craft stuff, blog stuff, you name it, it’s in there. If it isn’t written there, it doesn’t get done. I use a dashboard layout so I have weekdays on the right and different boxes for lists and stuff on the left. But not only do I want my planner to be functional, I want it to be pretty. So I decorate it when I can. Now, I’m not like some of those you see who do a before the pen and an after the pen post every week. I just don’t have the time, and I don’t necessarily decorate every week. BUT, I do decorate my monthly pages. Sometimes, I use my Happy Planner sticker books or stickers I purchase from Etsy. But most of the time, I create my own.
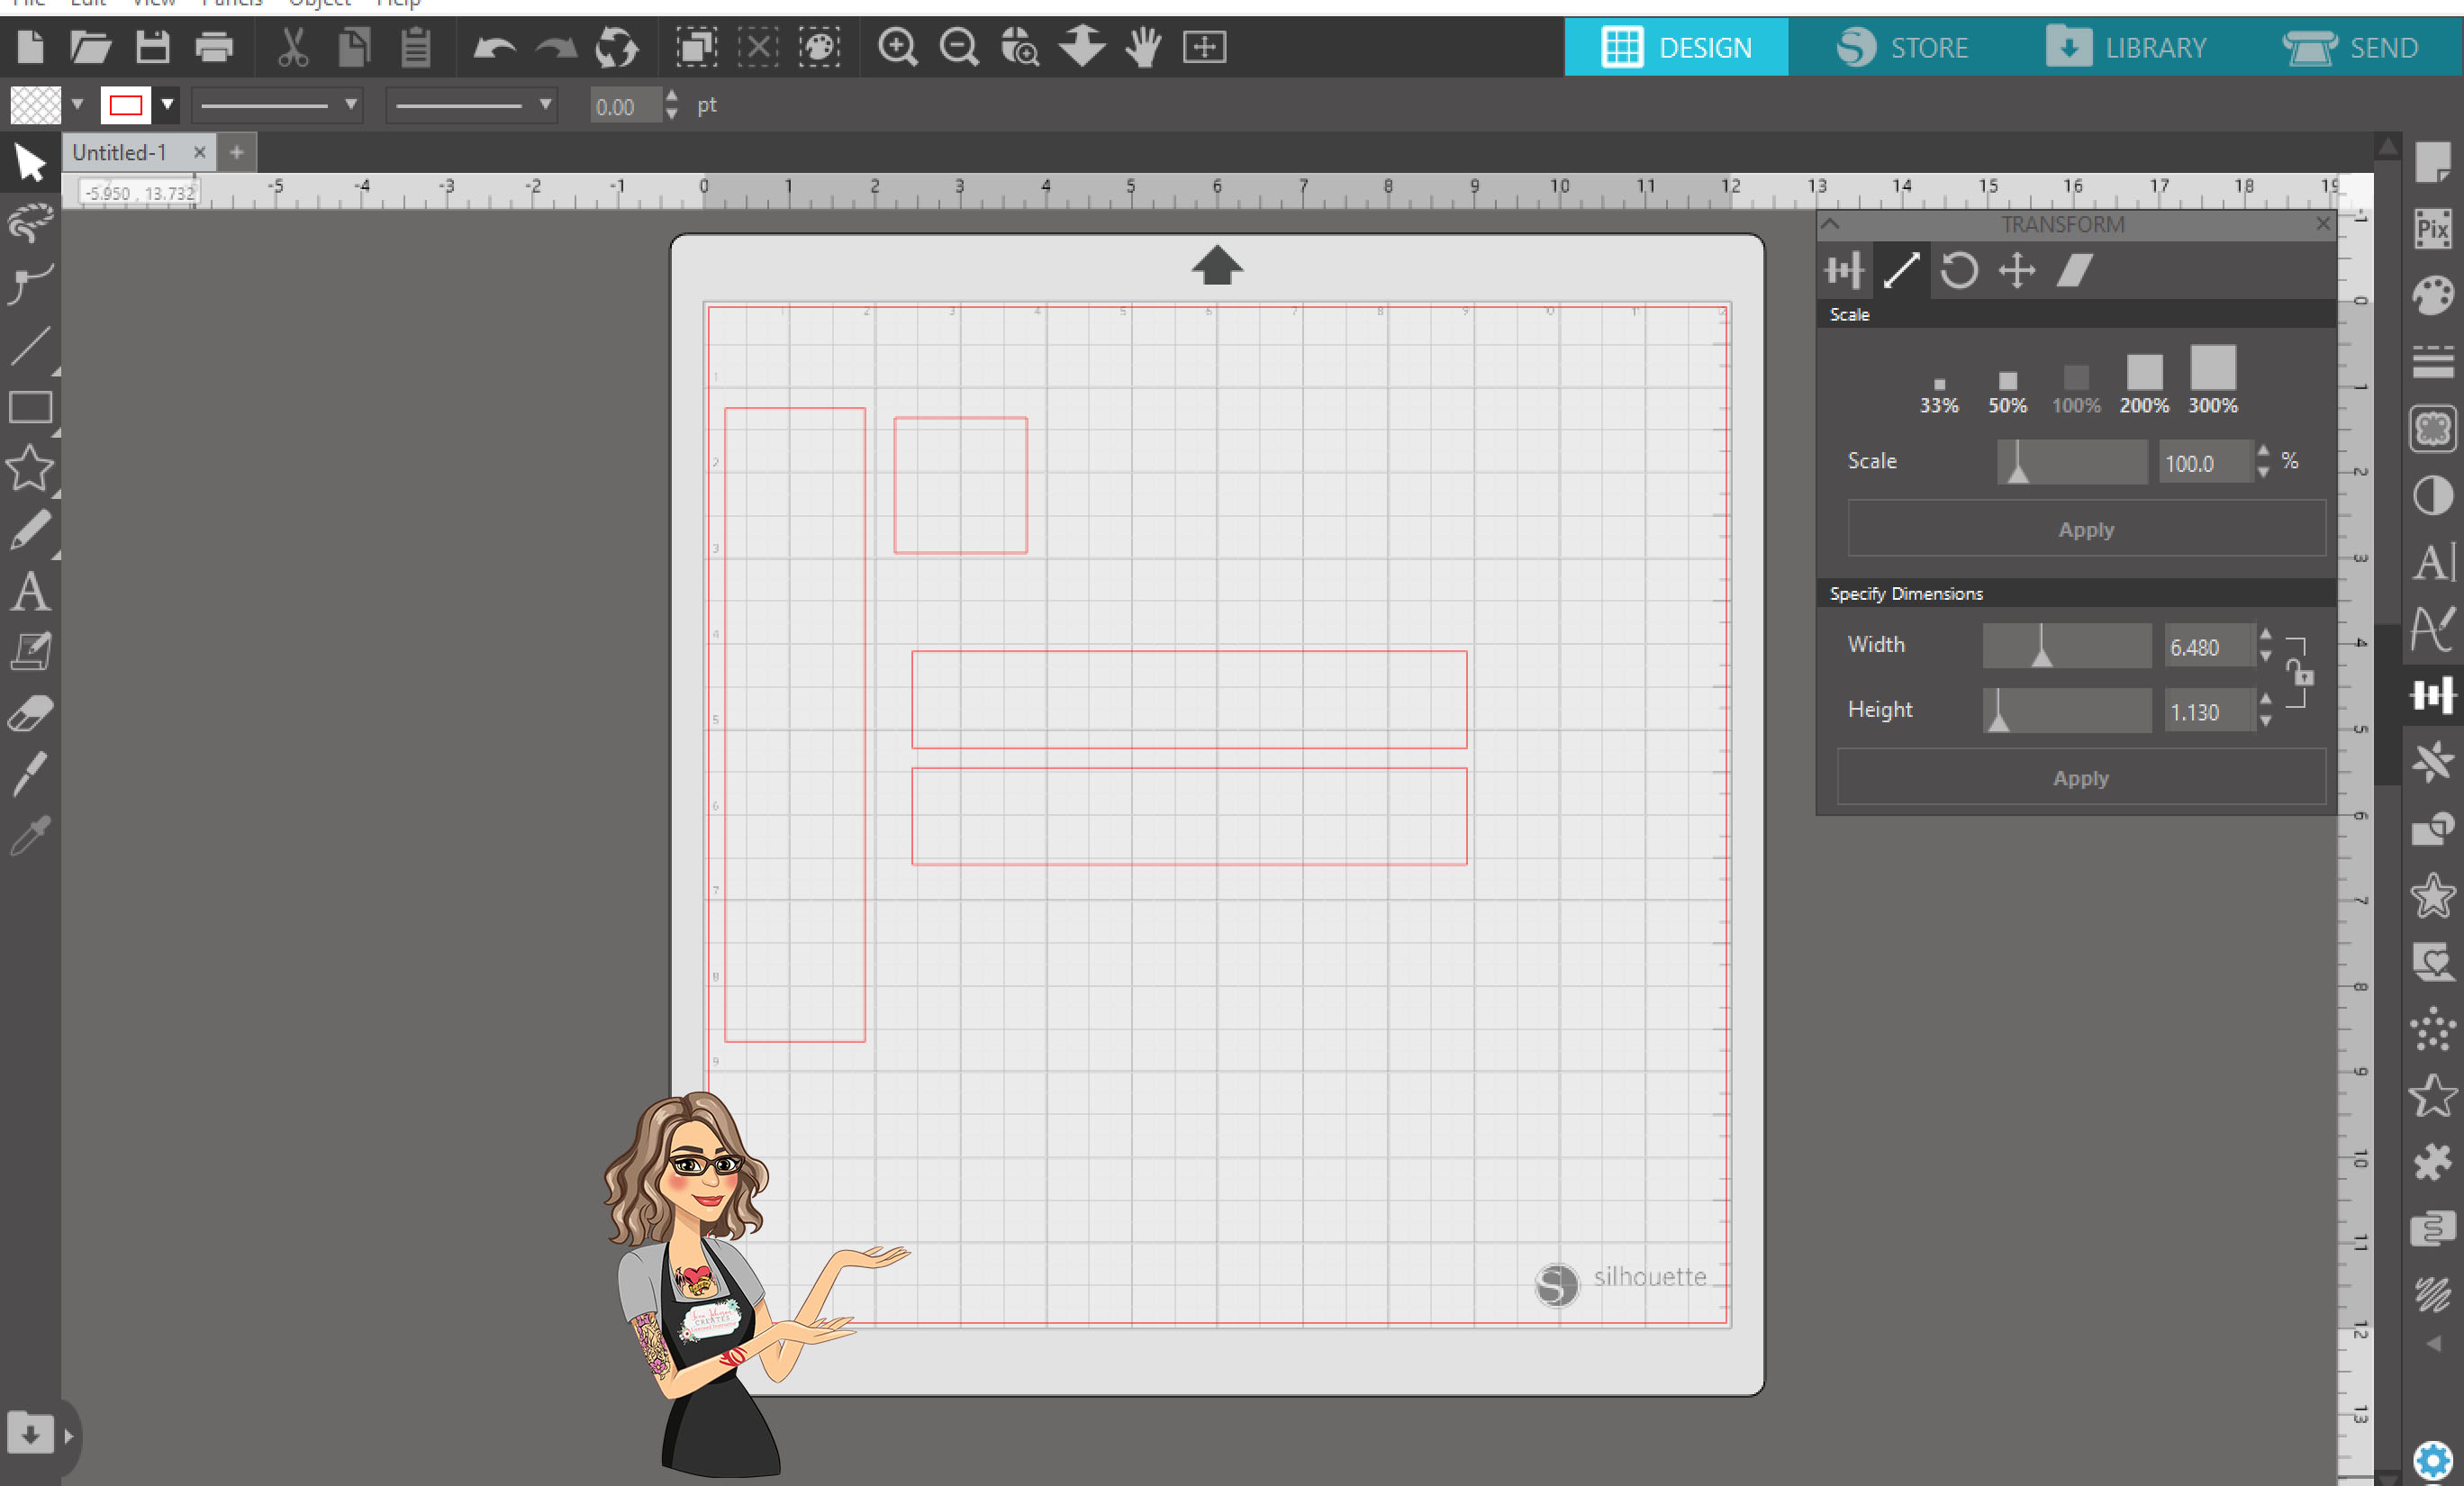
The part that takes the longest (aside from deciding what theme I want for the month) was the measuring. But at least that only needs to be done once!! Once I got my measurements I used the Drawing Tools on the left toolbar to draw some rectangles. I sized each one according to my measurements. To do that, select one of the rectangles and open the Transform Panel on the right and choose the Scale tab. Then under the Specify Dimensions I entered in my measurements.
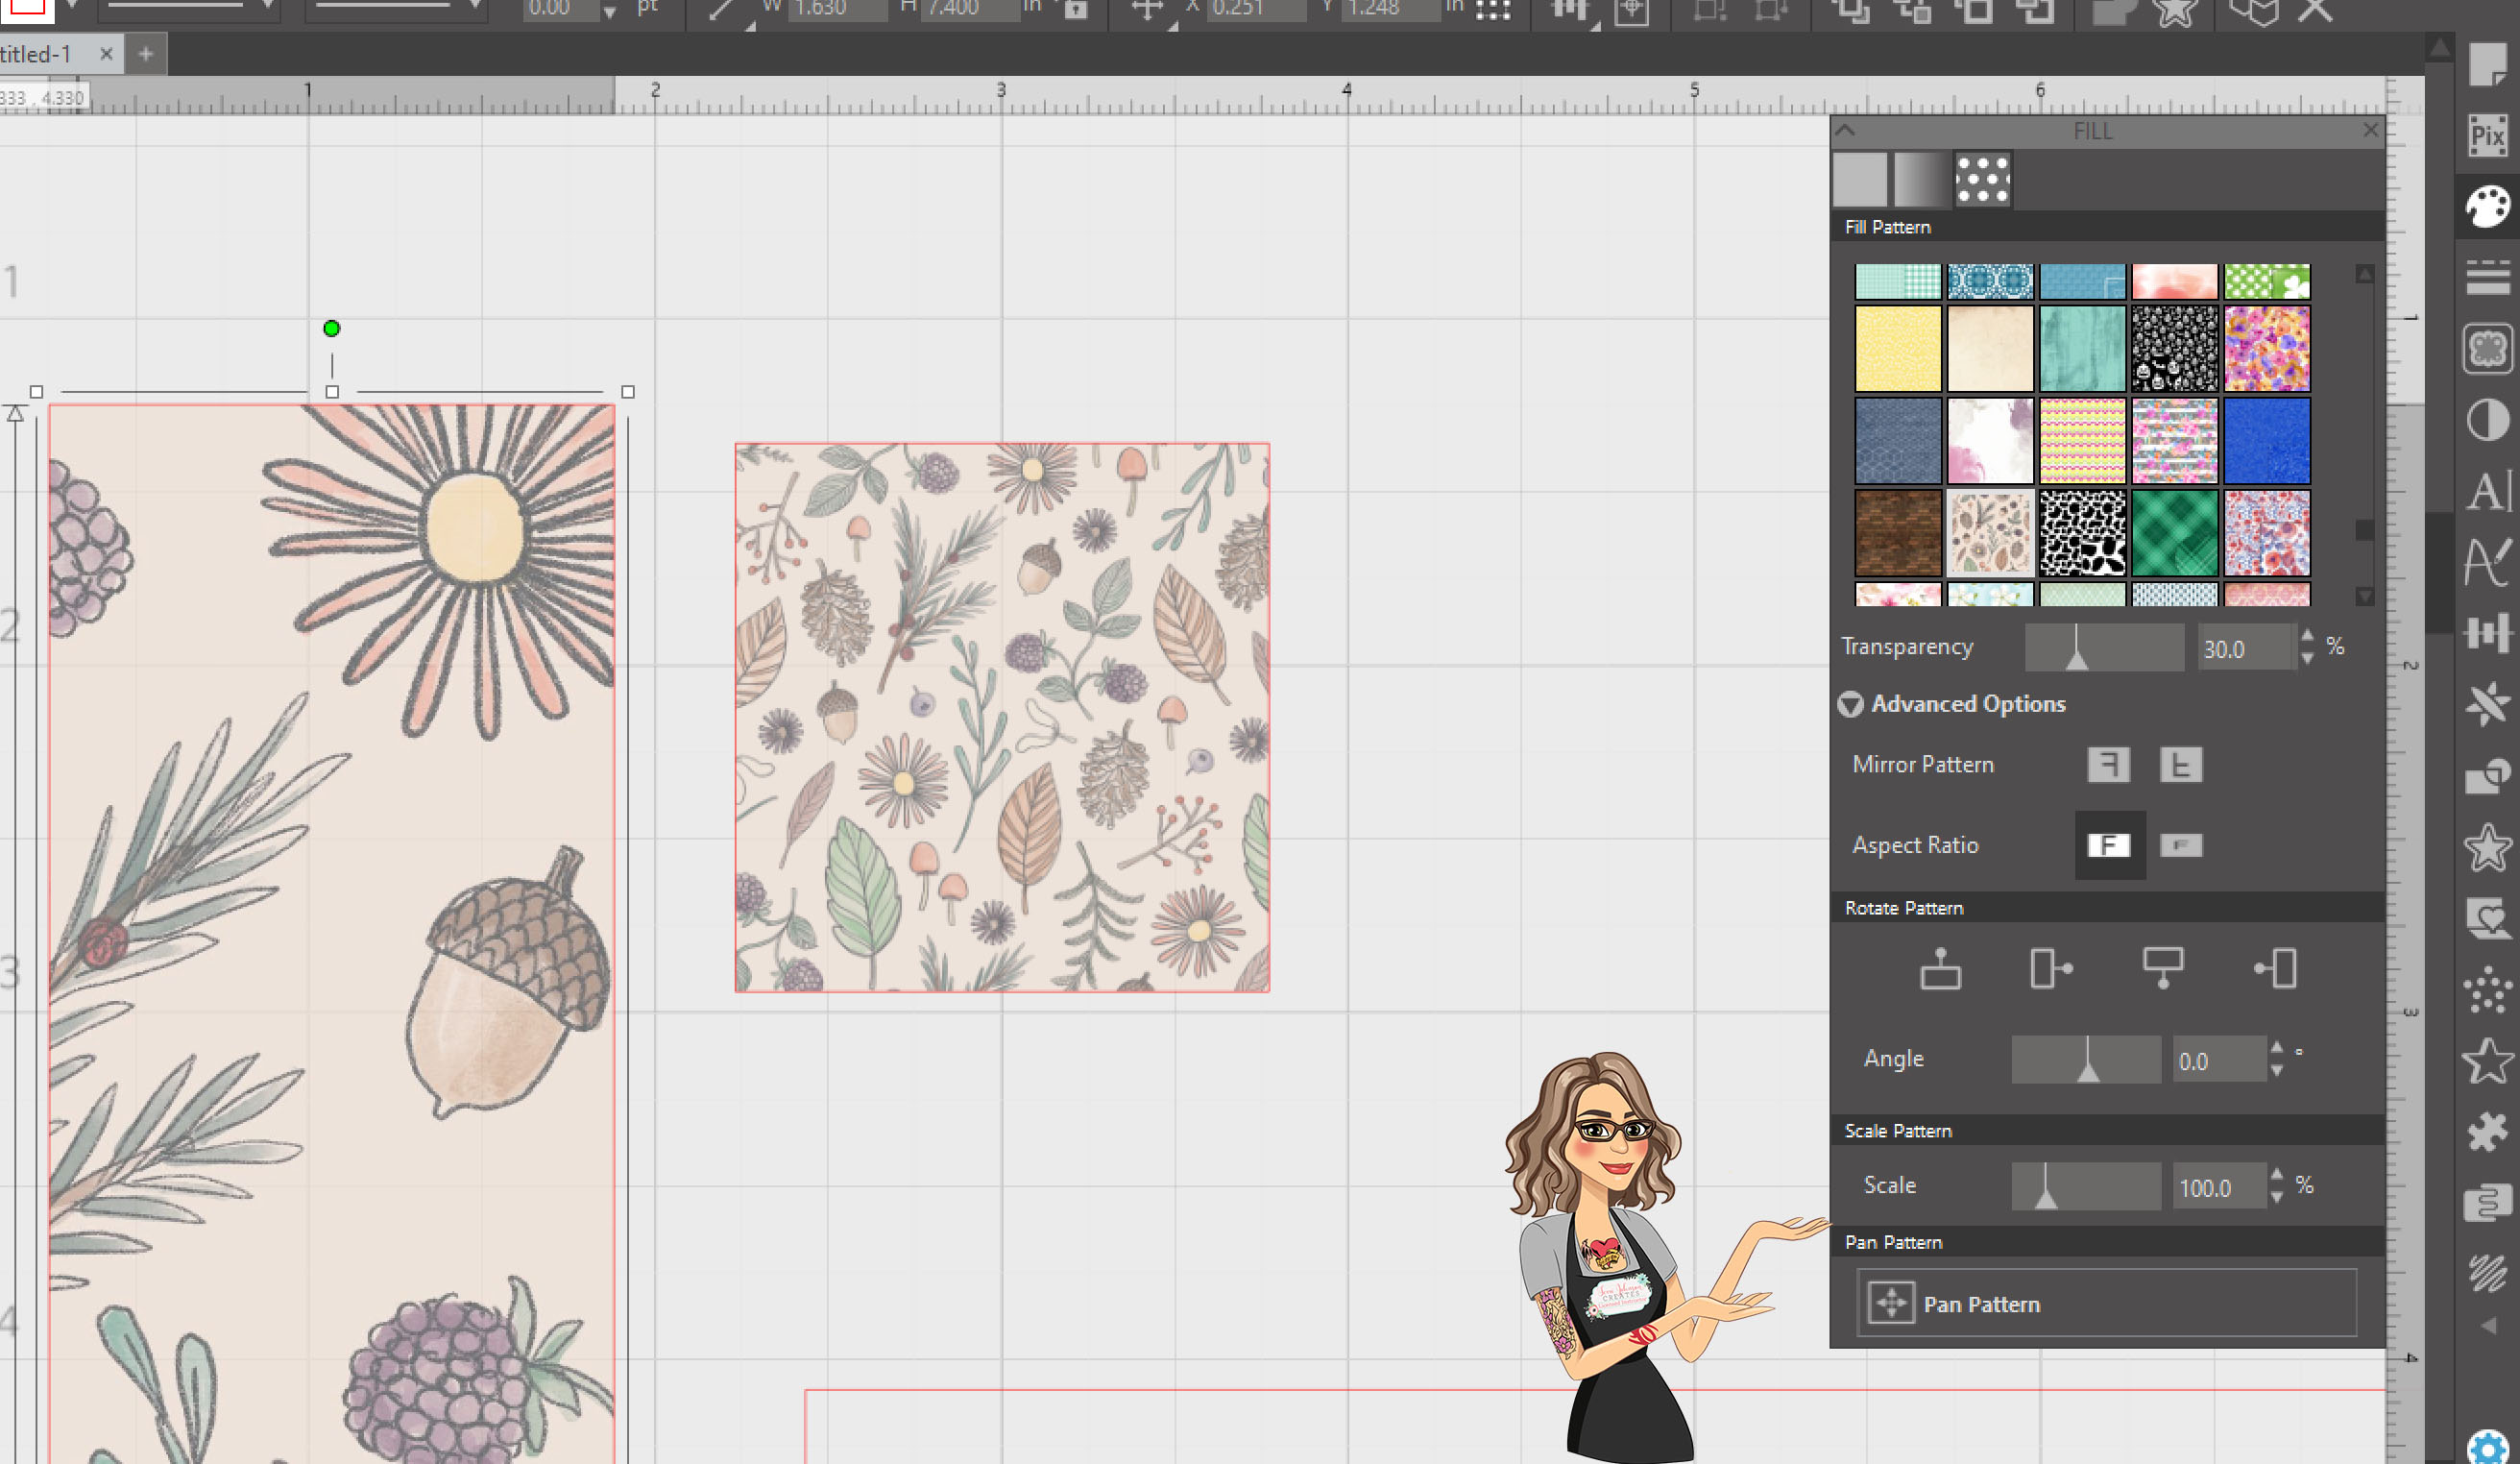
Once all my rectangles were sized correctly, I opened the Fill panel and went to the Fill Pattern tab. From here I selected what pattern I wanted to fill my shapes. With my shape selected I clicked on a fill pattern and it would “color” in my shape with that pattern. Depending on the size of my shape, I adjusted the pattern settings under Advanced Options, I scaled the fill until I had it fit in my shape the way I liked. I also adjusted the transparency to make the fill a bit lighter than it would be normally.
I also used a flag shape from the Silhouette design store and put a number in each one for the days of the month, I then filled every other flag a rotating color, leaving the numbers white.
The next thing I did was type of the names of the days of the week, the month, and my “to do” list for my sidebar. For me this list stays the same every month. I am the charitable gambling manager for our youth hockey association and since it is highly regulated, there are certain things that I have to do every month. This is where I keep track of those items. Once I typed those out and sized them accordingly, I added an offset to my words to make them stand out a bit more. I then colored them using similar colors to my fill pattern.
Once I had all my words and numbers positioned like I wanted. I selected them all. I made sure I did not select any of the flag shapes or the rectangles. Then I click on send. While on the send screen, I set all my words/numbers to NO CUT. I did this because when I go to cut out the stickers, I do not want all the individual letters or numbers to cut out.
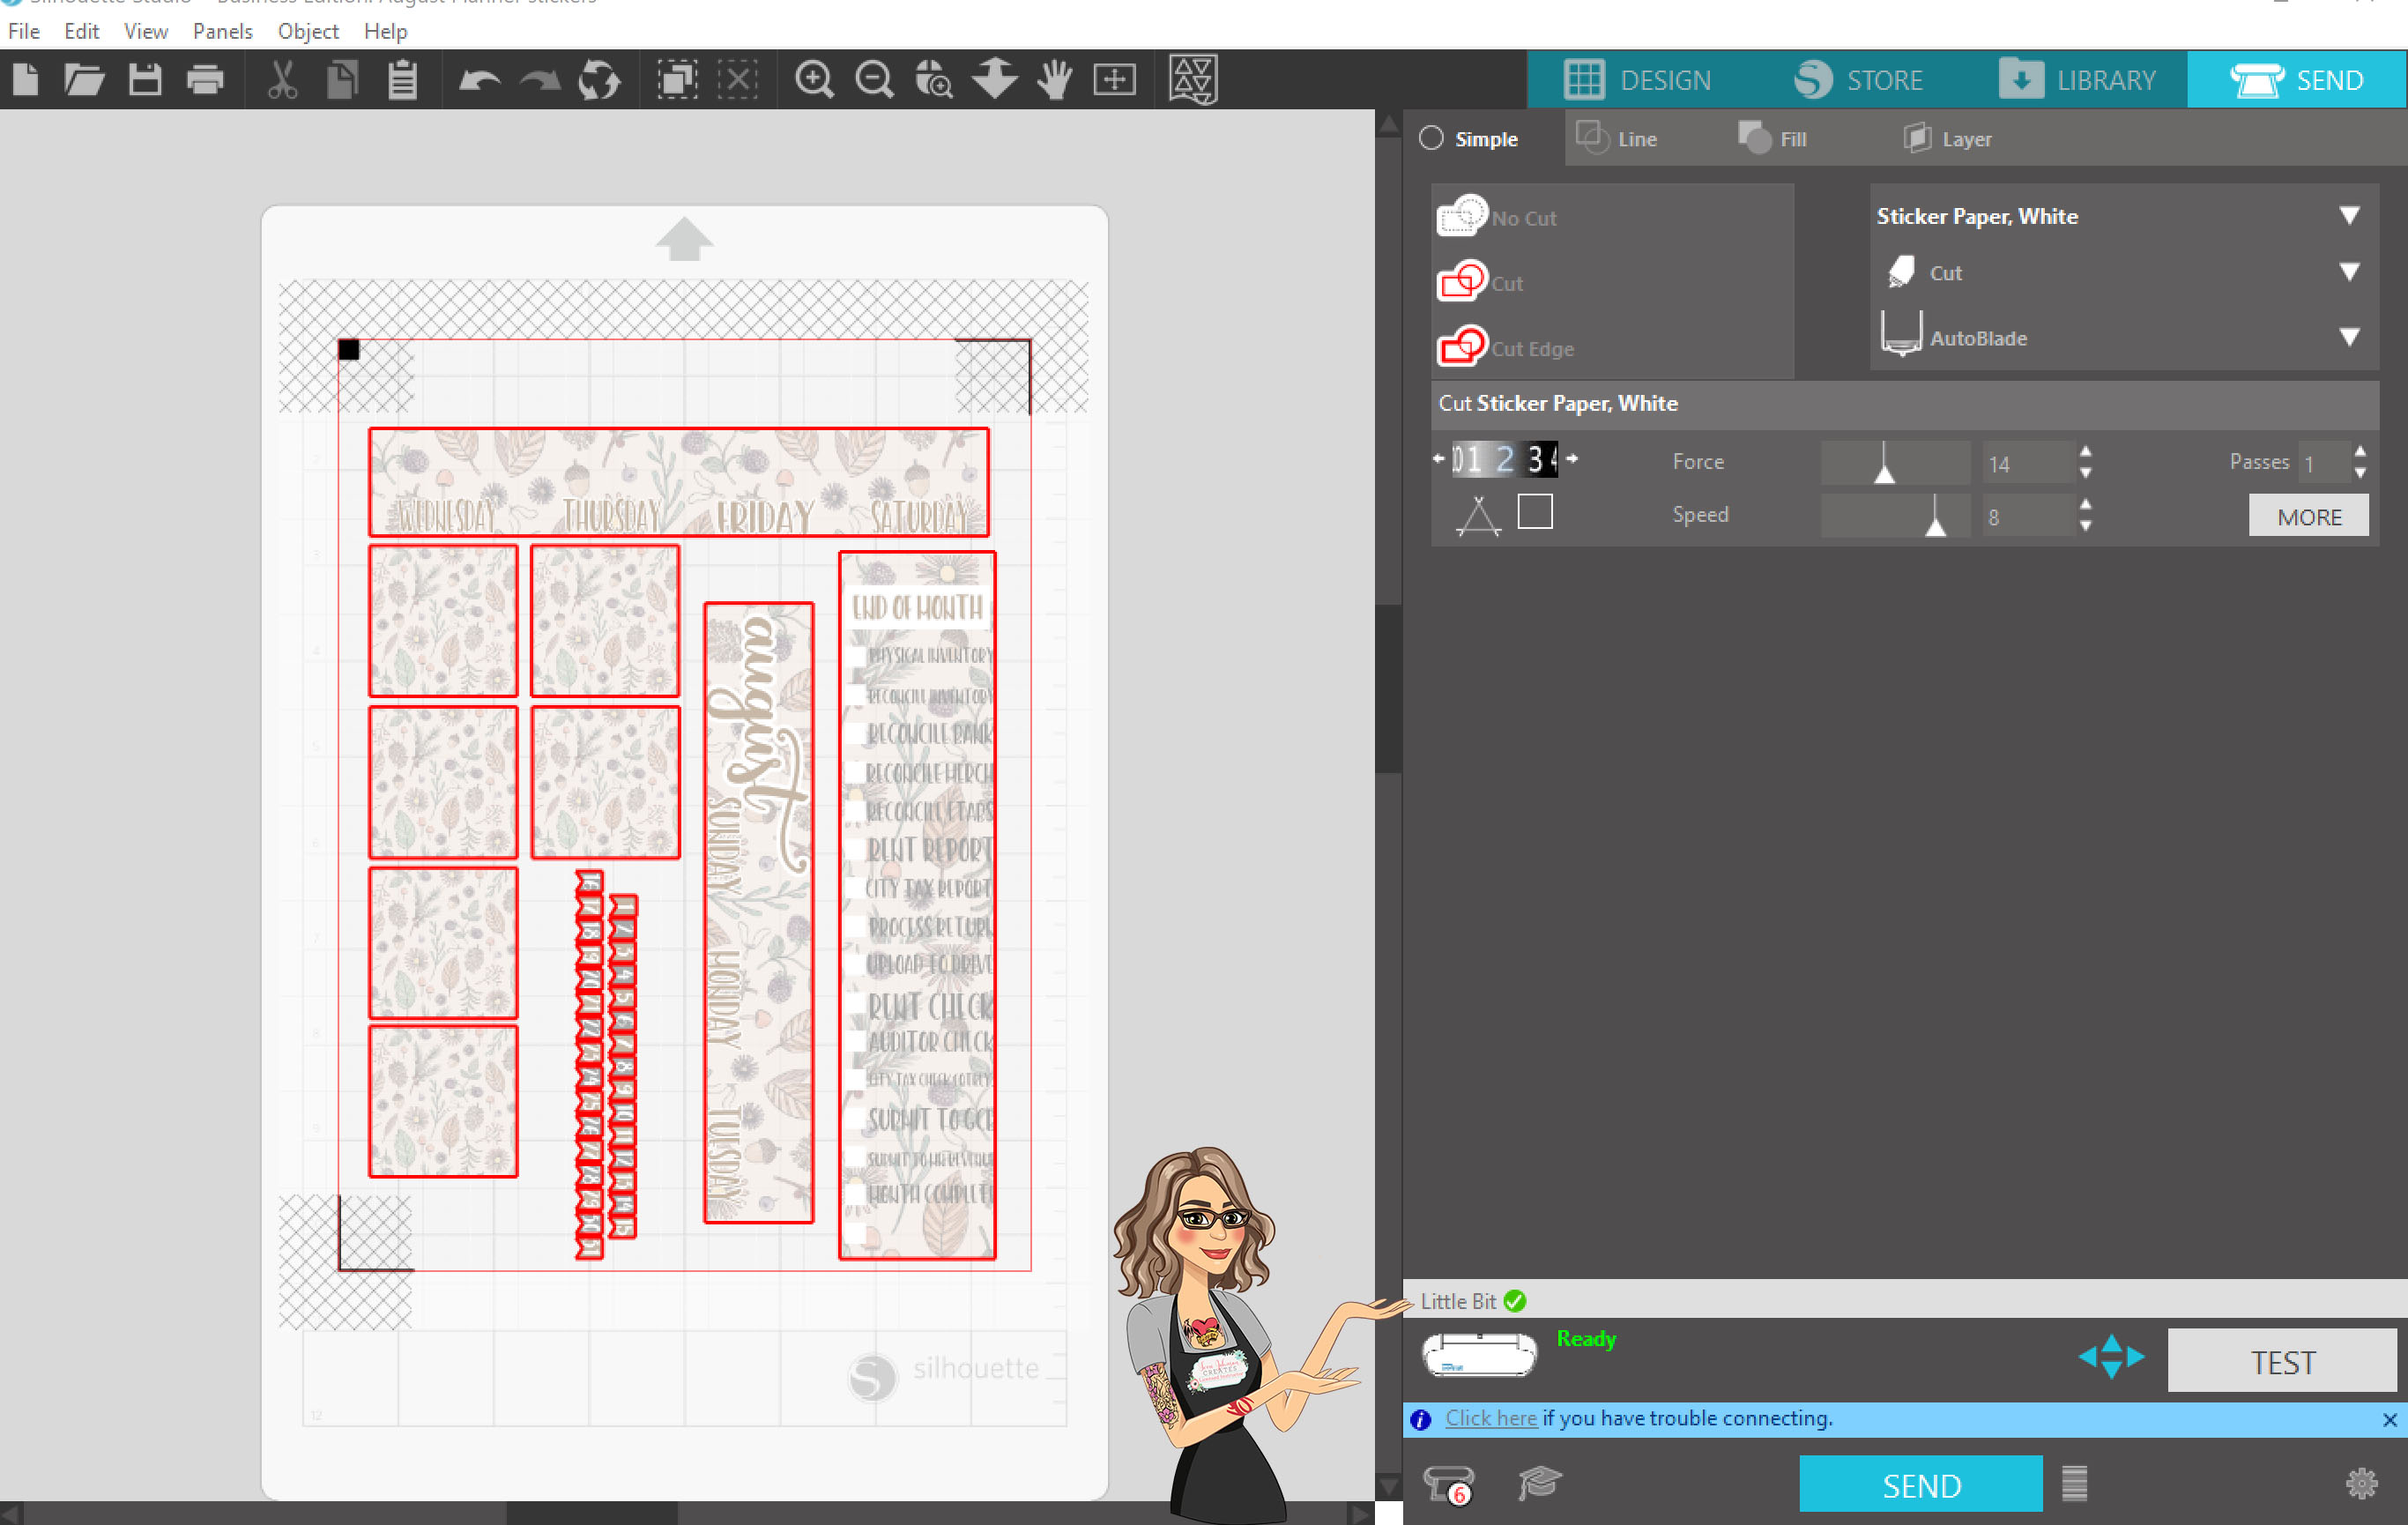
I then went back to the design page. I turned on the registration marks on the page setup panel and positioned all my shapes within the cut area, being careful not to put any part of my design in the crosshatched area. If you have part of your design in that area, it can cause the machine to misread the registration marks and cut in the wrong spot. I also always make sure that my media size is set to “printer” and not letter, even though they are technically the same size at 8.5×11.
Once I had things positioned where I like them, I sent the job to print on my inkjet printer. When it is done printing, I always verify that all the registration marks have printed completely. Then I place the printed page on my mat and load it into my machine.
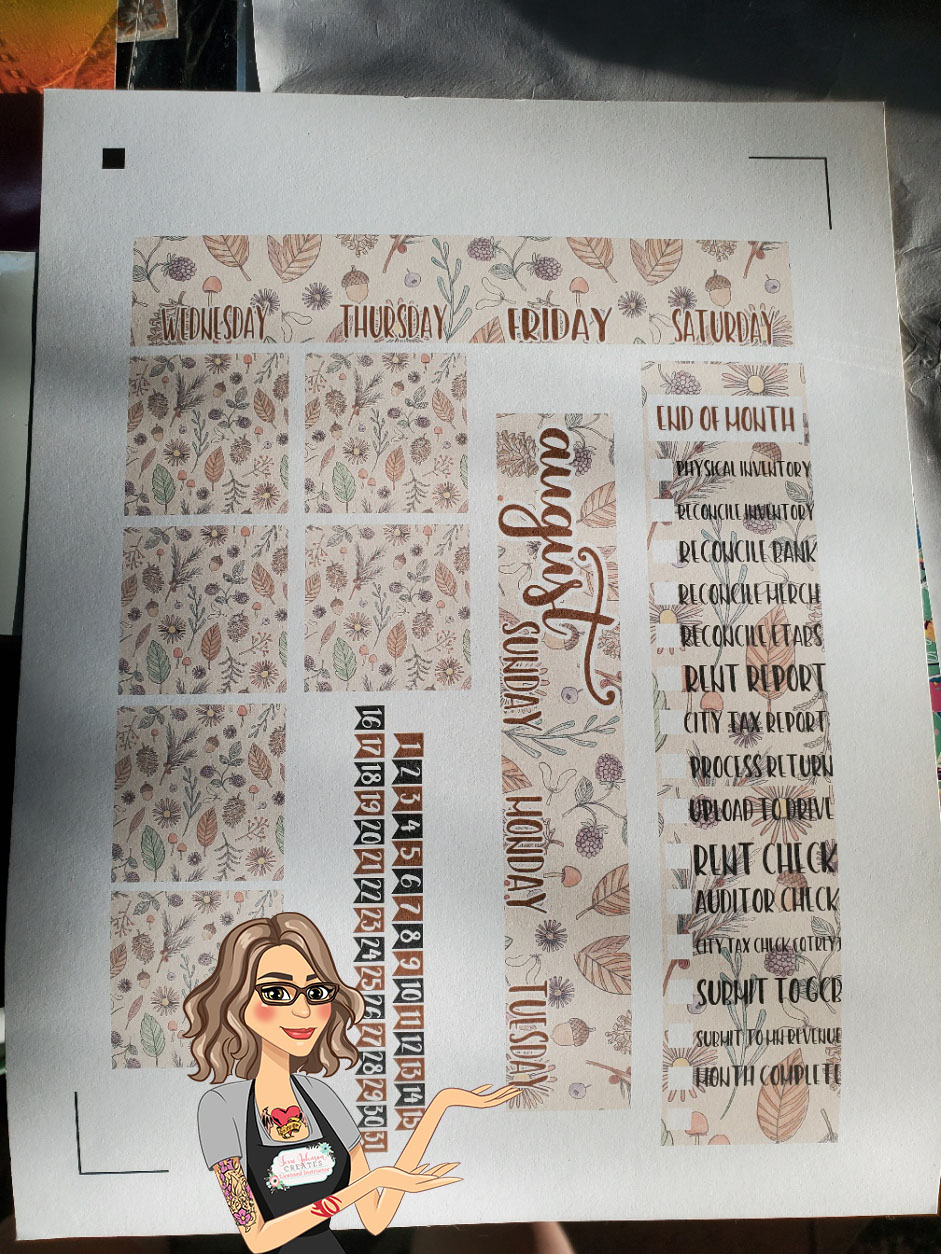
I almost always use my Portrait 2 for my print and cuts. I do that because the size of it is perfect for it. But when I do use my cameo I follow my same steps and rarely have an issue.
Once the mat is loaded in the machine I go back to the send screen. verify that the bold red lines are in the right spots and send it to cut.
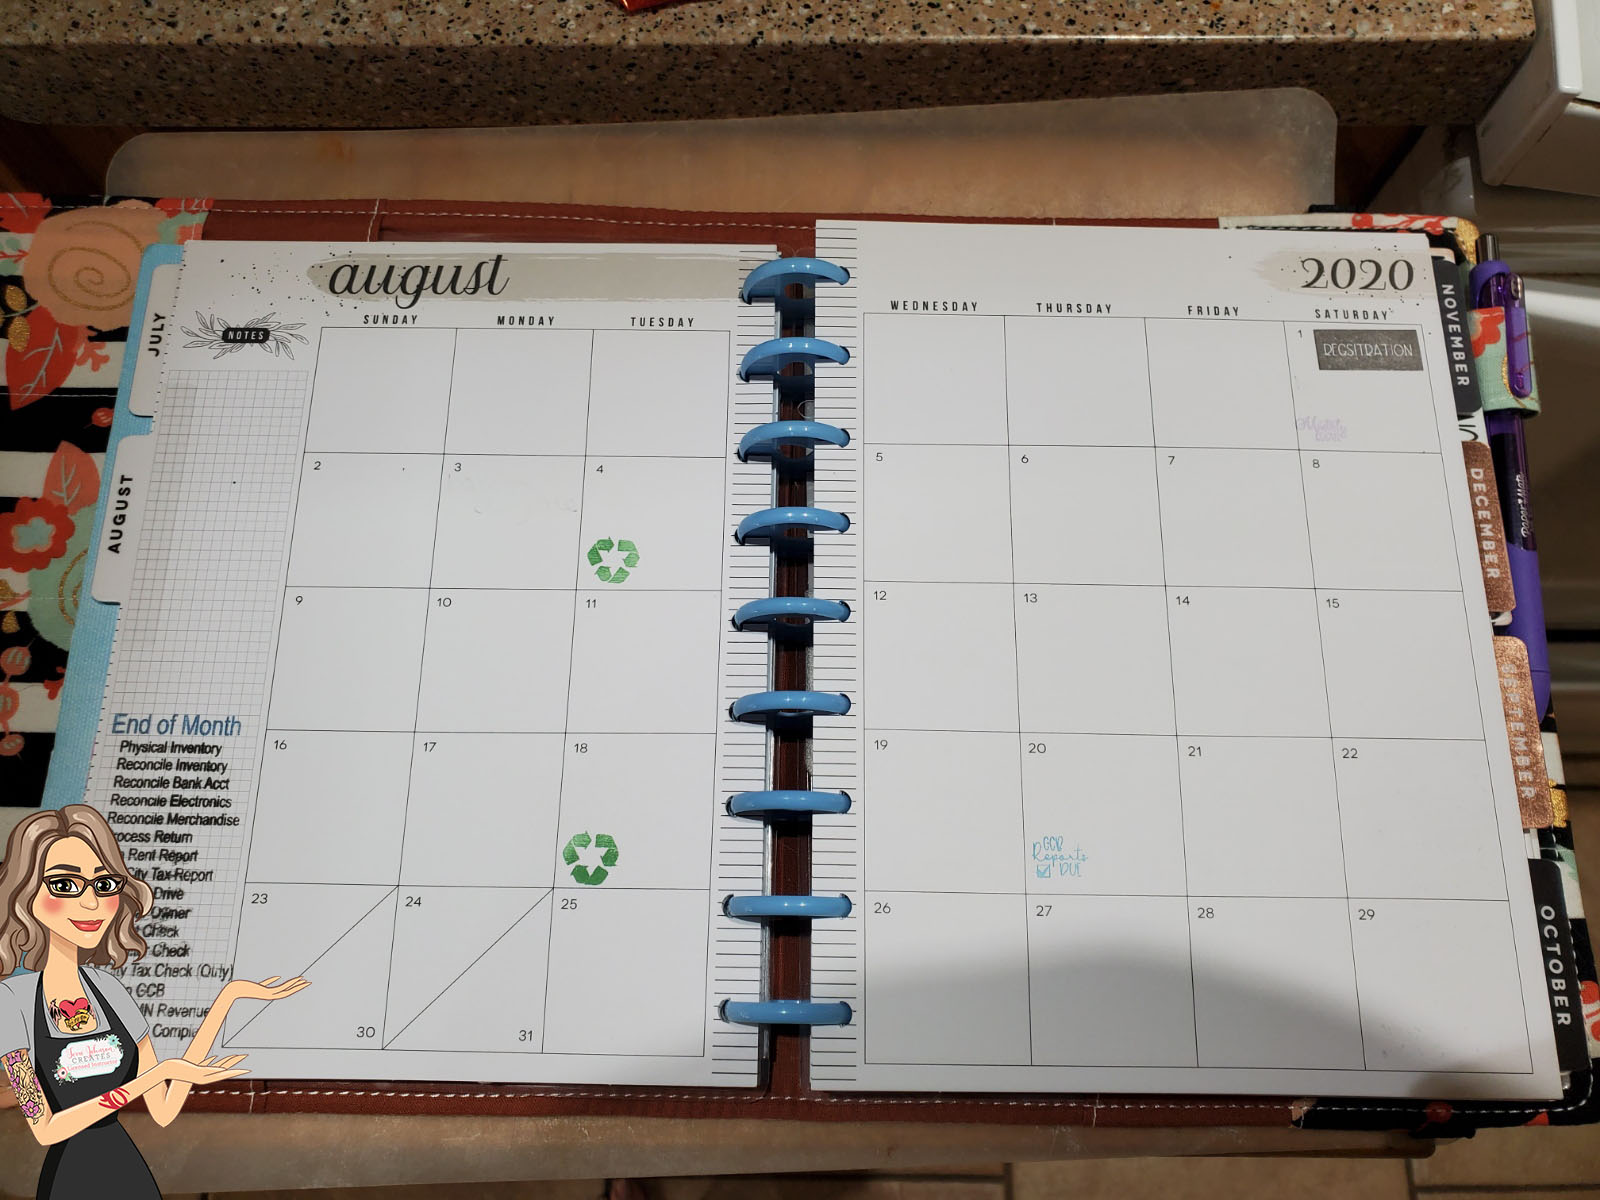
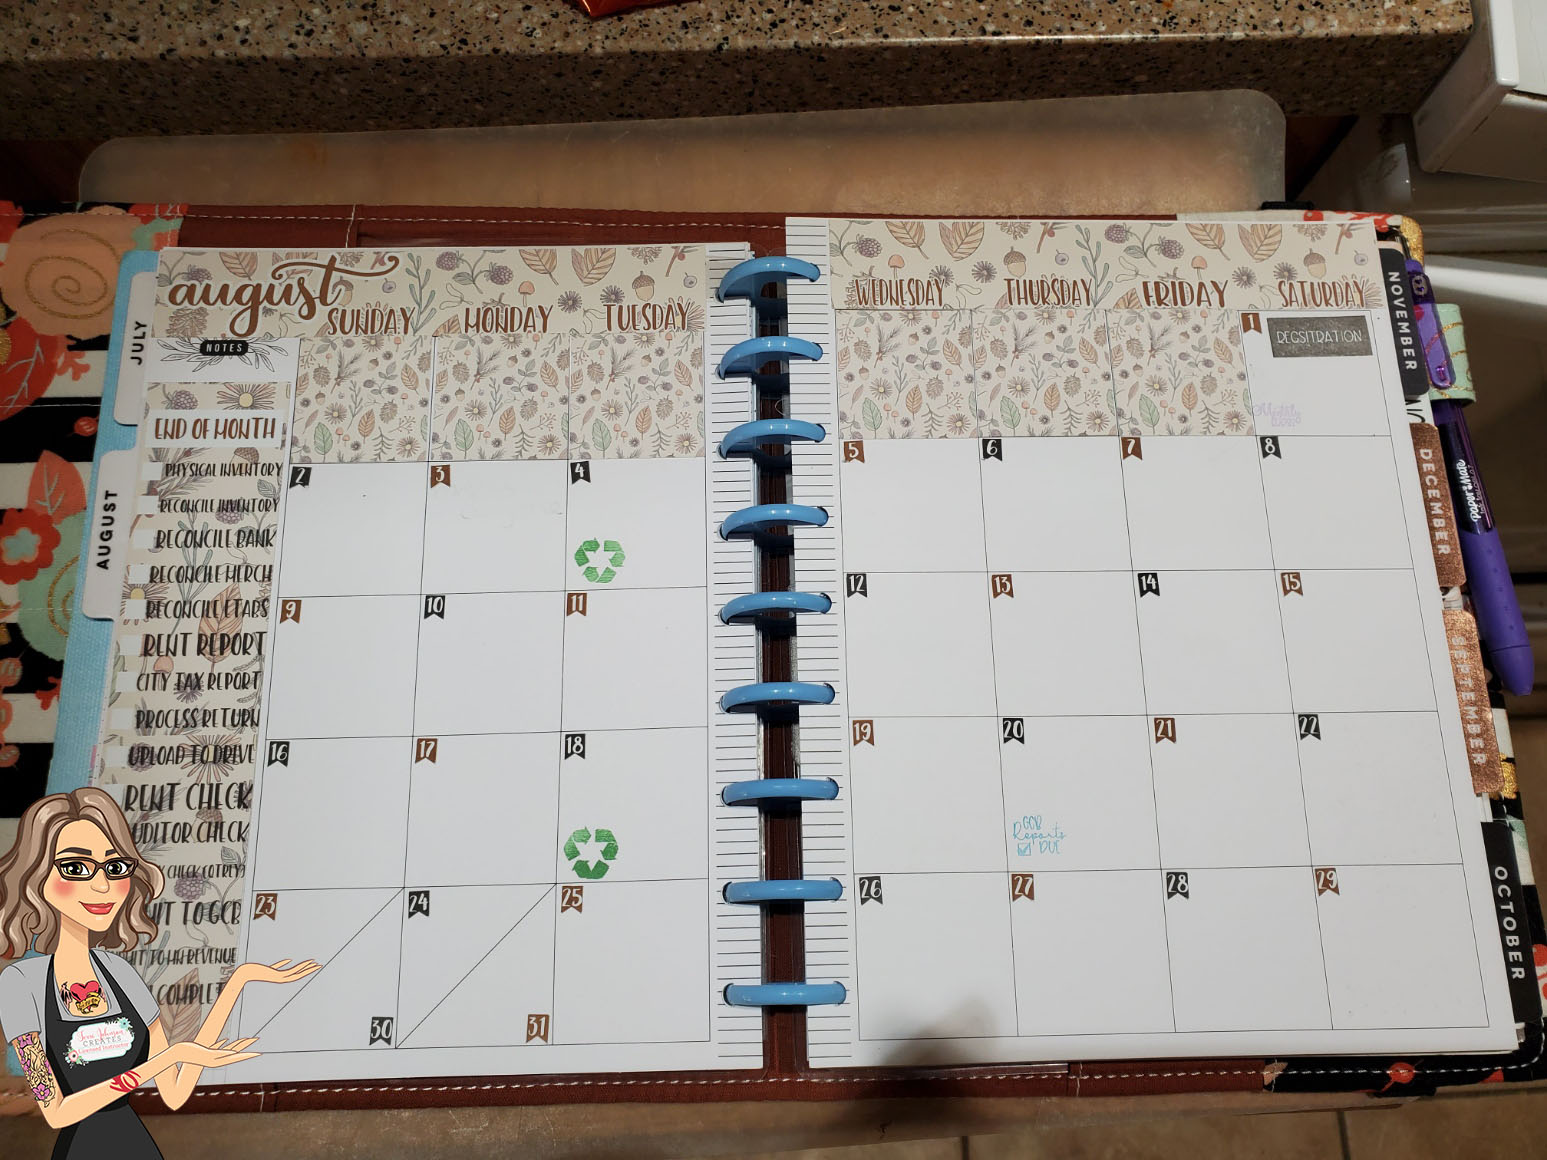
I love being able to do this in my planner every month. Here is a little “before and after” of my month. I can’t wait until I get to do next month. More fall colors and patterns!
Do you create stickers for your planner? I would love to see what you create!
You can post photos or ask questions on my Facebook page or in my group:
www.facebook.com/SilhouetteMade
www.facebook.com/groups/SilhouetteMadewithSarah
To share or save this post please pin the image below.
