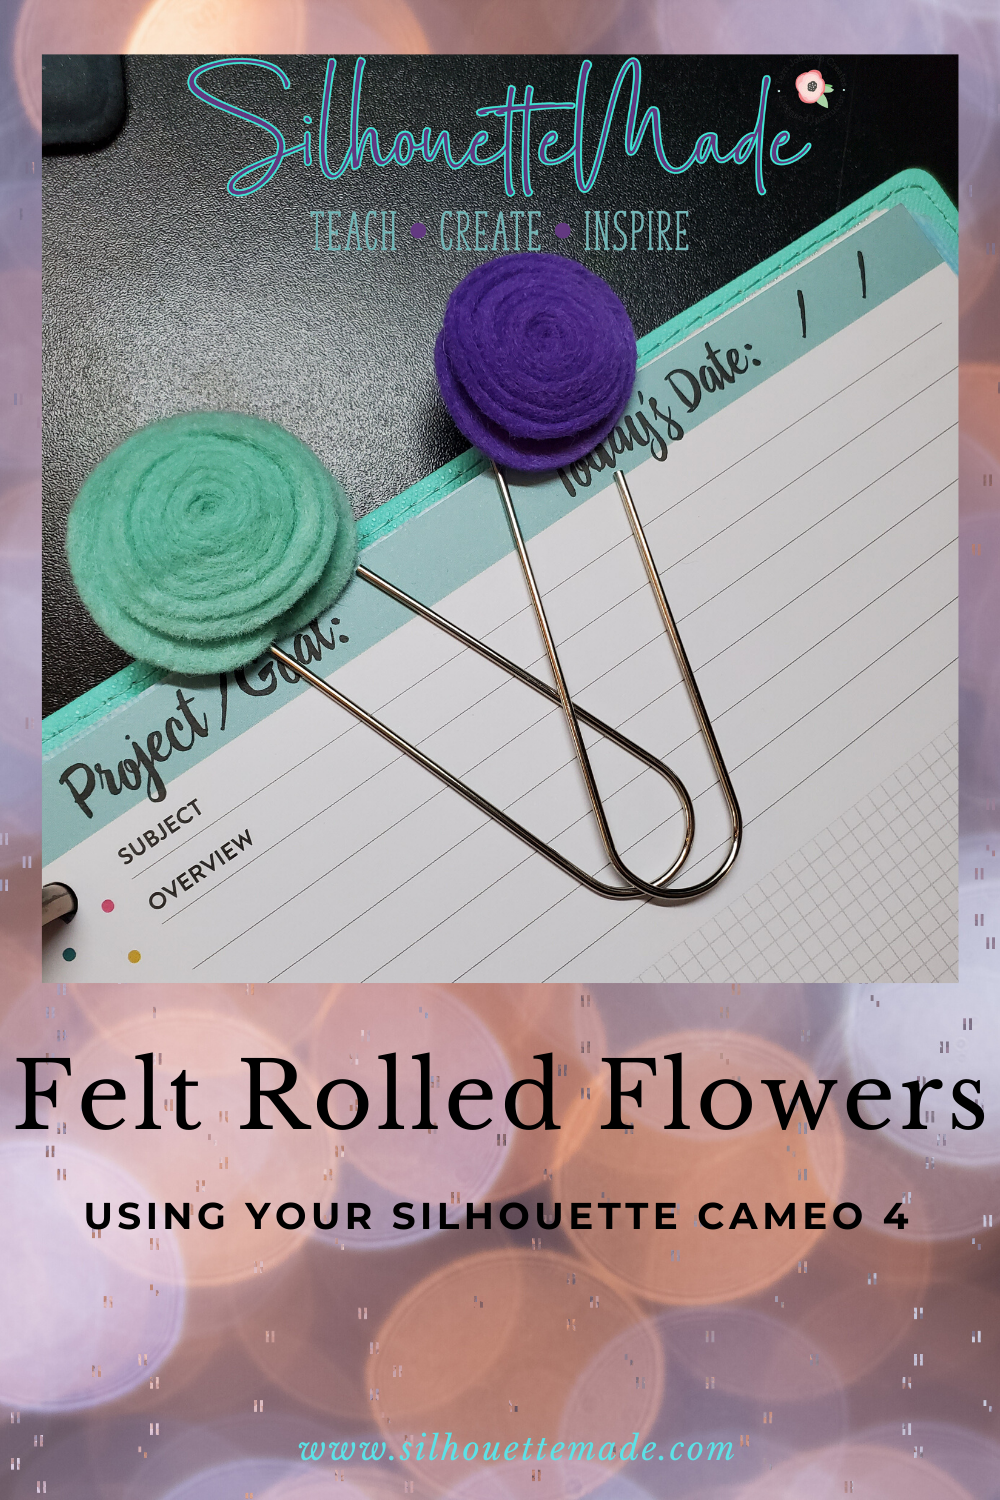
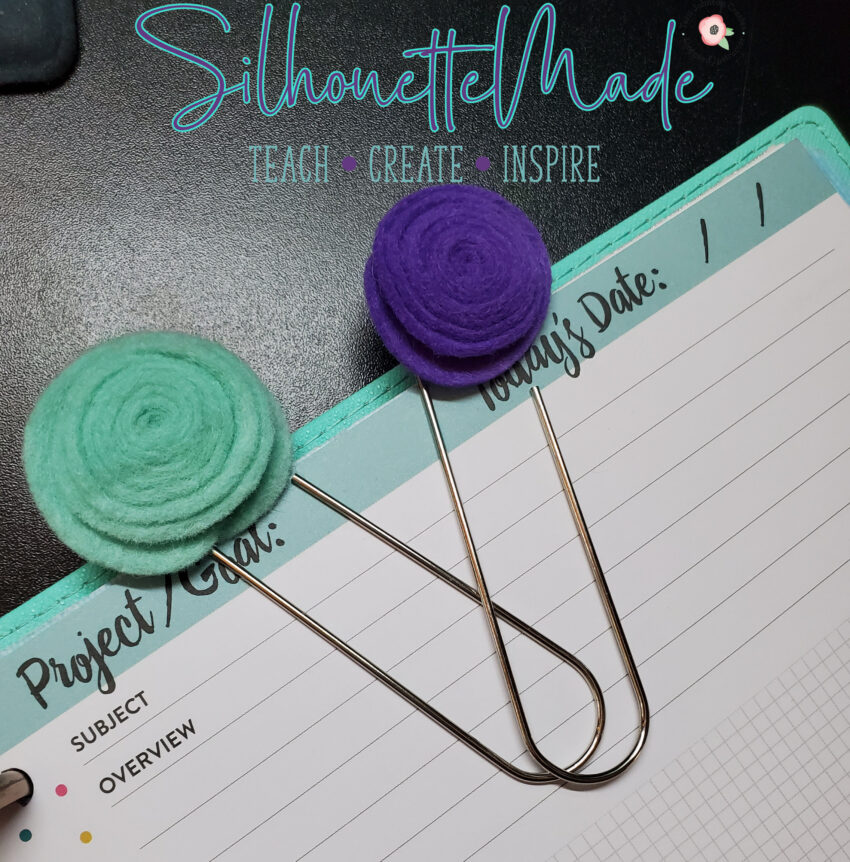
Sometimes, I just need a quick “creative” fix. I love quick projects for the times when I have other stuff to do but just really want to make something. These types of projects give me a quick “pick me up” when I’m busy doing things that aren’t extremely exciting……you know, like cleaning the bathroom….
For this project I used some large paper clips, but I have also used these felt flowers to make hairclips for my 4-year-old daughter. She loves it when I make new hairclips.
Ok let’s get started. For this project I used my Cameo 4 with a Rotary Blade. Prior to having a Cameo 4, I had tried and tried to cut felt with my older machines and nothing I did ever worked. I was so excited when the Cameo 4 and the Rotary Blade was released. This was one of my first projects.
I use felt from Benzie Designs exclusively. I love it. It is such an excellent quality felt. I have tried several brands of felt and this is by far my favorite. They have a broad selection of colors and sizes.
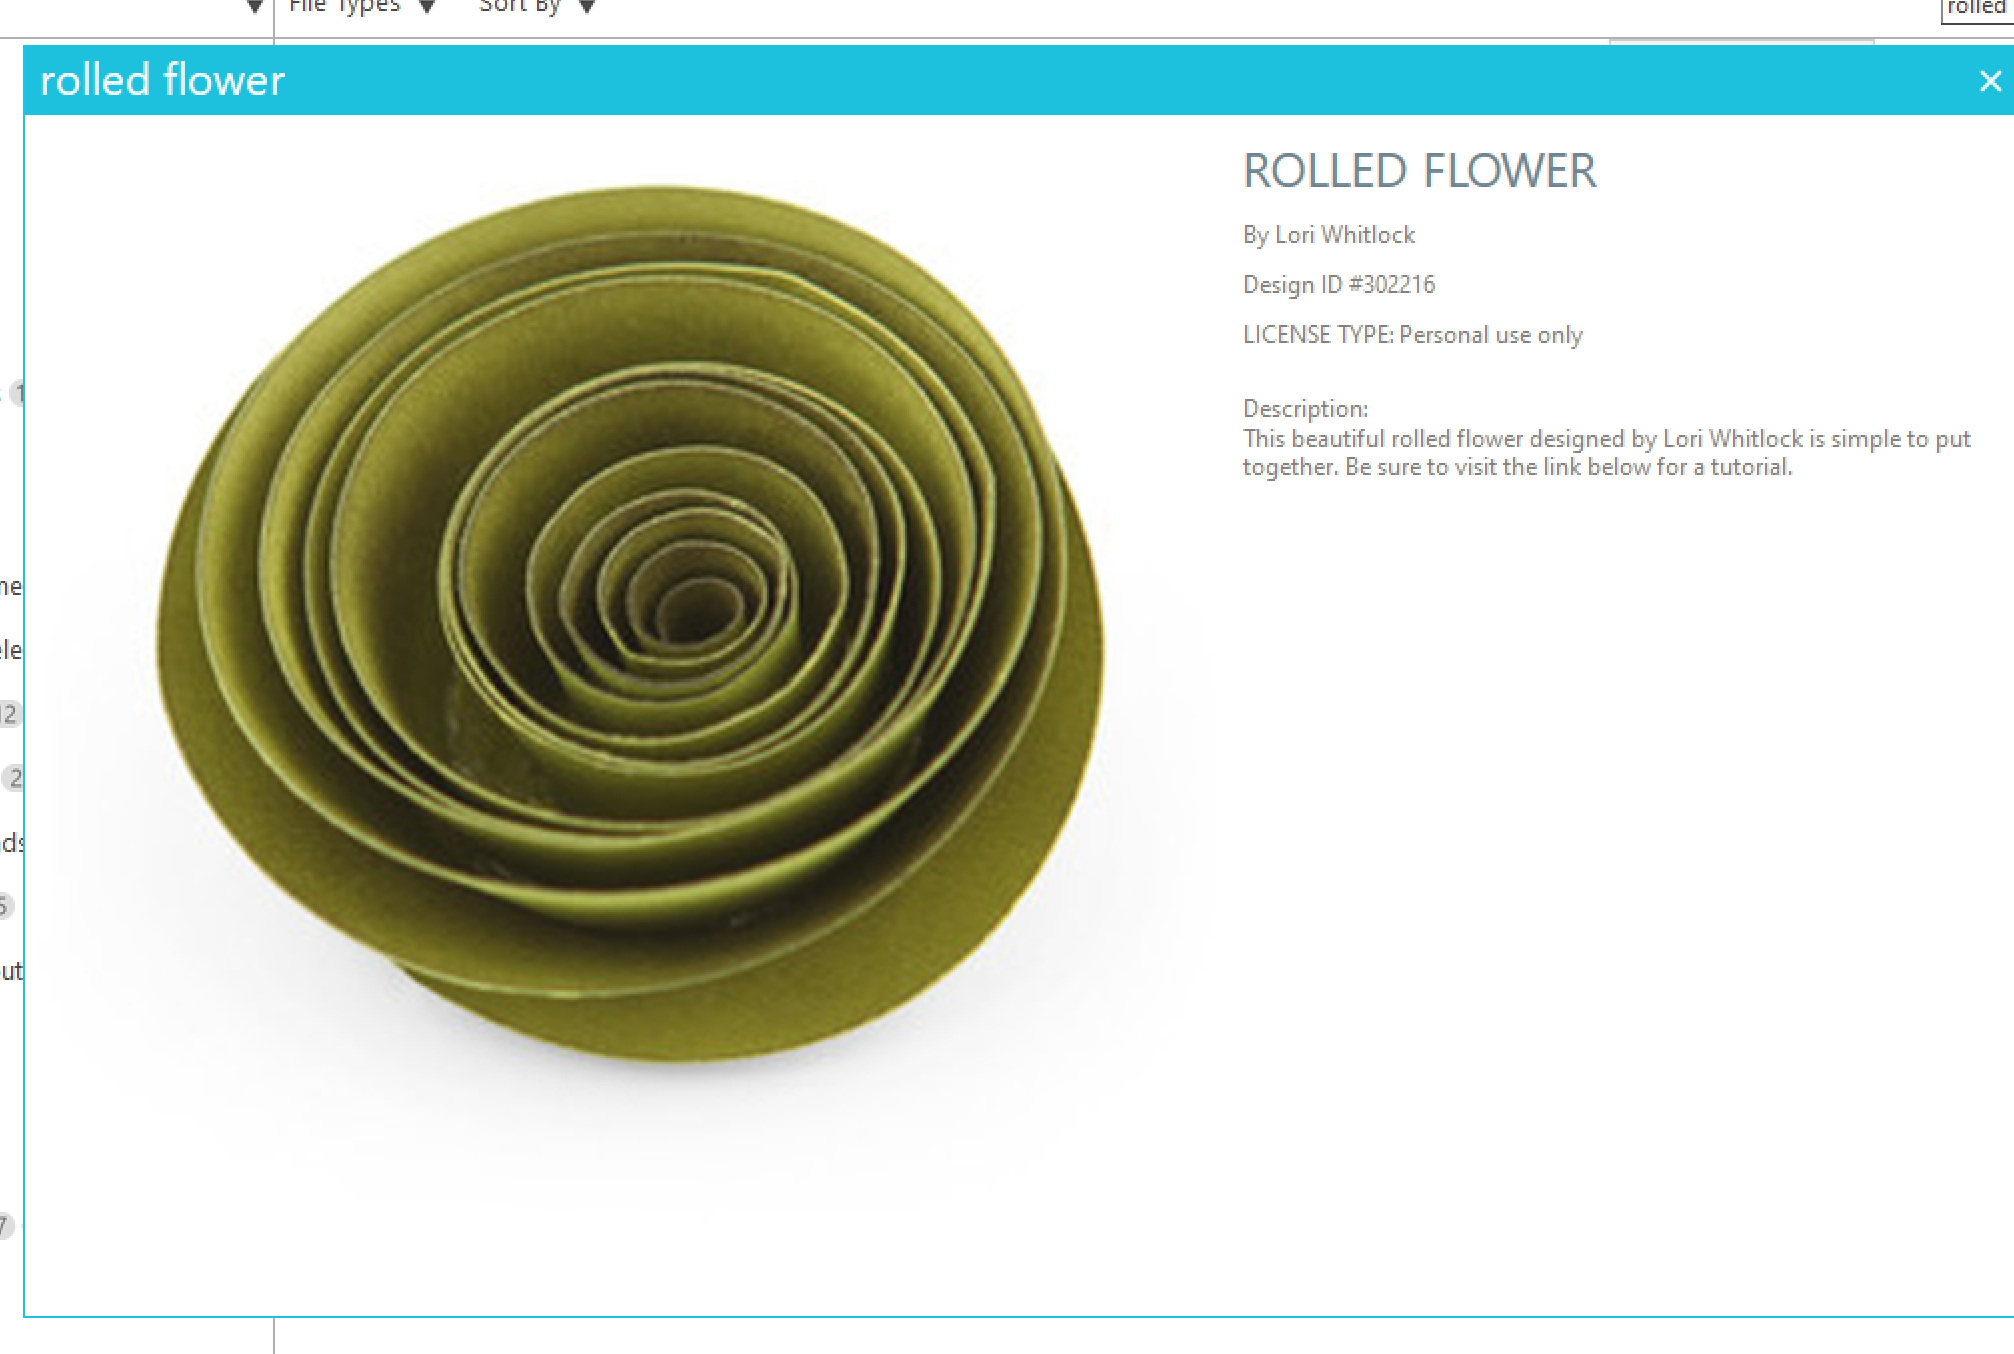
The first thing I did was decide on a file. I used a Lori Whitlock file from the Silhouette Design Store.
Once I purchased the file, it automatically downloaded to the recent downloads folder in my library. That is such a great feature, I love that I don’t have to worry about where the files end up on my computer. Although, files from the Design Store are the only thing I save in my Silhouette Studio library.
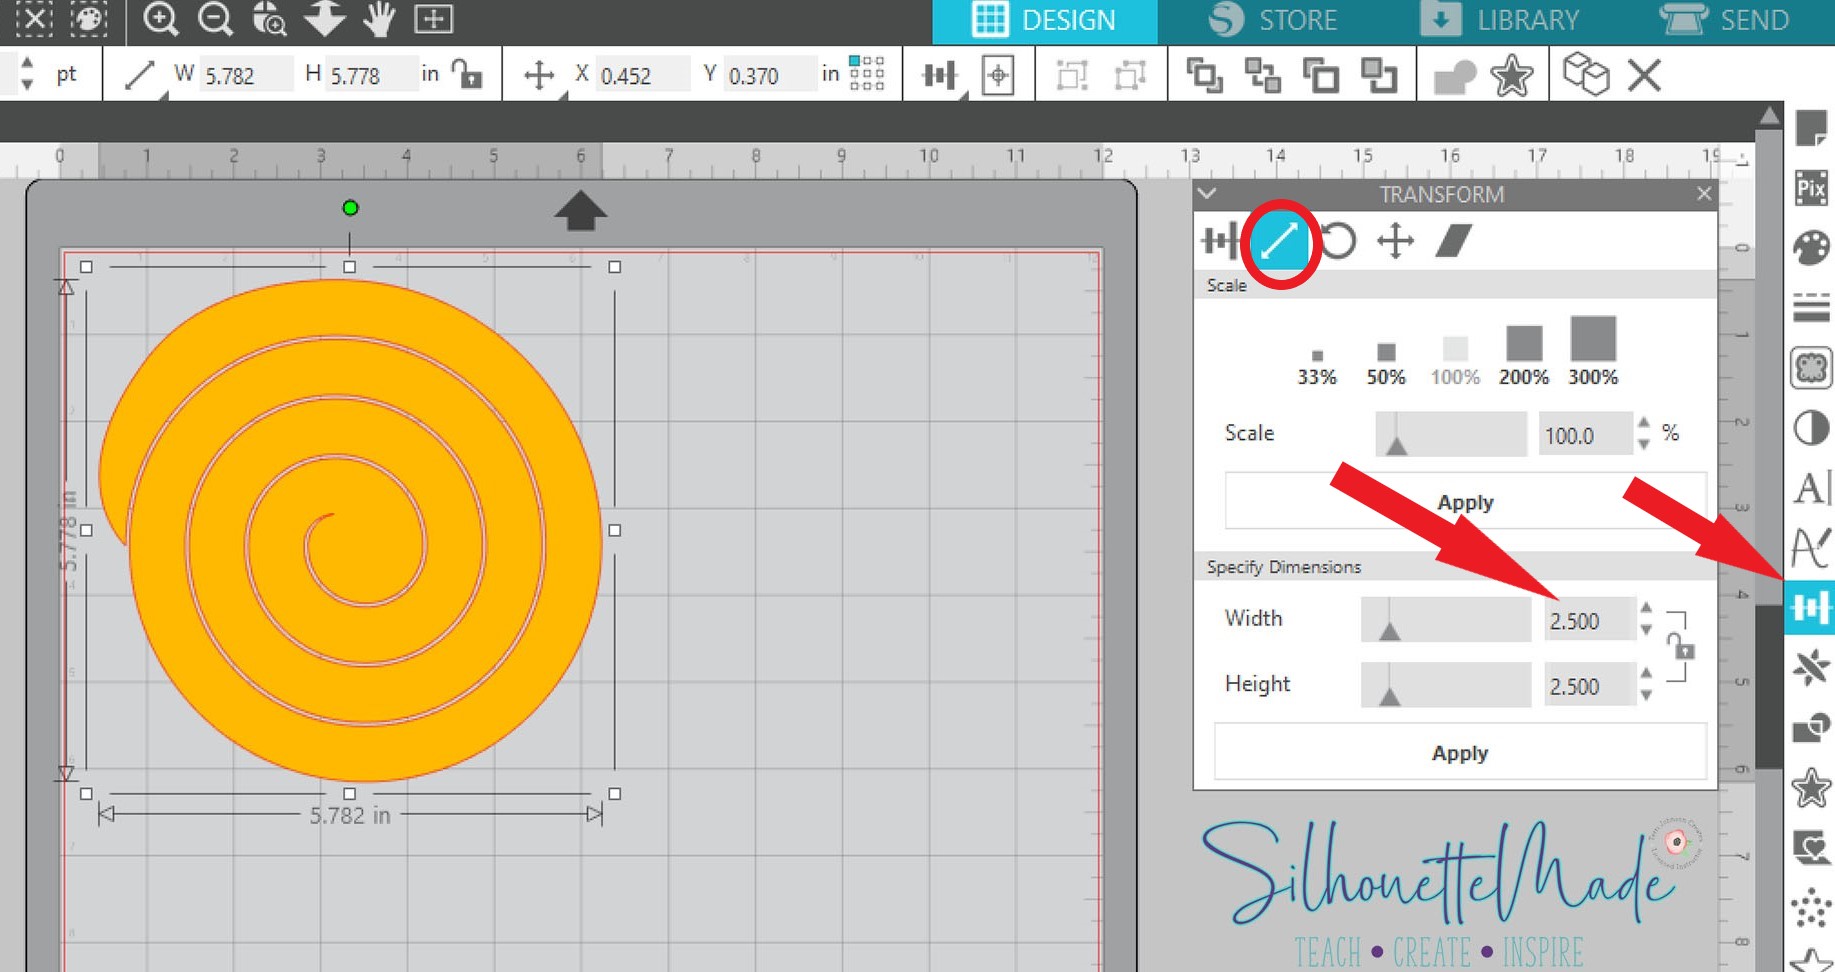
Now that the file is in my library, I double click on it to open it. Once the file opens it on my design tab, I resize it. The file opens at about 5.7 inches. I resized it to about 2.5 inches. To resize the file, open the transform panel on the right tool bar and choose the scale tab. On the scale tab, set the height and width to 2.5 and click on Apply.
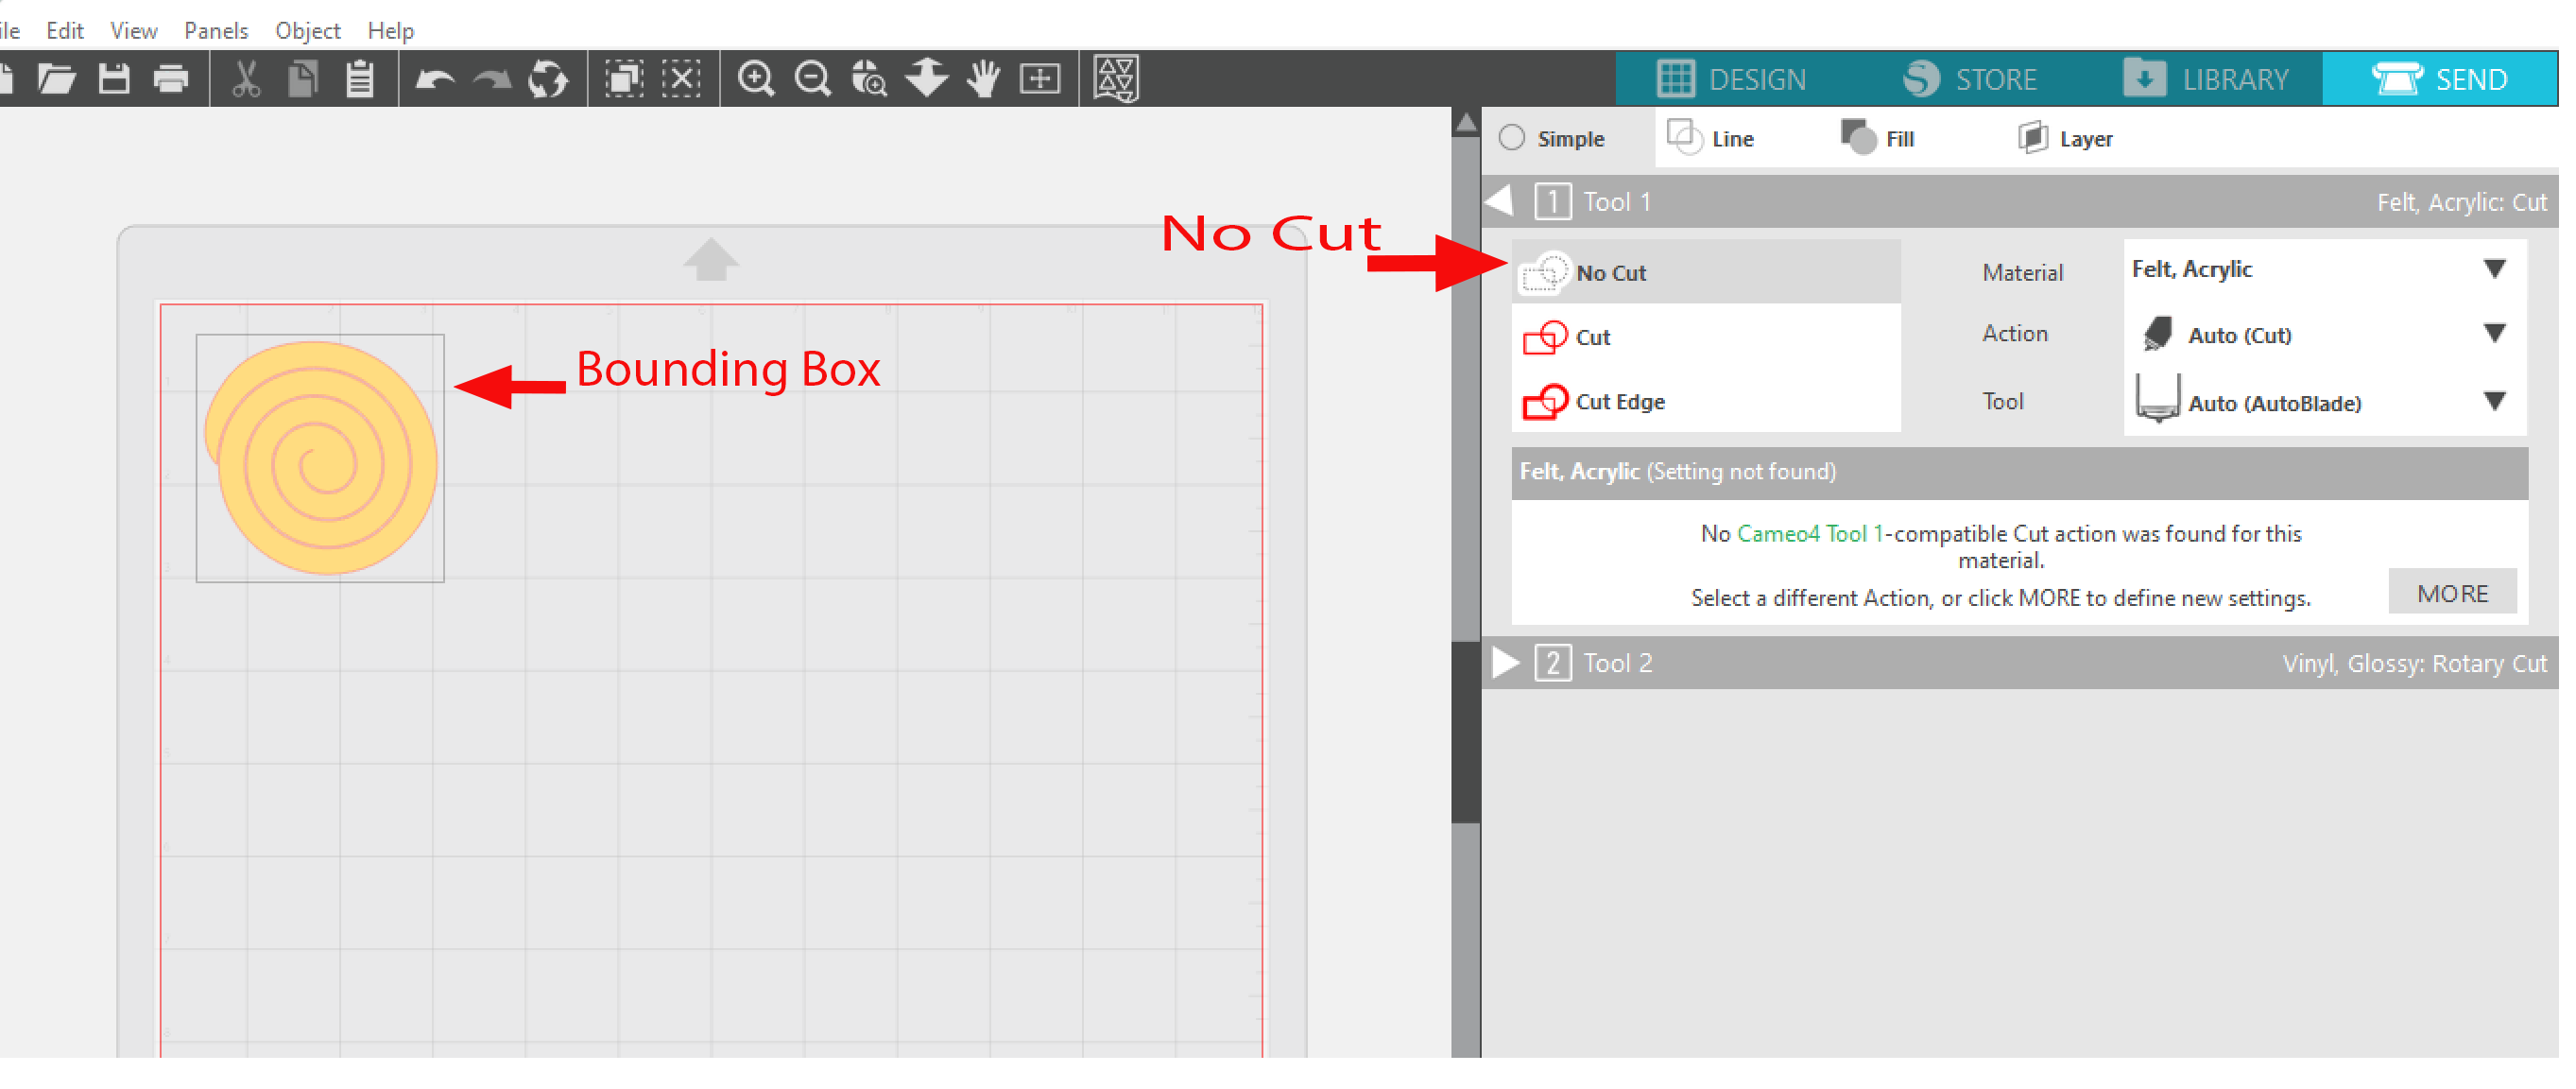
When that is done, the file is ready to send to cut. Click on Send at the top of the screen. Insert the rotary blade into tool 2, lock it in place. Now since we are using a rotary blade, and it can only be used in tool 2, we must turn off the cut lines for tool 1 before we can turn on the cut lines for tool 2. To do this, you click on the design to select it. You will know it is selected because it will have the bounding box around it. Then under tool 1, select NO CUT. Notice that the lines around my design are not BOLD. That means the cut lines are off.
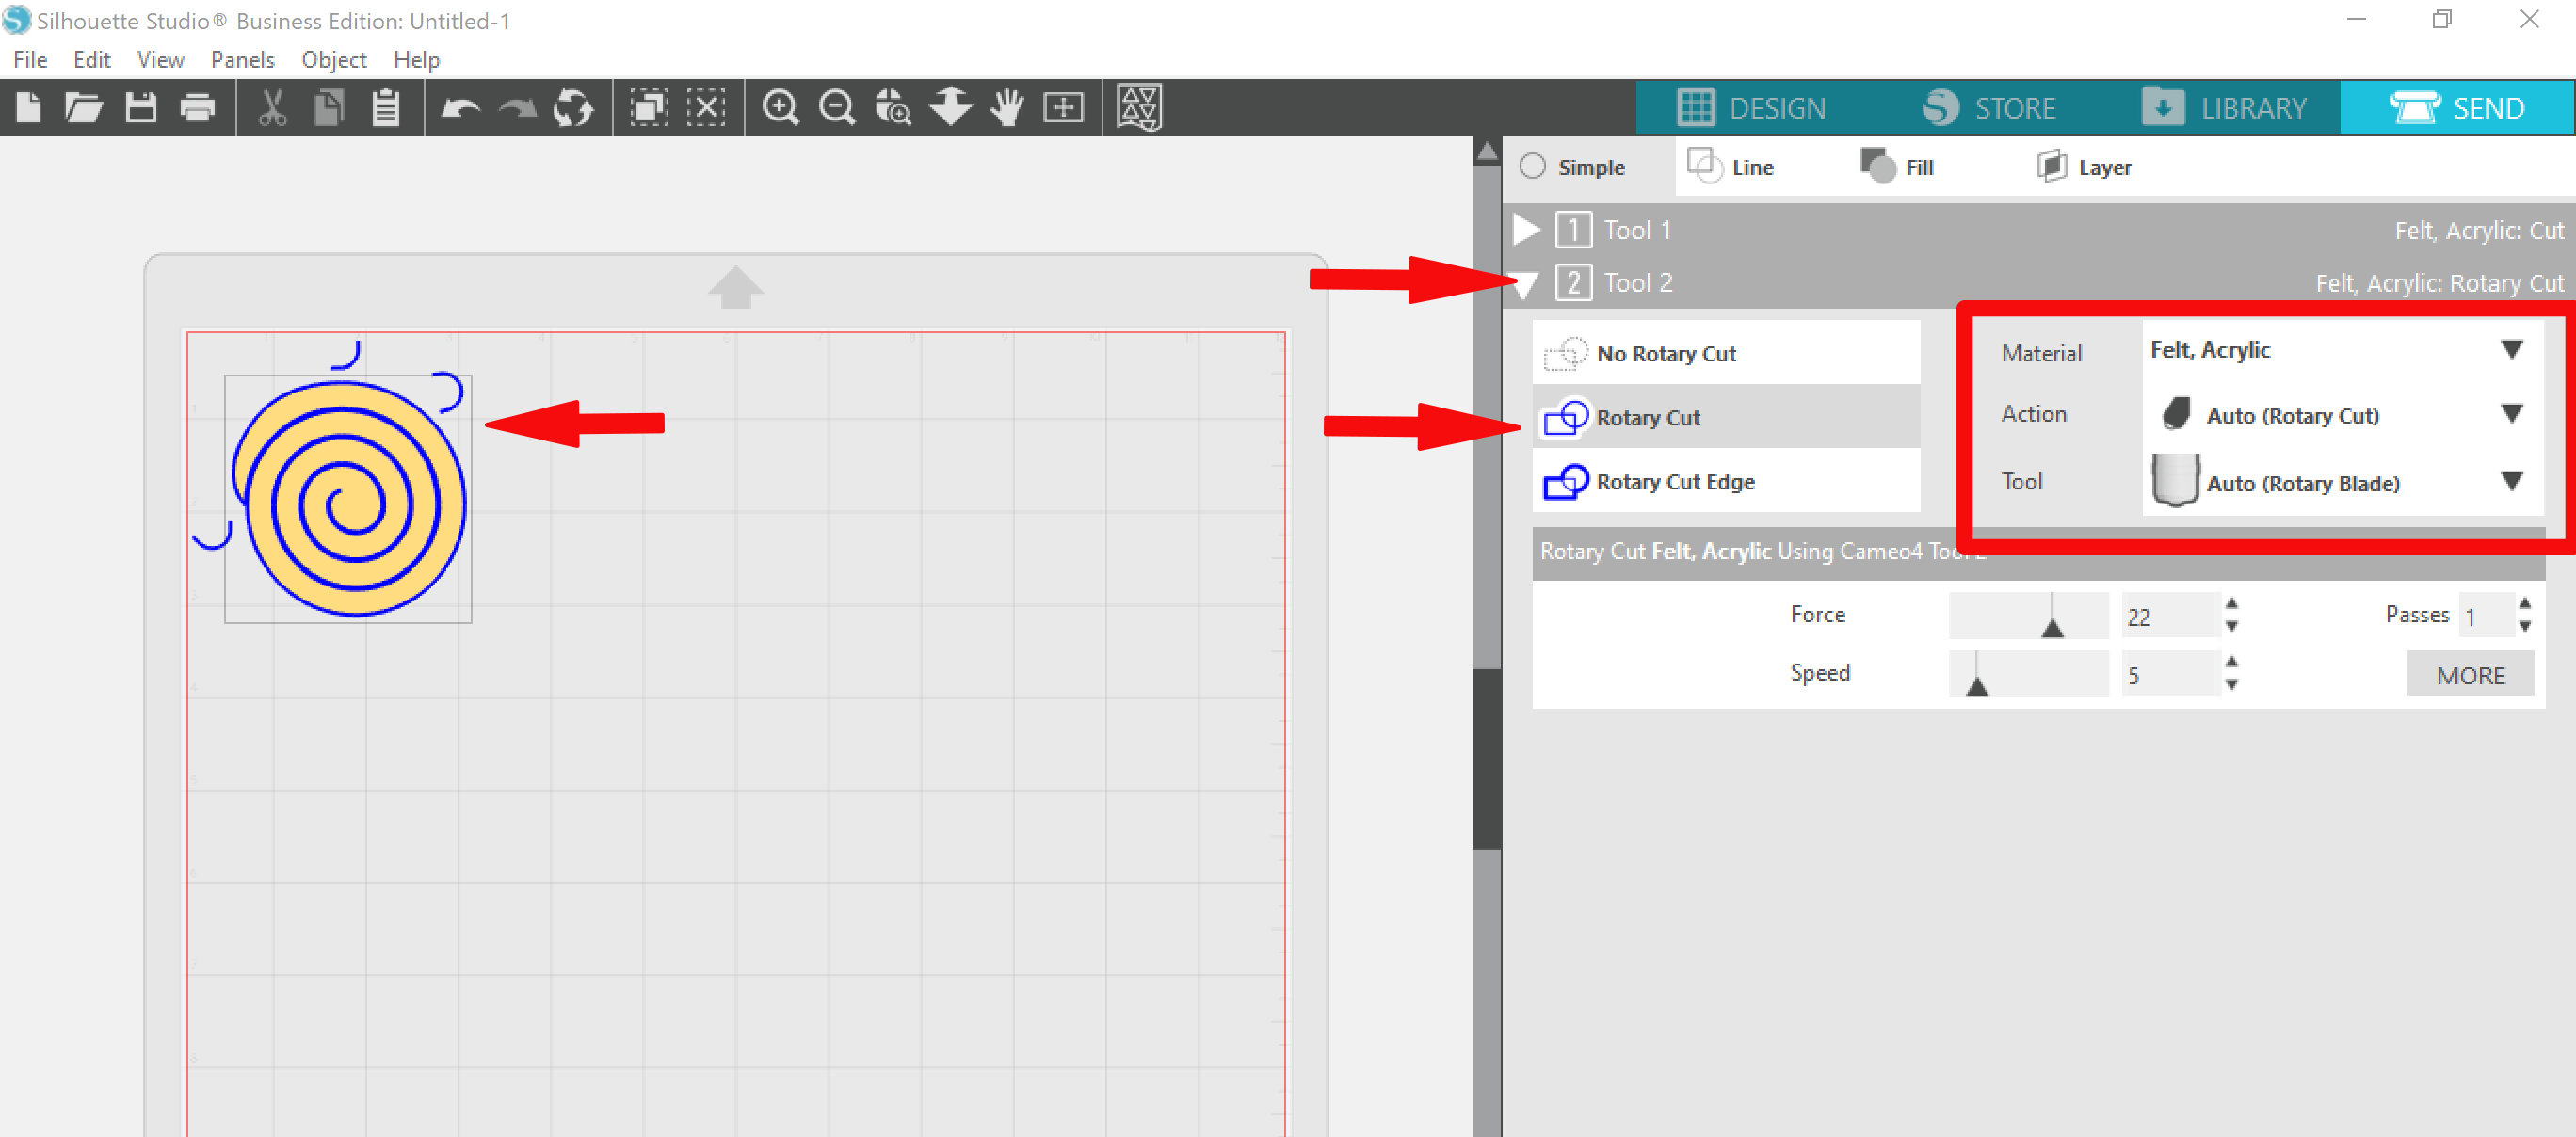
Now you want to expand out tool 2. You do that by clicking on the little triangle right next to where it says Tool 2. For the Material, I selected Felt, Acrylic. I made sure that the Action was set to Rotary Cut and the tool was the Rotary blade. I then chose Rotary Cut from the settings. As you can see, the cut lines turned a BOLD blue. That blue color tells you that you are using tool 2.
You can also see those little extra blue cut lines outside of my design. Those are the cuts that the machine uses to turn your rotary blade in the correct direction for the cut that it is making. It happens with the 2mm and 3mm kraft blades as well. That is why they are not recommended for intricate cuts.
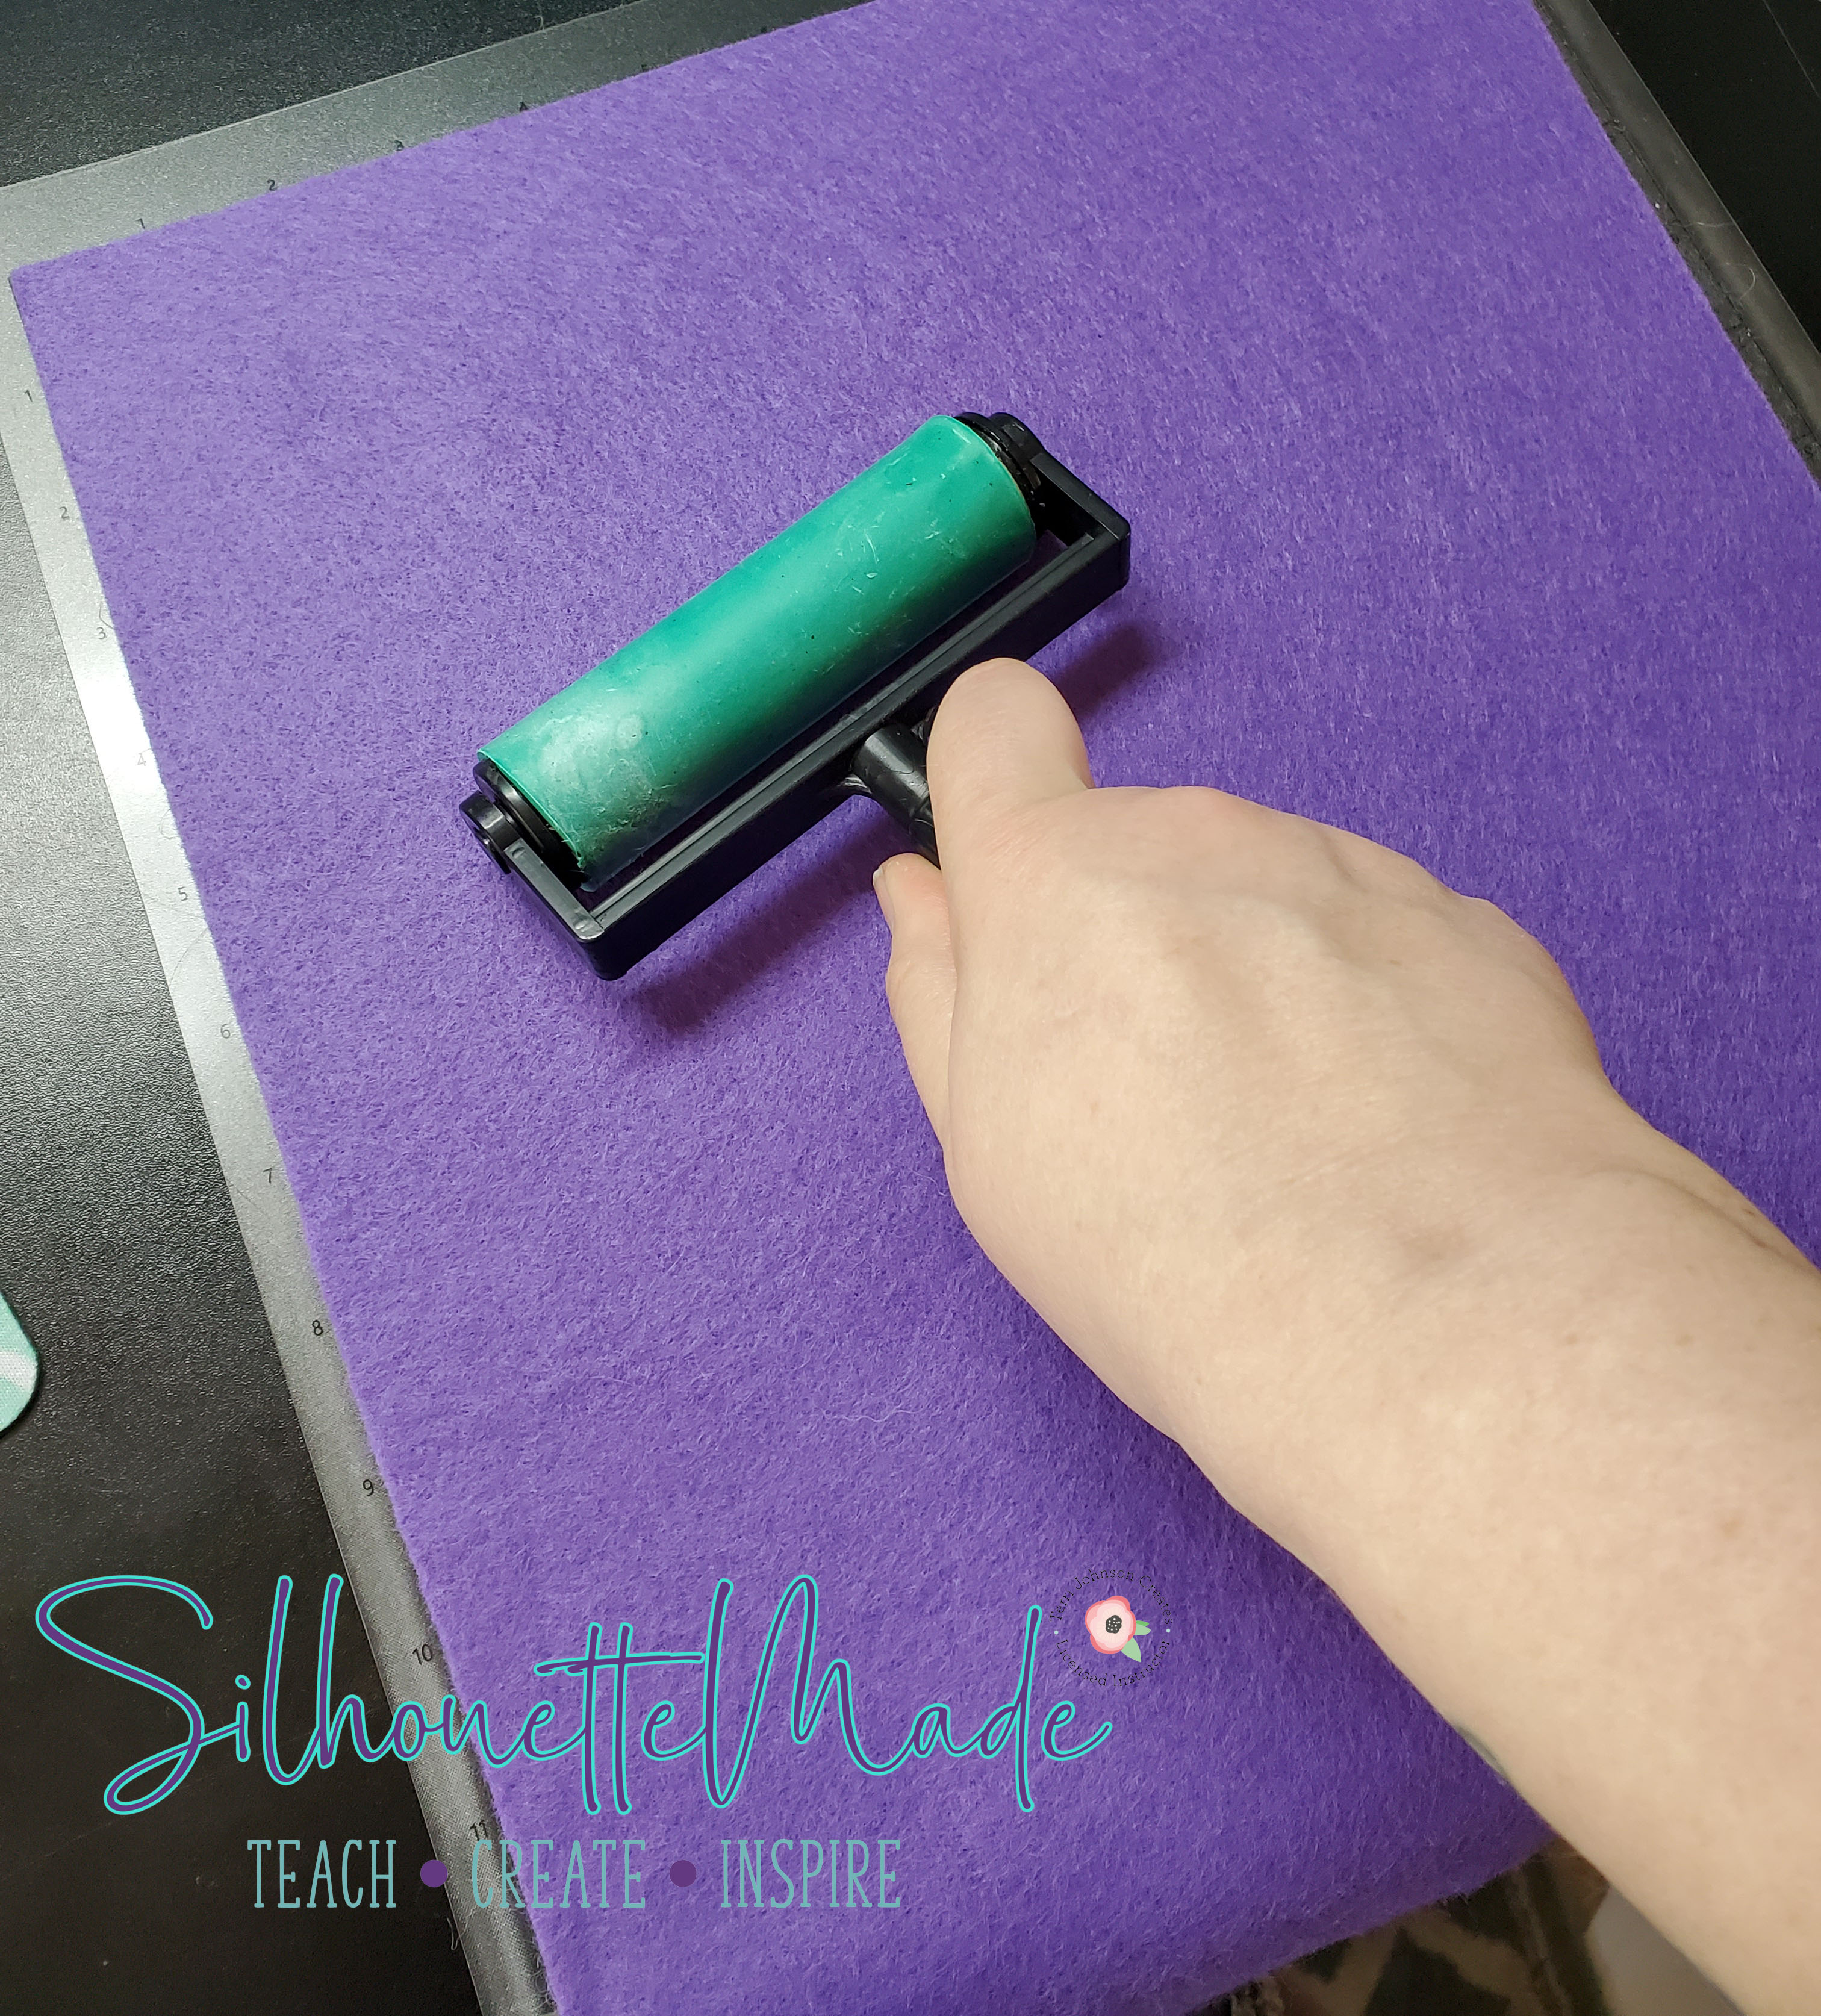
Ok, so now that the software is all set up and ready to go, we need to get our felt on our mat and our mat loaded in the machine. First thing I do is I lay my felt on the mat and use a brayer to get it stuck down pretty well.
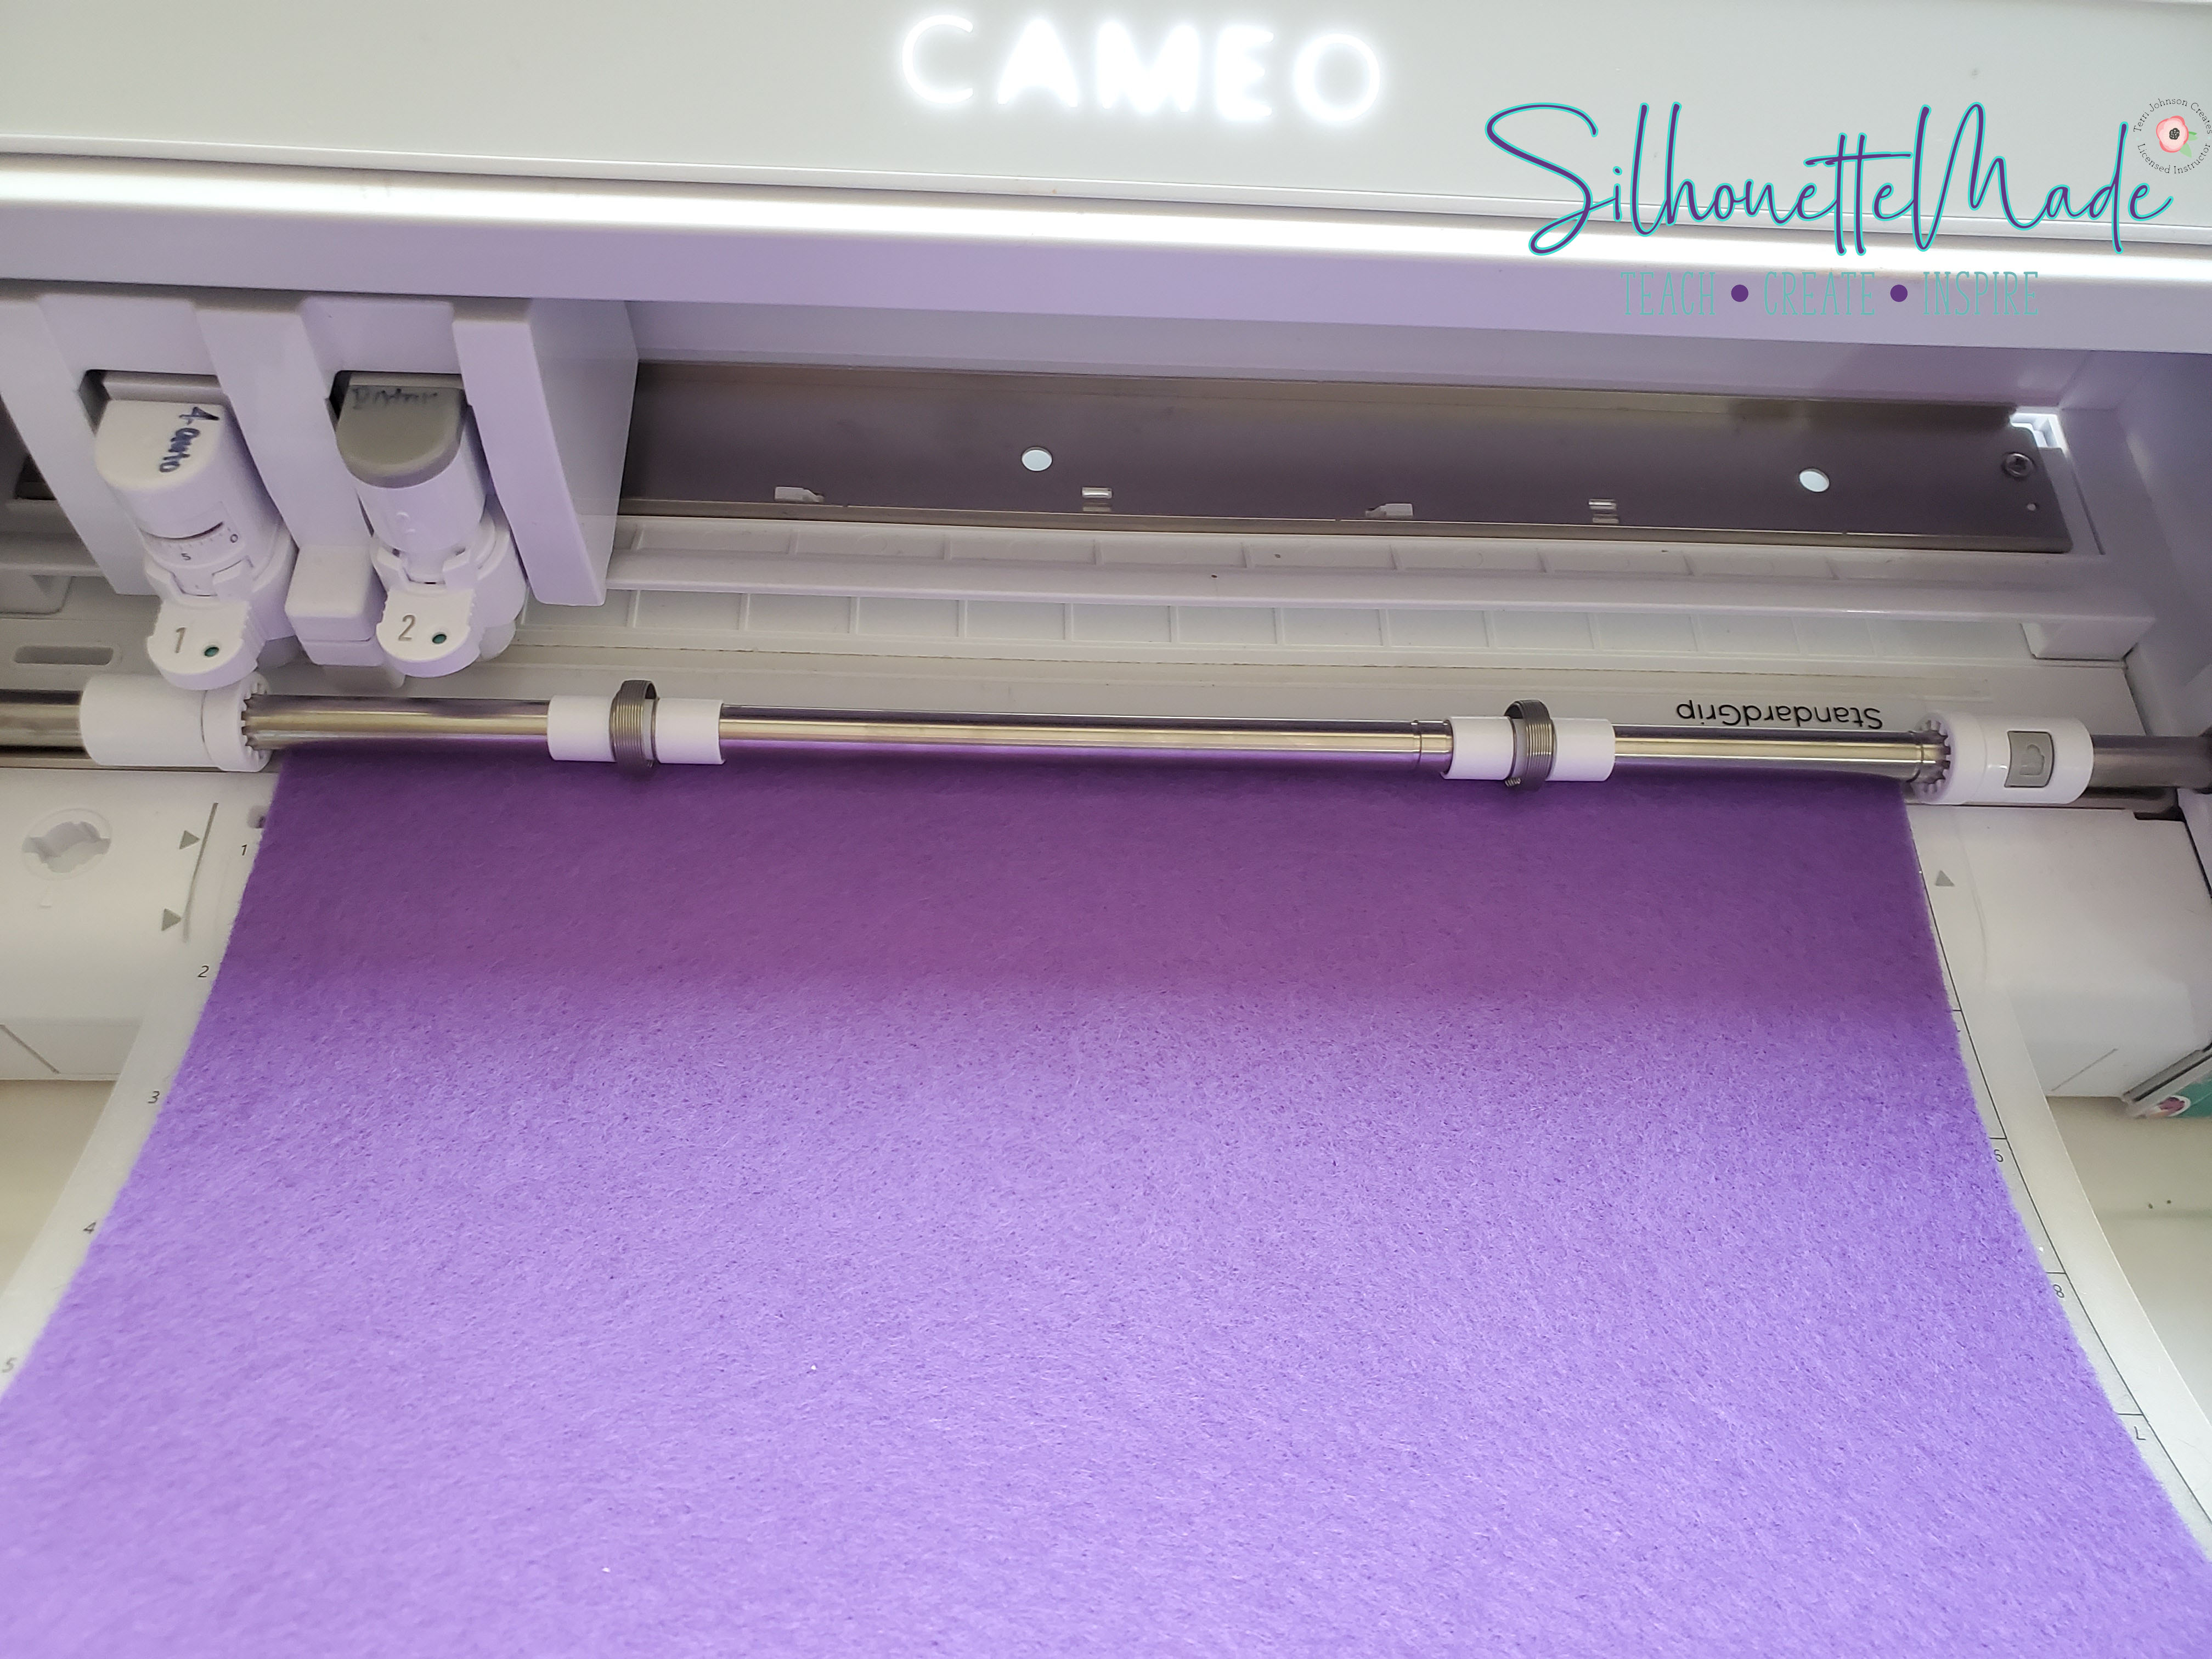
Once that is done, load the mat. Make sure when you load the mat that the edge of the mat lines up with the arrows on the left side of the machine. And hit SEND in the software. While it is cutting, I typically plug in my glue gun, so it starts heating.
After it is done cutting, unload the mat and grab one end of the rolled flower and pull the felt flower off the mat. Once you have it off the fun begins. Starting at the outer piece of the rolled flower, start rolling. Experiment with different “tightness” levels when you roll to achieve the look you want. Although you do not want it too loose.
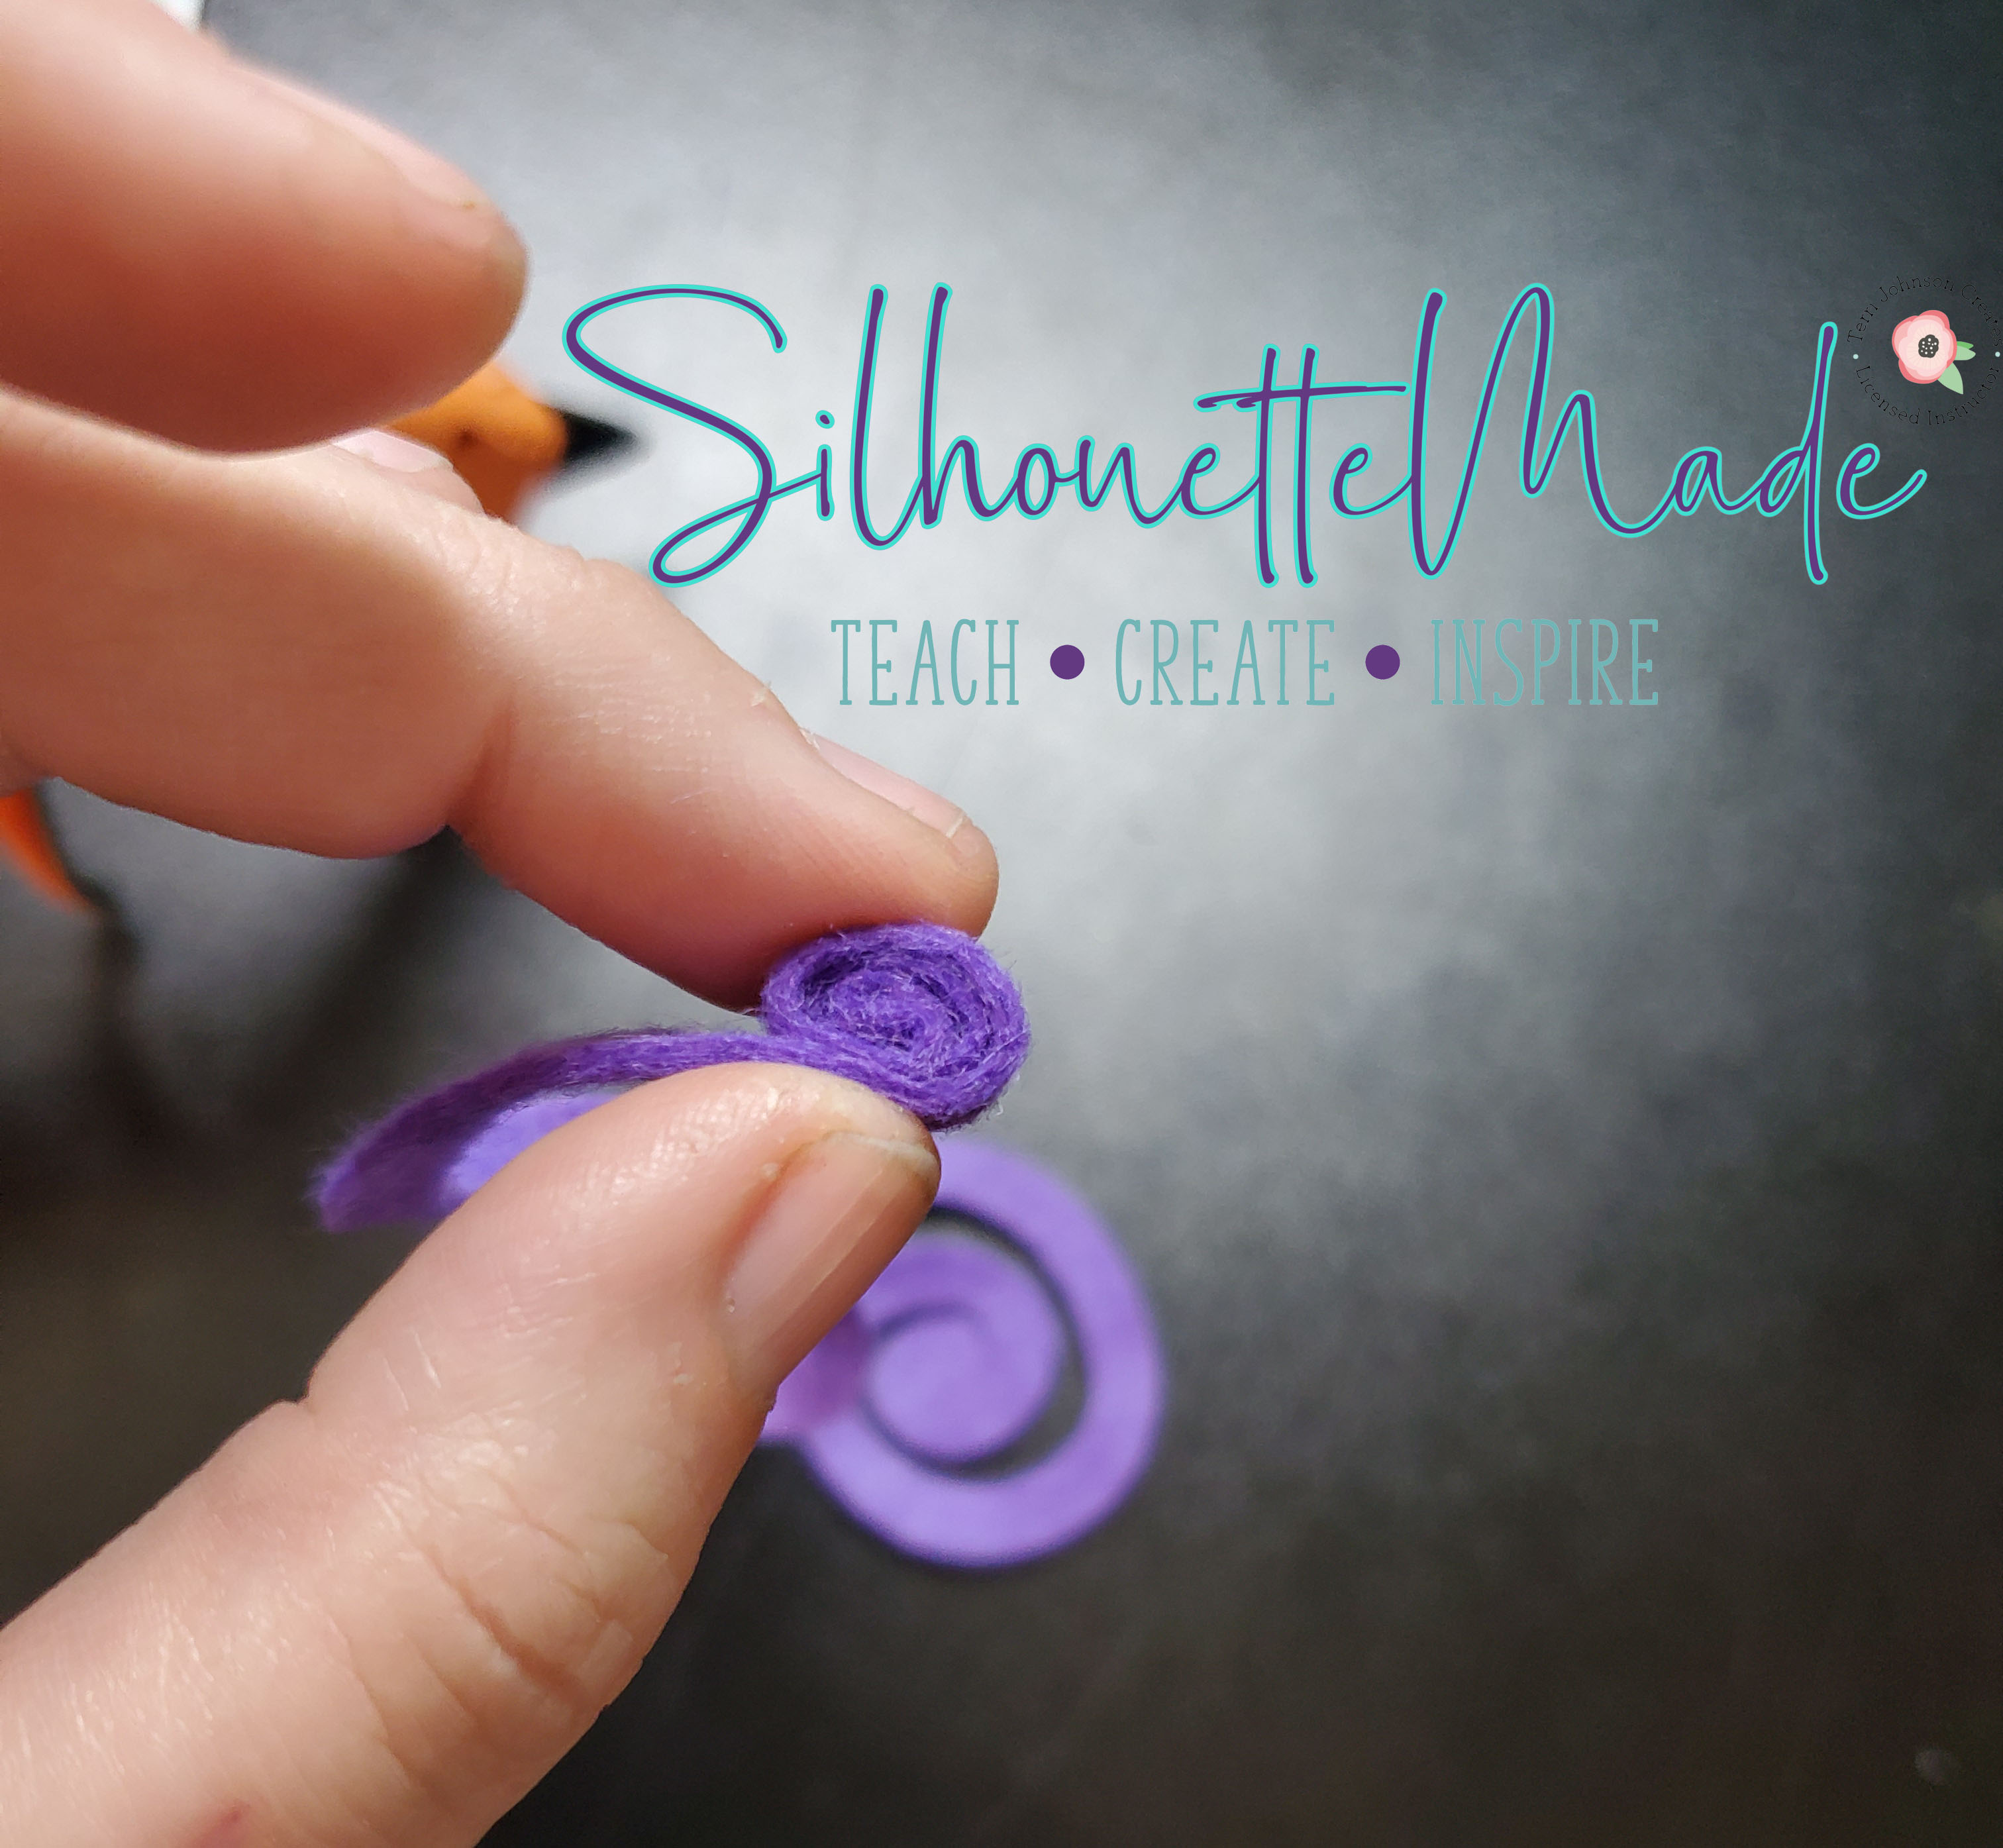
Once you get to the end of the felt, fold the end piece under the rolled part of the flower and glue it in place. I like to make sure that the glue covers the whole bottom so that there is no chance it will come unrolled.

Give it a minute or two to harden, then put a dab of hot glue on the paper clip, hair clip, or whatever you are putting it on and stick it right on. This is such a quick and easy project and it’s fun to do too.
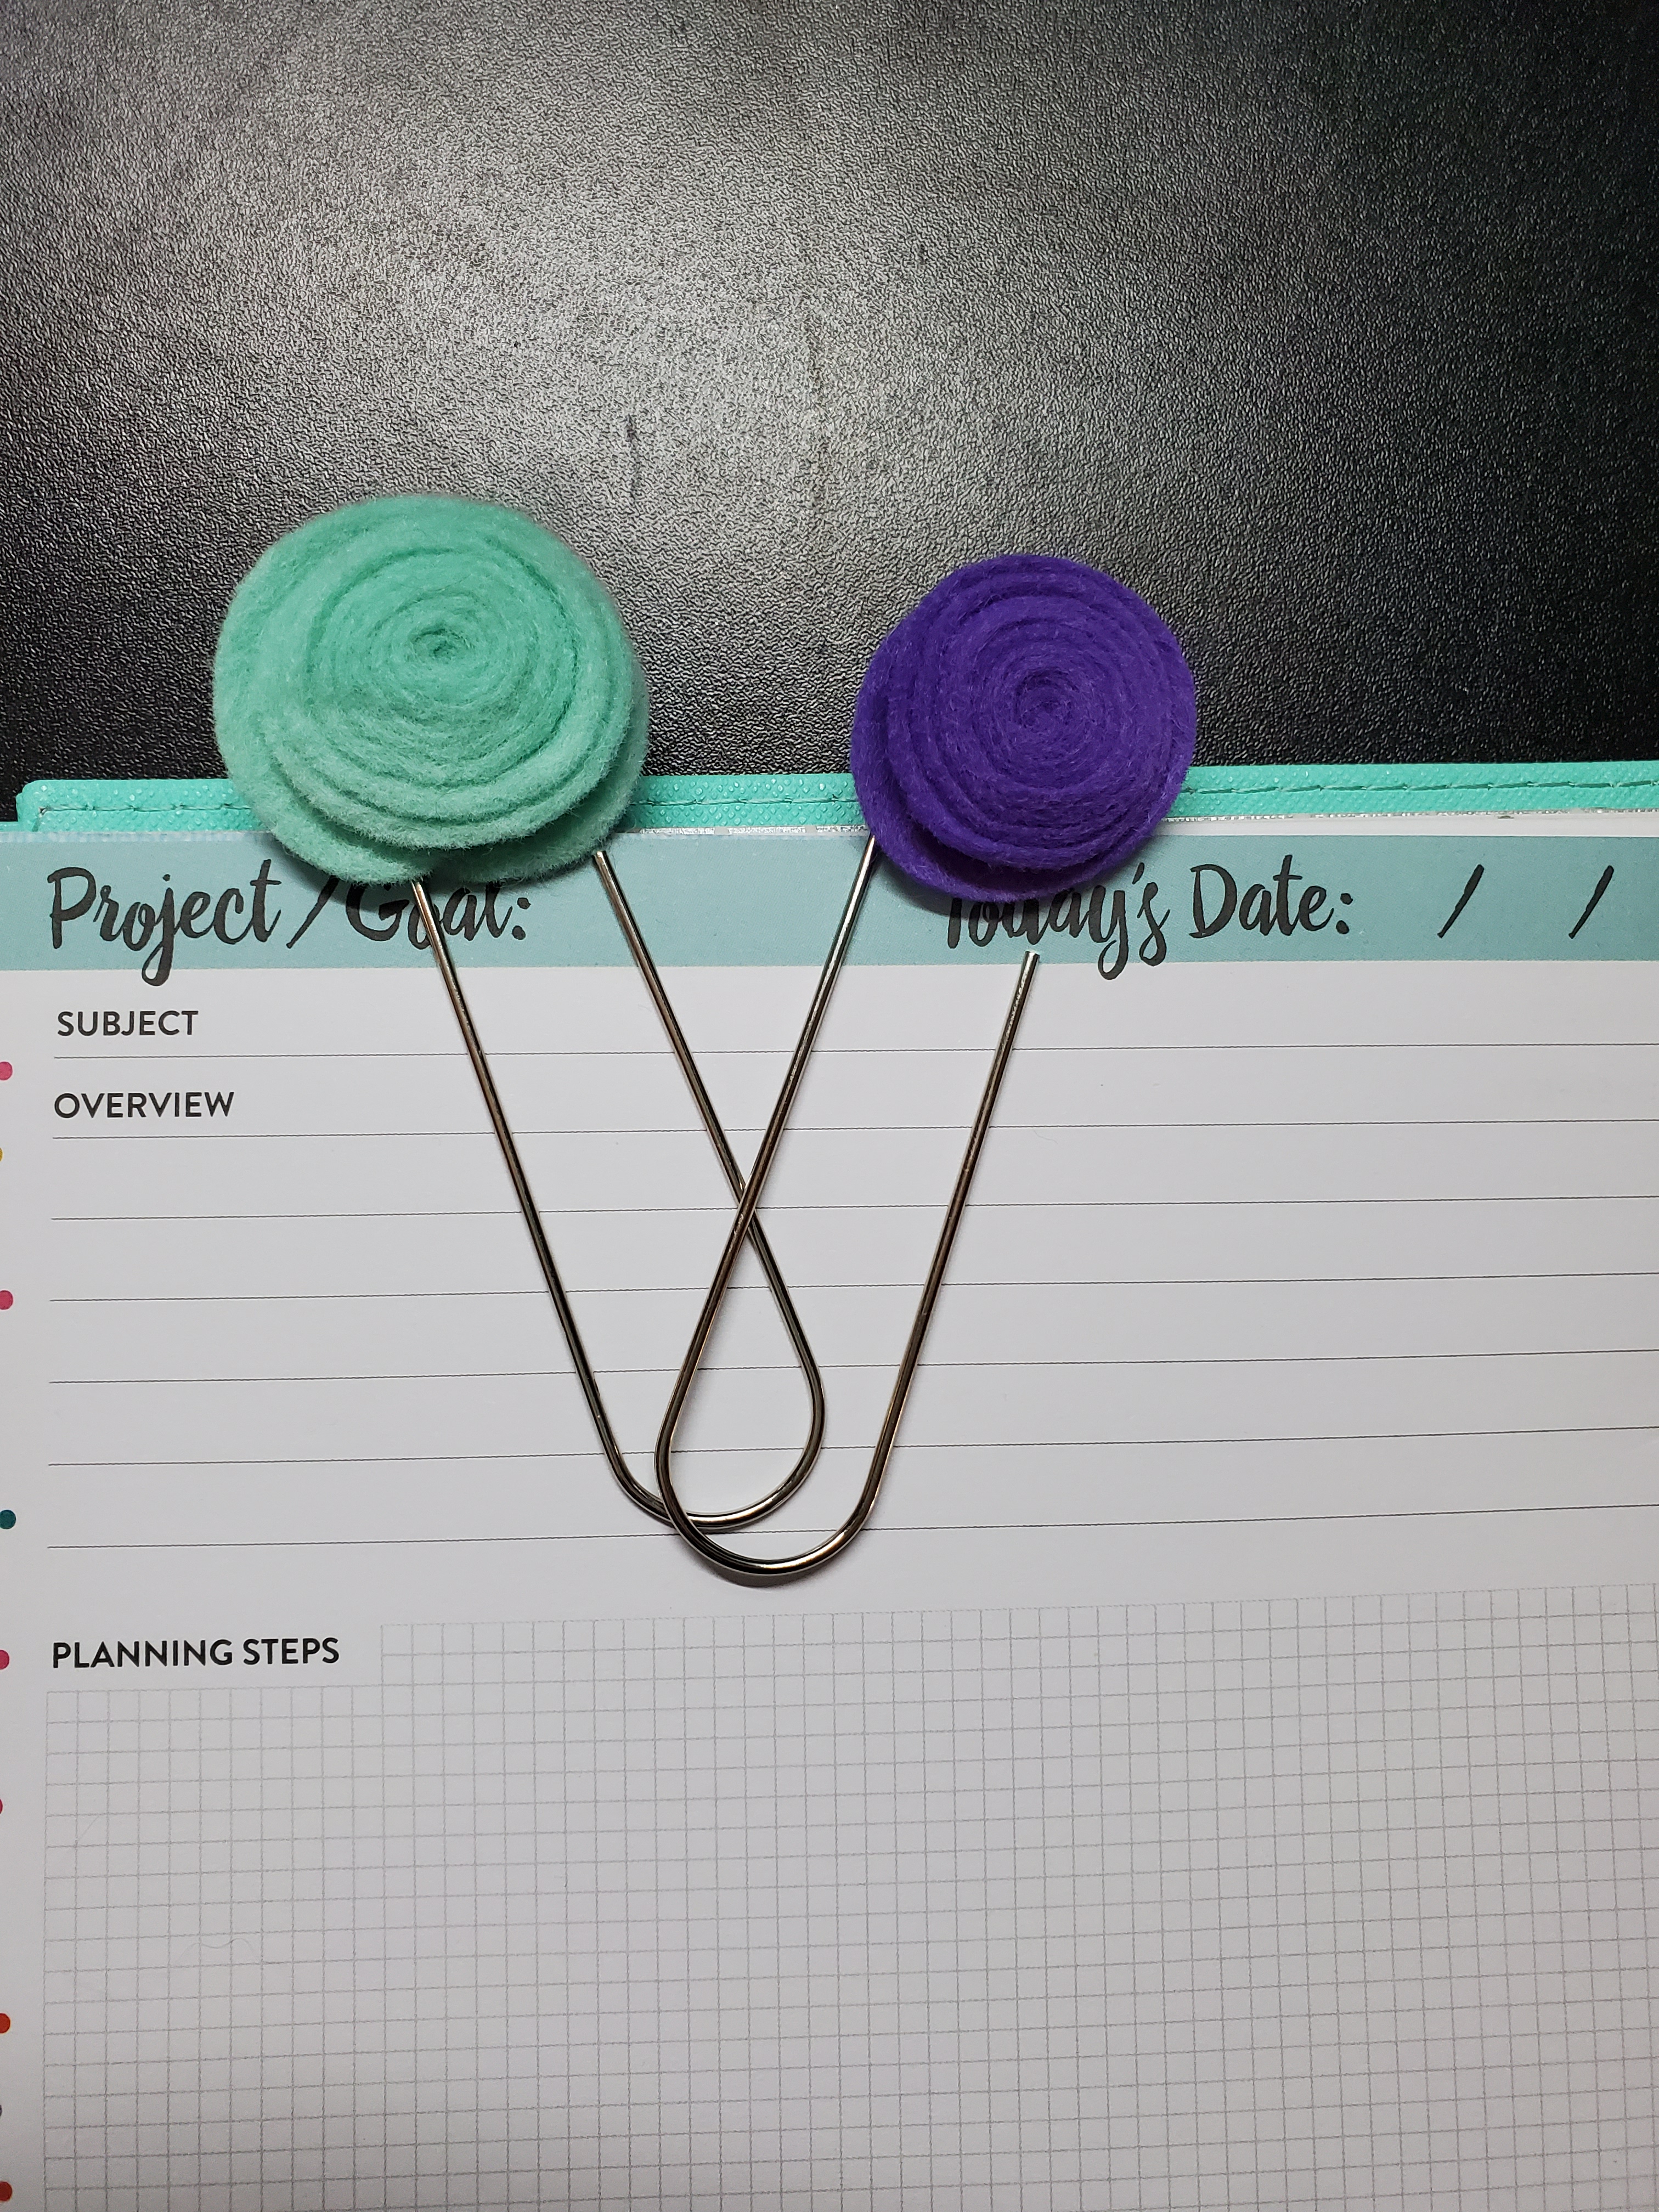
I would love to see your projects. You can post photos or ask questions on my Facebook page or in my group:
www.facebook.com/SilhouetteMade
www.facebook.com/groups/SilhouetteMadewithSarah
To share or save this post please pin the image below.
