With the release of the new Silhouette Portrait 3, there are some things that a new Portrait owner should know. While I don’t have the Portrait 3, I do have the Portrait 2, and this basic info is universal across the Portrait line. The blade installation in the Portrait line is somewhat different between the different machines, the Portrait 3 is similar to the Cameo 4, the Portrait 2 is like the Cameo 3, and the Portrait 1 is like the Cameo 1 and 2. This is because of the changes in the blade types between Portrait releases.
Installing the Blade
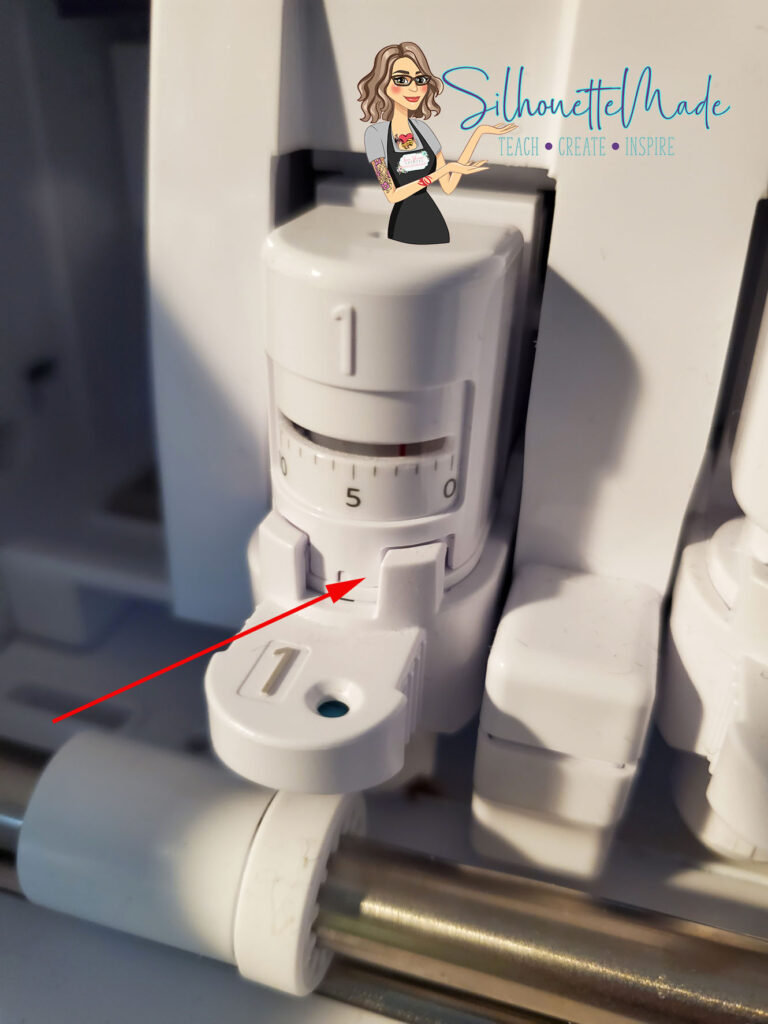
To install the auto blade on a Portrait 3 is just like it is on a Cameo 4. Since I don’t have a Portrait 3, my picture below shows the cameo 4. It should still look the same when installed correctly. Make sure the blade is pushed all the way down in the holder and locked into place.
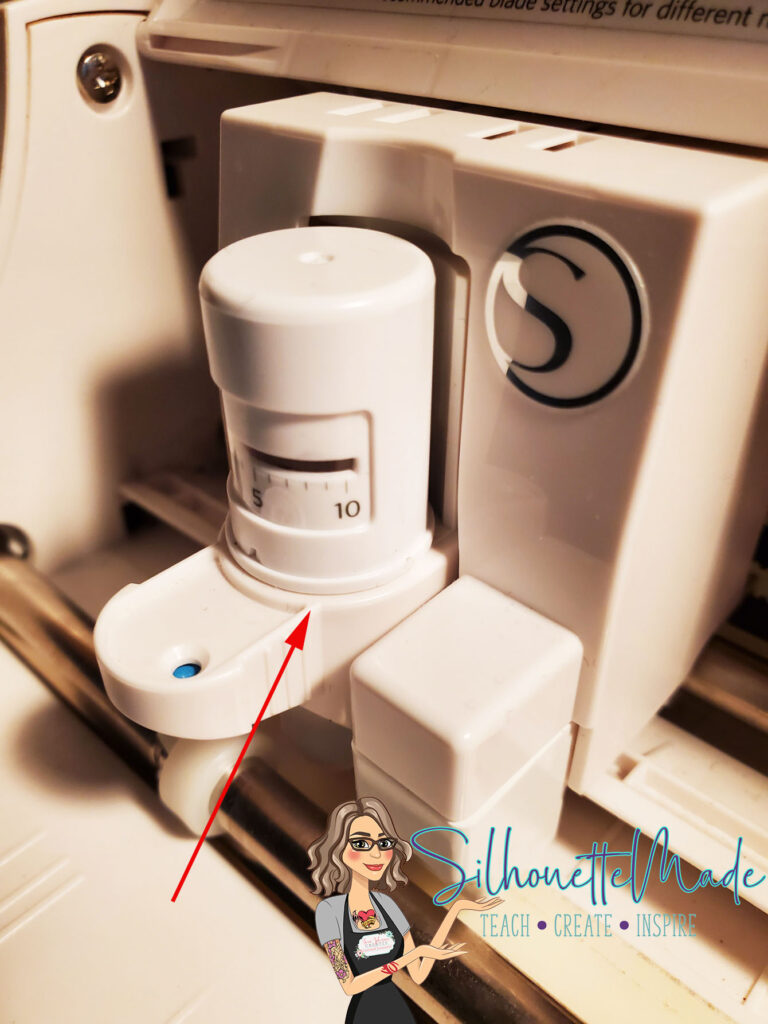
Installing the autoblade on a Portrait 2 it is the same as a Cameo 3. This is shown on my Portrait 2 below. Notice that there is no gap between the blade and the blade housing. Even the smallest gap can cause cutting issues. Make sure it is pushed down completely and locked into place.
Loading the Mat
This is where the similarities across the Portrait line are the same. The mat loads in the same position no matter which Portrait machine you own. So, this process is not as intuitive as it is in the Cameo line of machines. On a Cameo there is a line with arrows. This is not the case with a Portrait. On a Portrait, there is a series of lines. When you load the mat, you do not want to line it up with the line to the farthest left, this line doesn’t really signify anything. If you look at that line and the lines that go all the way across the front of the Portrait you will notice that those are all similar.
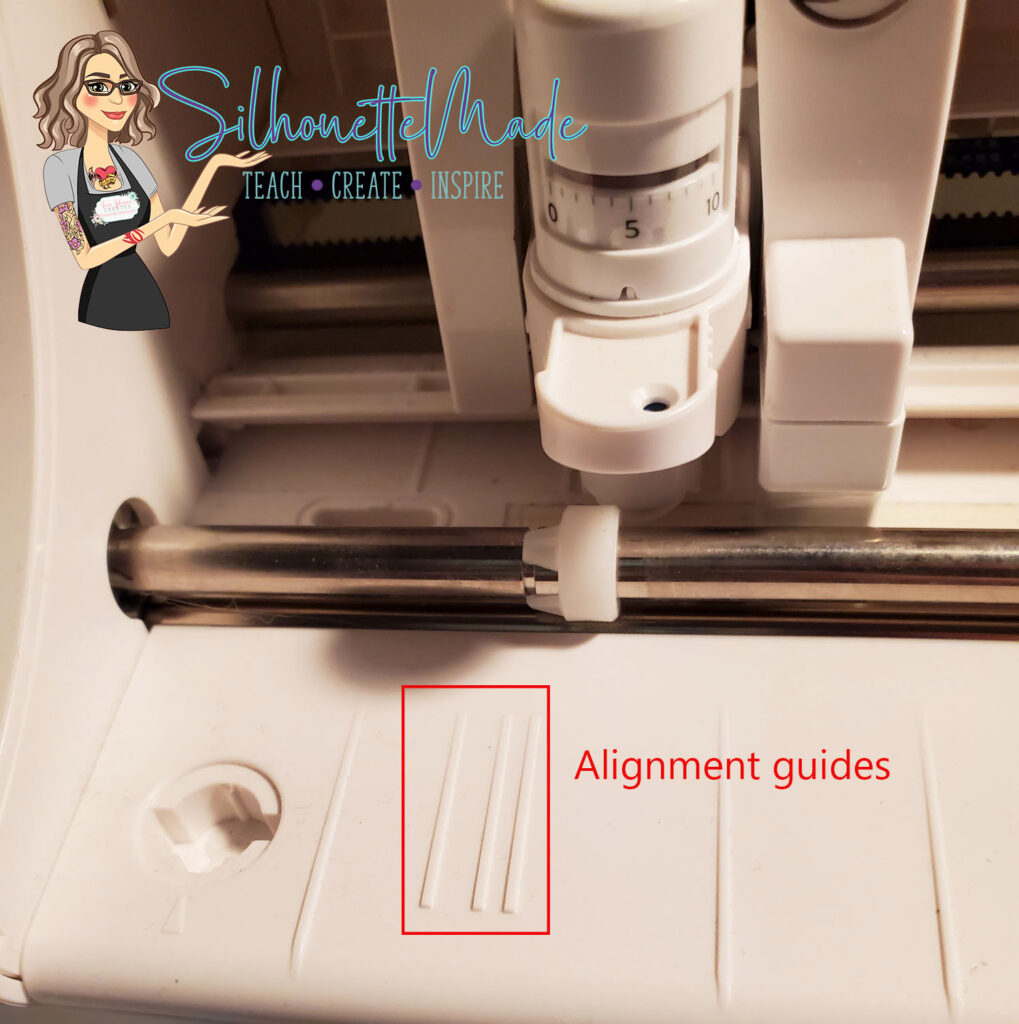
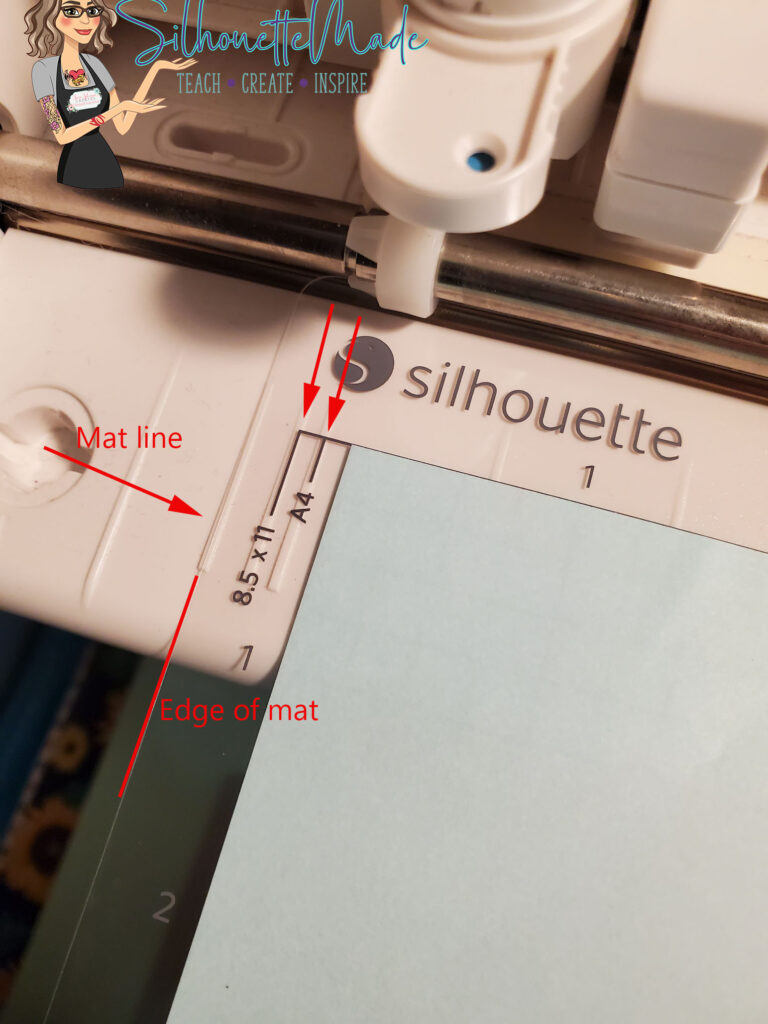
When you load the mat, you want to make sure that the edge of the mat lines up with the second line from the left. It is the first line that does not look like all those other lines on the front of the machine.
Loading the Portrait Without a Mat
This is where loading the Portrait gets tricky. Unlike the Cameo, the Portrait rollers do not move when you are not using a mat. The size of the material you are going to cut without a mat determines how you line it up for loading into the machine. If you are using 9″ vinyl, you use the same mark you use when you load the mat.
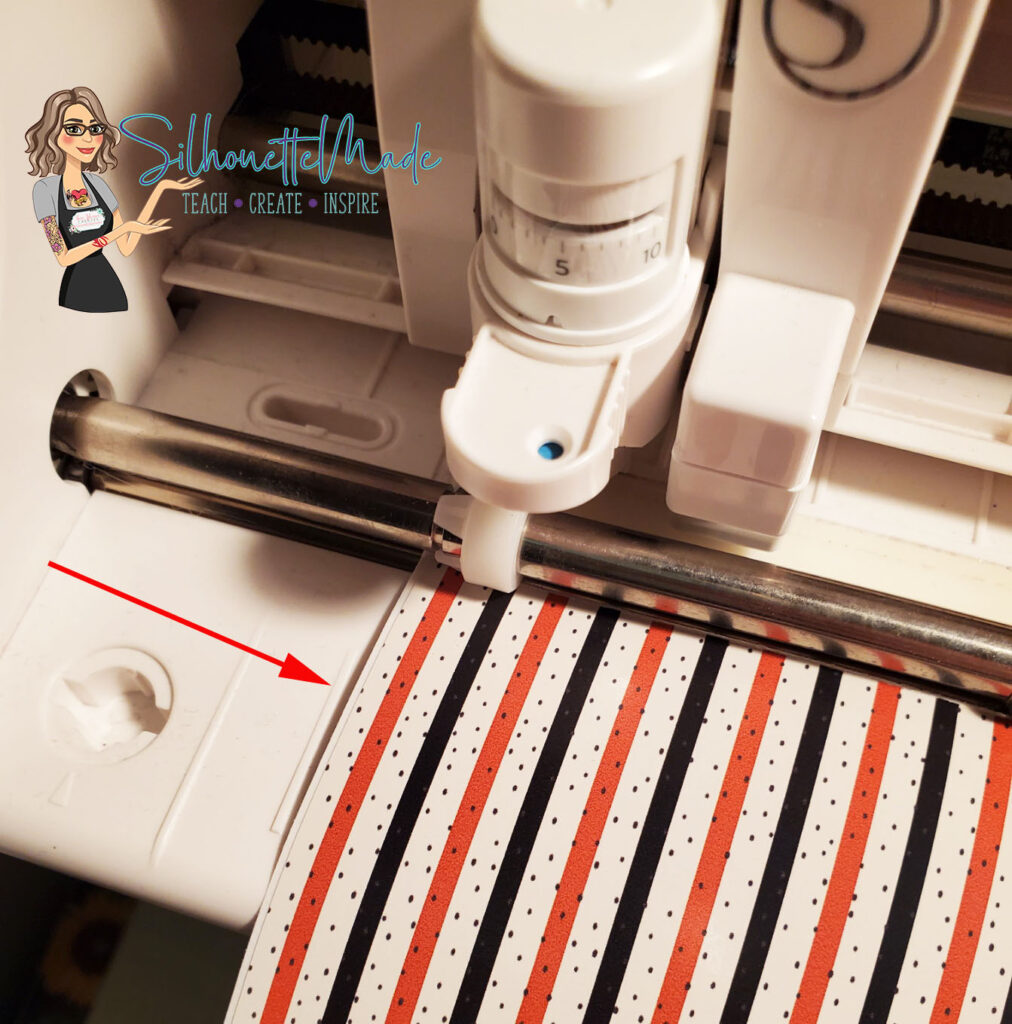
If you are using an 8.5″ x 11″ (letter) size sheet, you use the line just to the right of the mat line.
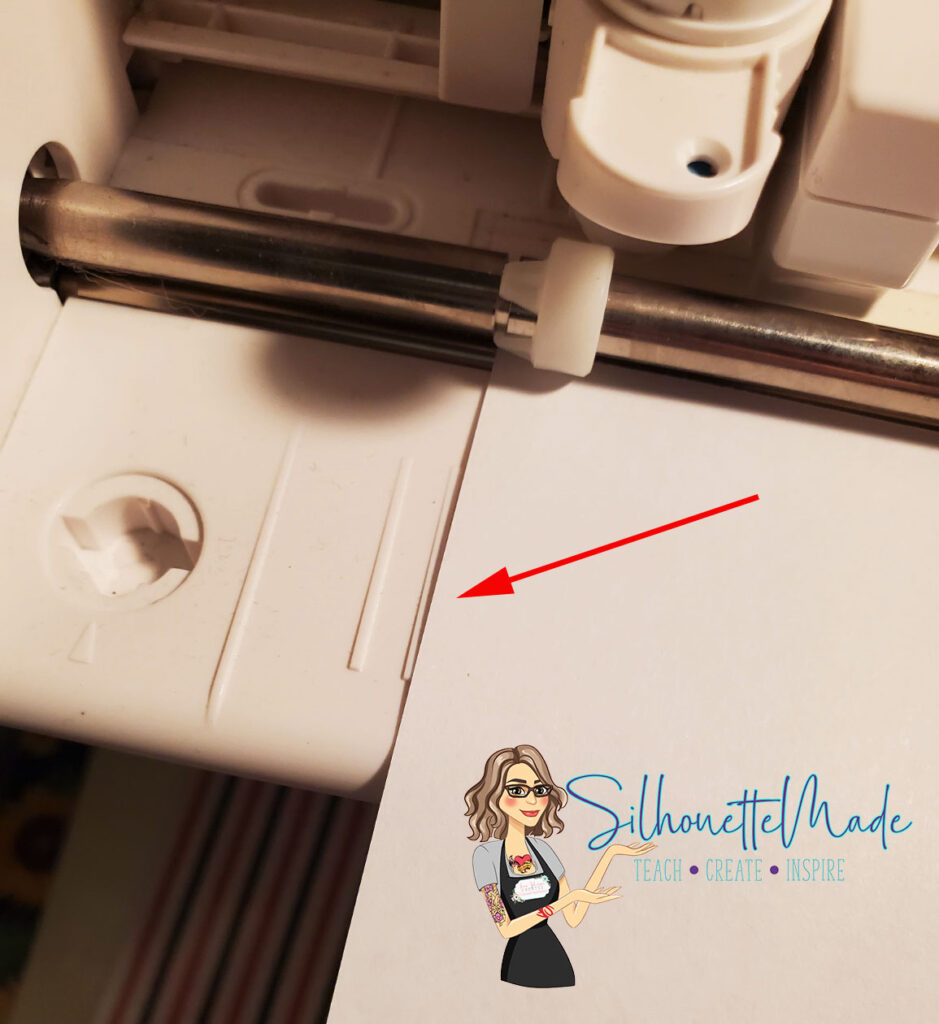
If you are using an A4 size sheet, you would use the line to the right of the letter size sheet line. Confused yet? It’s really not that difficult once you understand what each line is sized for.
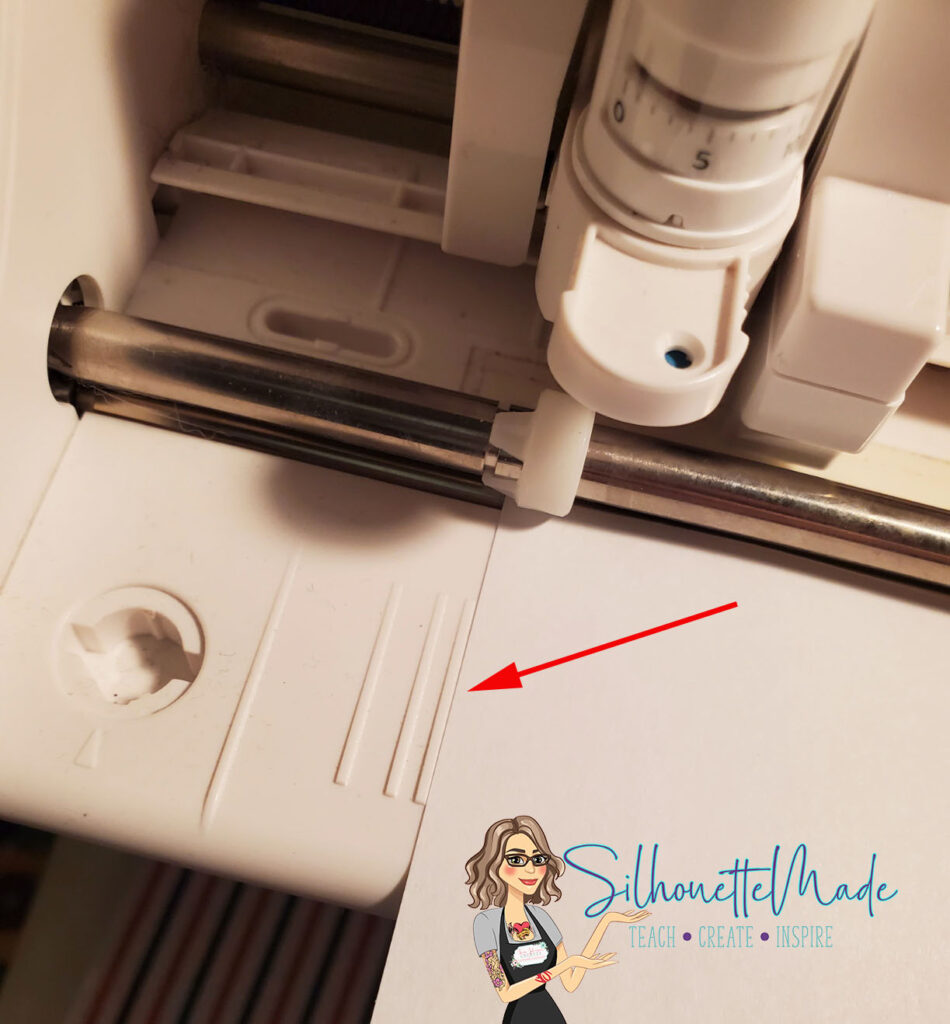
Placing Your Media on the Mat
Just like loading the mat in different positions, placing your media in the correct spot is just as important. Say for example, you are doing a print and cut. If you mat is loaded incorrectly, the machine won’t know where the registration marks are. The same is true if you place your sheet on the mat wrong. The software only knows where the registration marks are based on correct mat and media placement.
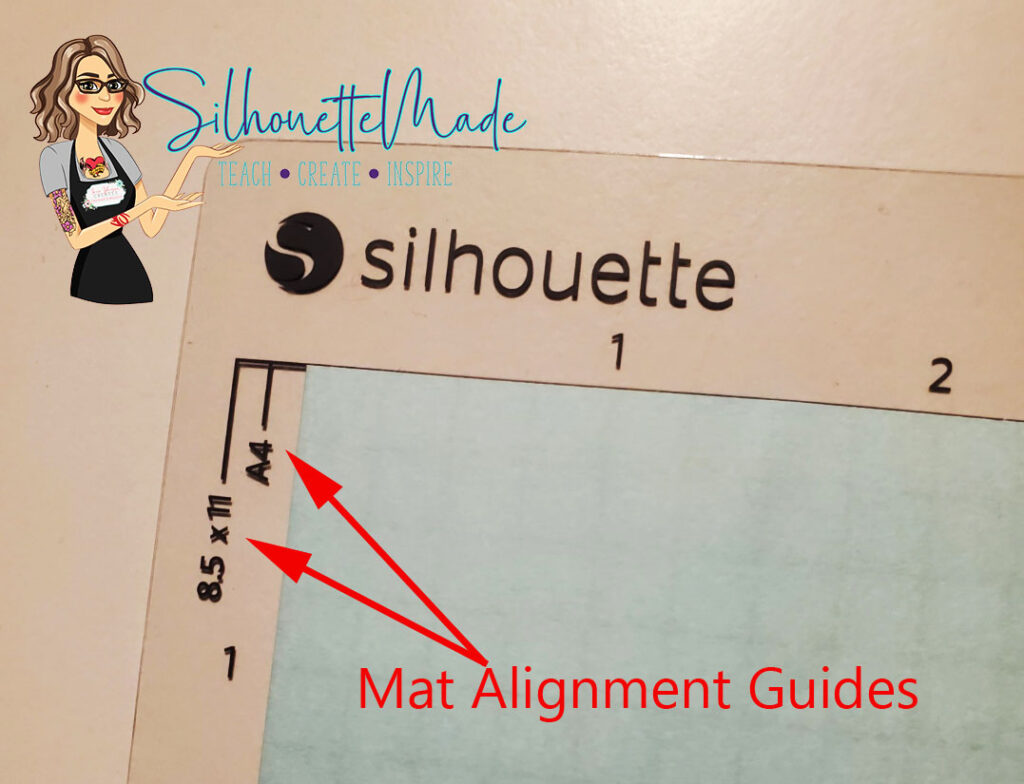
If I am using 9″ wide vinyl, I would not use a mat when I went to cut. But if you did, you would need to line it up with the very edge of the mat. Remember, the Portrait only has an 8″ cutting width, but accommodates 9″ materials. You lose a half inch on each side. If I was going to cut a smaller piece of vinyl I would just place it on the adhesive part of the mat.
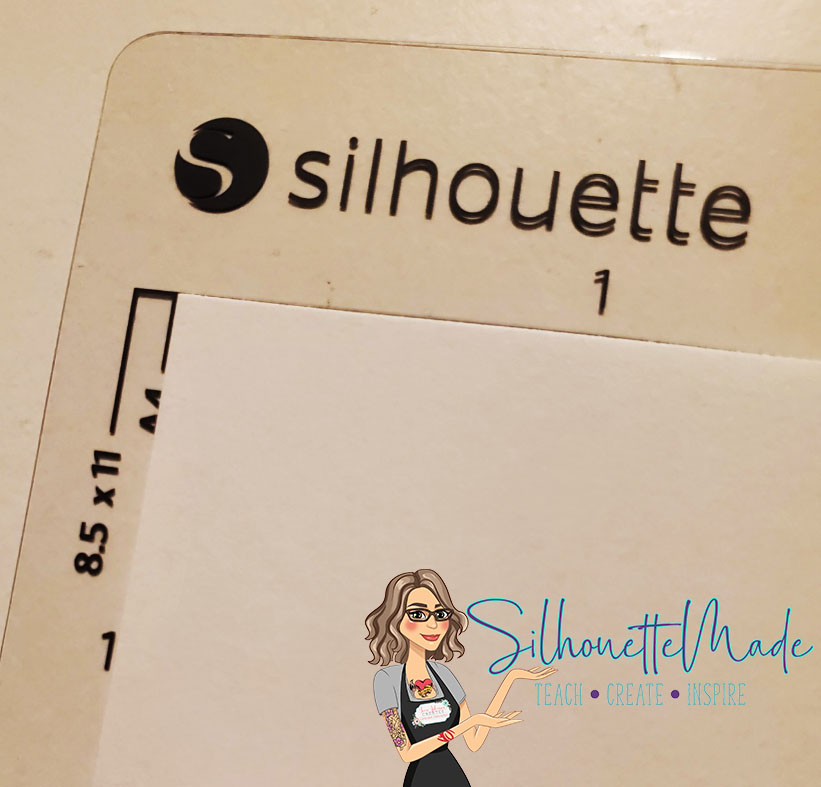
If you are using a letter size (8.5×11 sheet) you want to line it up with the 8.5×11 mark on the mat.
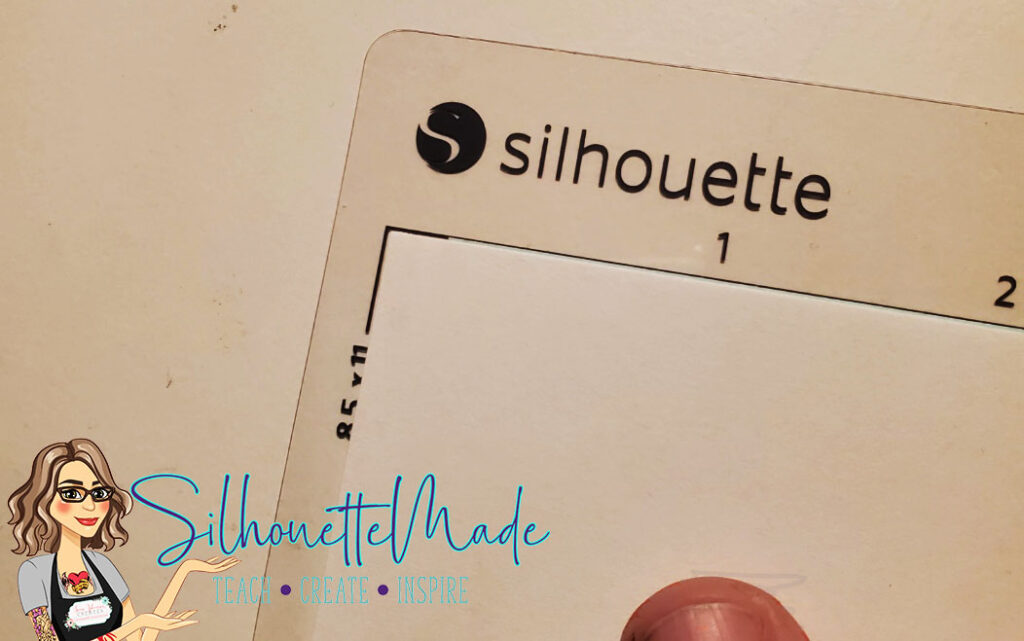
If you are using an A4 sized sheet, you will line it up with the A4 marks on the mat. This will ensure it is aligned properly and the machine will cut (or read registration marks) in the right place.
The control panel on the right is the same for the Portrait 2 and 3. The control panel on the Portrait 1 is slightly different. The Portrait 1 doesn’t have Bluetooth so that button is not on that machine. There is also a load mat or load media button on the Portrait 1 that is not on the Portrait 2 or 3. All the other buttons on all the machines are the same.
The Portrait 2 and 3 have the following buttons:
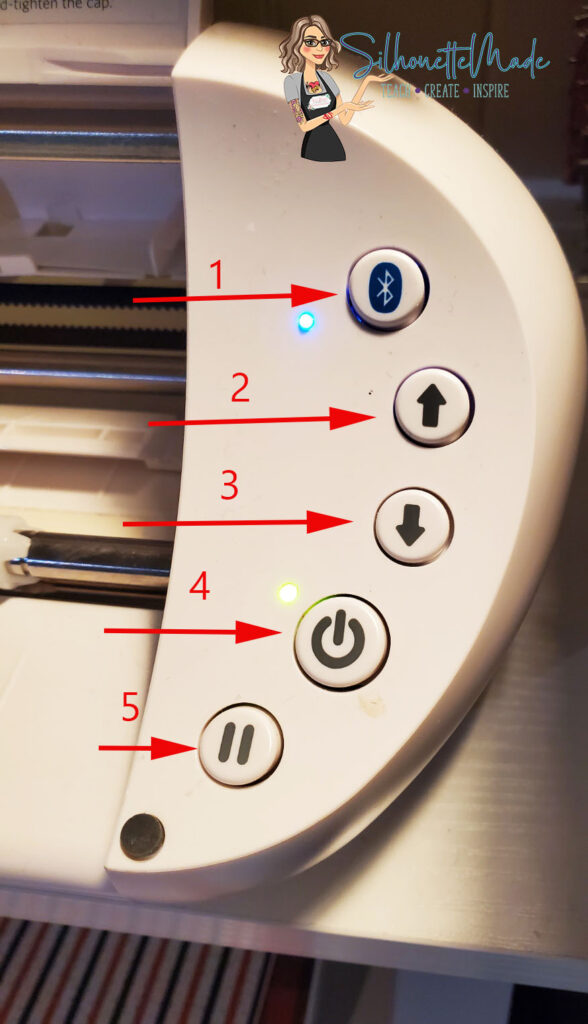
- Bluetooth
- Load
- Unload
- Power
- Pause
All in all, it is an amazingly simple machine to use. It uses the same software as the Silhouette Cameo line of machines. It is extremely portable, as you can see in my comparison pic with my Cameo 4.
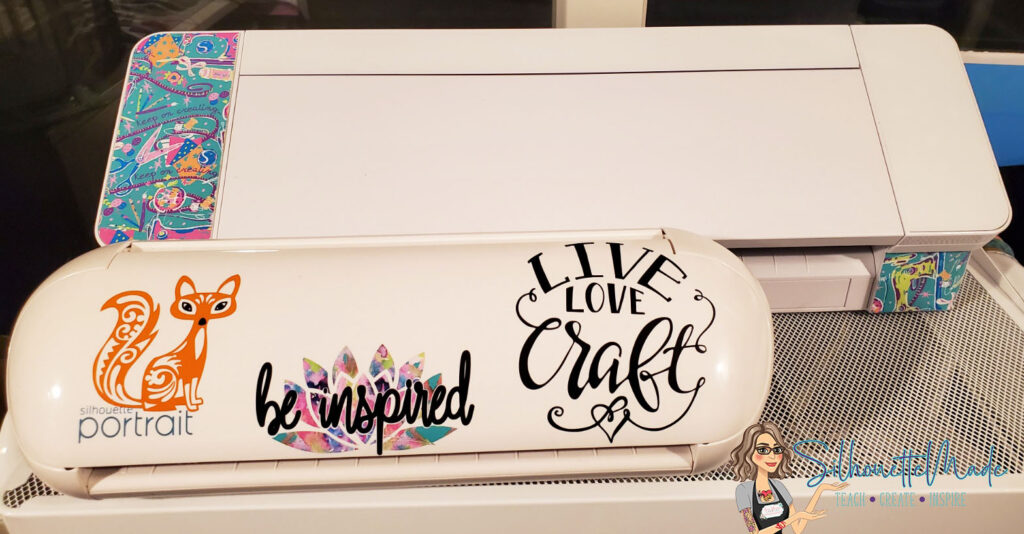
I use my Portrait 2 quite a bit. I use it for all my print and cuts and any time I cut letter size cardstock. I take it with me when I teach classes or go on vacation. It is a wonderful little machine.
Feel free to share your projects with me. You can post photos or ask questions on my Facebook page or group:
www.facebook.com/SilhouetteMade
www.facebook.com/groups/SilhouetteMadewithSarah
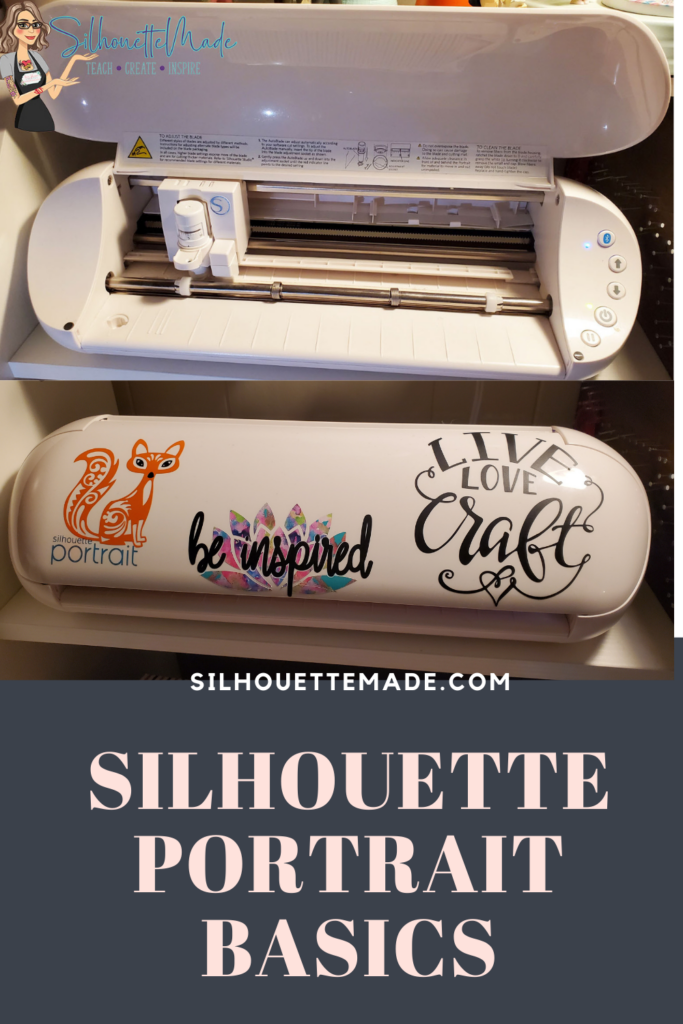
To share or save this post please pin the image below.
**This post may contain affiliate links. That means that I may receive compensation if you purchase through the links I have provided. The price you pay for the product or service is not higher, but I may get compensated for sharing.**

Well that was great information, I have had my portrait for 5.5 years and I have never known that, so thank you so much, Cheers.
I’m loading my Matt wrong
Yes it is very common with the Portrait
It would be nice if Silhouette would give better instructions. I have wasted so much ink and paper. 😦
Do you have a YouTube channel by chance? I don’t do fb or instagram. My hubby surprised me with a portrait 3 and I spent 10 hours trying to get it to register the register marks with no success……I am a newbie at all of the cutting machines and the manual for this one is not helpful with sending you looking for a grey line for loading the mat…… 😩
At this time, I do not have a YouTube channel. It is something that I am looking to do in the future. But as of right now, I just don’t have the time to maintain it.
I do have several print and cut posts on my blog that show my setup and how things are positioned on my screen.
Thank you so much for sharing. I have been loading my mat wrong for the entire time I’ve had my machine (4 1/2 years lol). No wonder I was cutting things off short. I am so glad I found your page.
Thank you for this instruction. So from what I’ve read above, I can use paper etc without using the mat? Is that correct?
Any material you are cutting all the ways through needs to be cut using a mat.
Only materials that have a backing can be cut without a mat
Mind blown. Ive had the portrait 1 since it was new , won it in a giveaway, and could never quite figure out exactly where the mat was supposed to go9 (which line, dang it!) so I made choices to work around. This is the nfo Ive been looking for sic I got it, Thank You so much for sharing! Now I know what parts Ive been getting right, and getting wrong! 😉