This post may contain affiliate links. What that means is that I may receive compensation if you purchase through the links I have provided. The price you pay for the product or service is not higher, but I may get compensated for sharing.
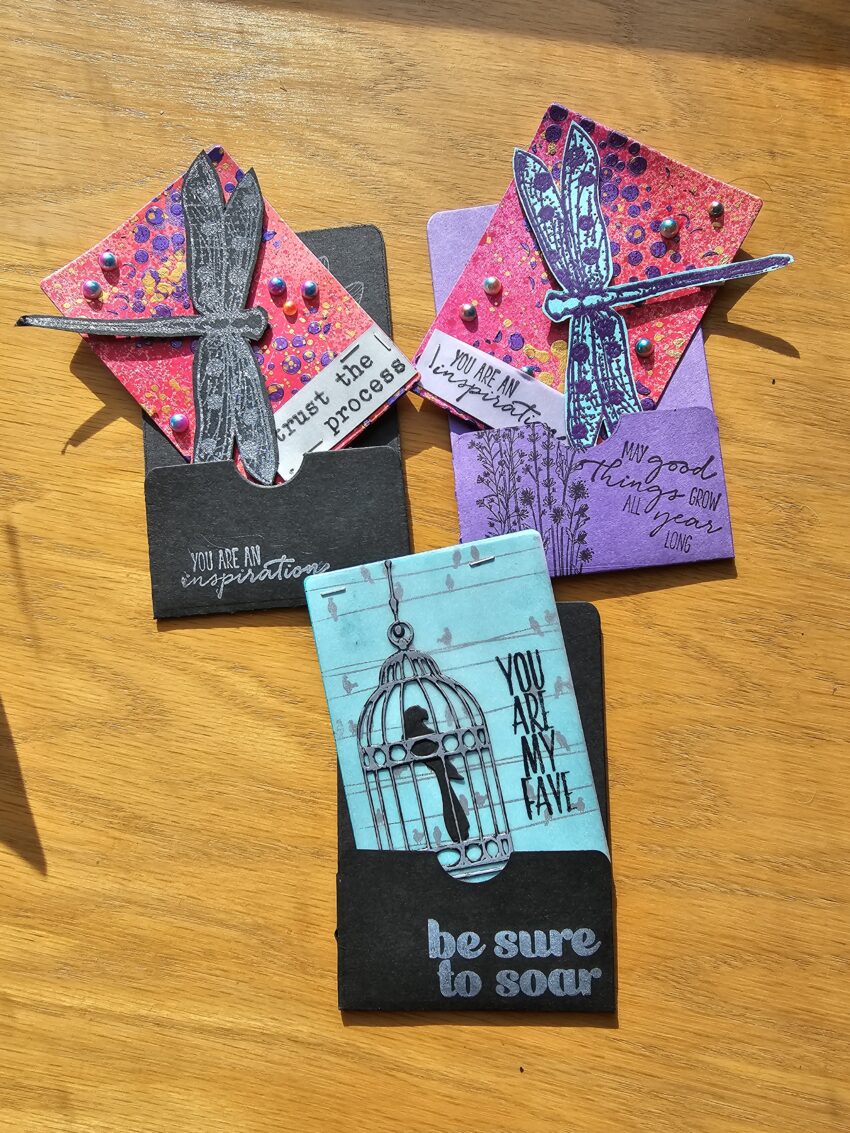
Hey Everyone! Sarah here. Today I’m going to share a project with you that you might have never seen before, Artist Trading Cards (or ATCs). These are so much fun to make and trade with all your crafty friends.
What are Artist Trading Cards?
Well, I’m so glad you asked. Artist trading cards are 2.5 by 3.5 inches in size, the same format as modern trading cards (similar to baseball cards). They are self-made unique works or small series, signed and dated on the reverse by the artist/producer, exchanged and collected by the people who participate in the collaboration.
What do you do with ATCs?
When this post goes live, I will be on a plane traveling to Columbus, Ohio to attend Creativation. For those of you who do not know what Creativation is, it is the largest trade show for craft & hobby supplies, featuring over 1100 exhibiting manufacturers & wholesalers. This tradeshow is not open to the public. I have been lucky enough to attend the last 2 years. This year I’m going to be doing demos for two different companies and I couldn’t be more excited.
While I am there, I have some fellow creators who have created some ATCs of their own and will be trading with me. These ATCs can be as simple or elaborate as you want them to be. Now let's get started creating!
How do I create my own ATCs?
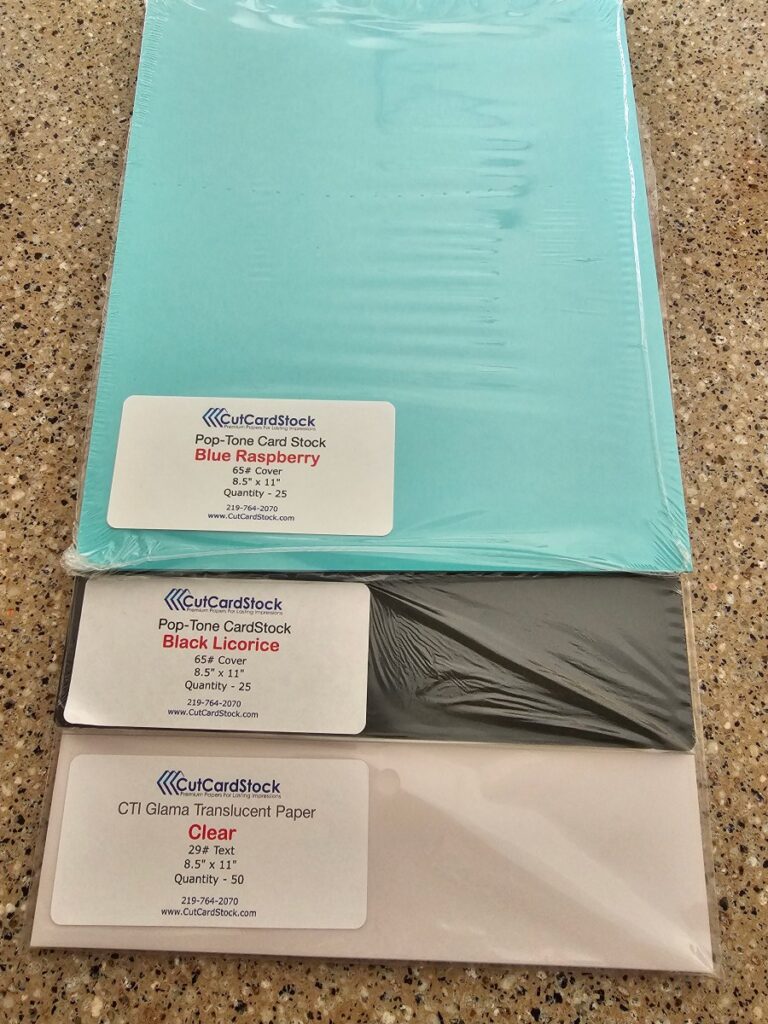
To create your own ATCs, start with a blank cardstock or paper of your choice. For this project I’m using Pop Tone Cardstock in Blue Raspberry and Black Licorice, and Vellum.
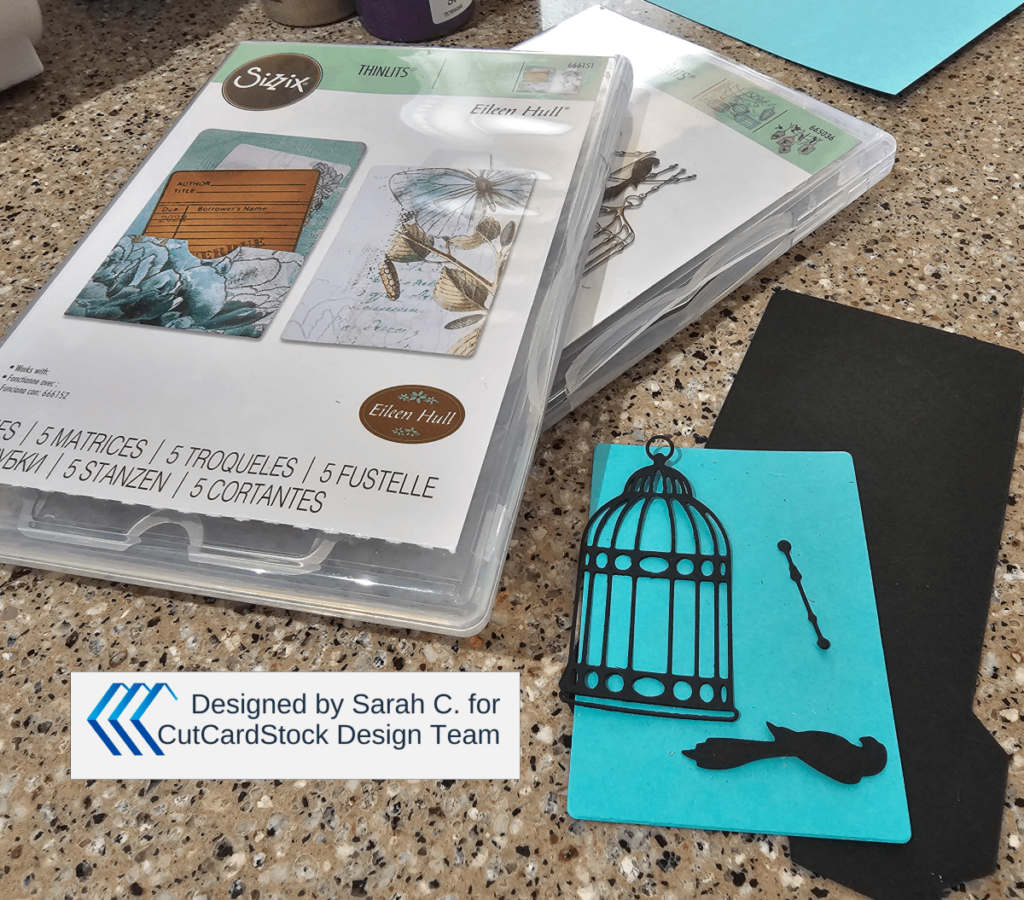
I cut the cardstock and vellum using an Eileen Hull Sizzix die called Library Pocket ATC Card & Tabs, but you could easily use your cutting machine or even just a paper trimmer. The size of the cards are 2.5×3.5 inches. I also used a Sizzix die called Birdcages.
To decorate your ATC, you can use any medium you like, such as watercolors, acrylics, markers, or mixed media. The possibilities are endless! Don't be afraid to experiment and try new techniques.
I used a combination of die cuts and stamps to decorate my ATC. The stamp is from Picket Fence Studios and is called Be Sure to Soar.
The first thing I did was ink the Blue Raspberry background with a slightly darker blue. Then I stamped the birds on a wire image.
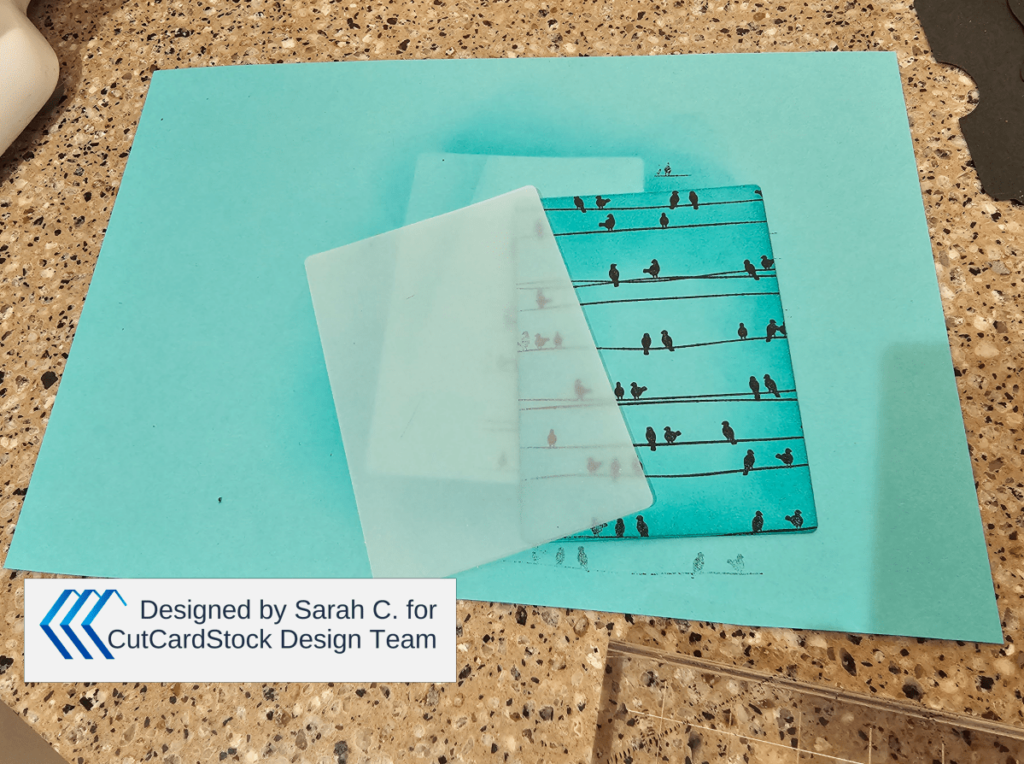
After that I moved on to work on the Vellum piece. I glued the bird and birdcage pieces to the vellum. I made sure to glue to off to the side so I could stamp a sentiment to the other side. After it was glued down I realized that I should have embellished the birdcage, so the bird stood out more, so I used an acrylic paint marker and carefully colored onto the birdcage.
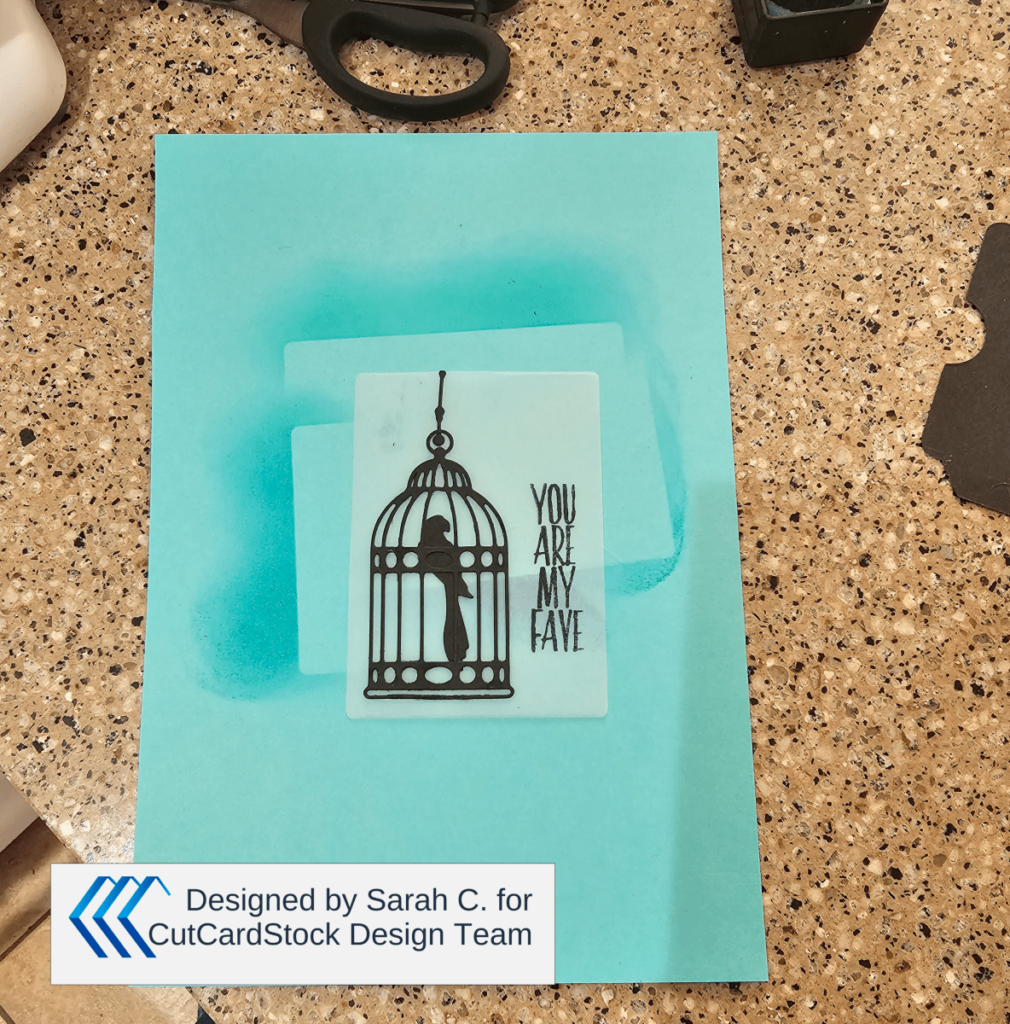
Once both pieces were completed. Using my Tim Holtz Tiny Attacher I stapled the vellum on top of the blue raspberry cardstock. I stamped a sentiment onto the little pocket and glued the flaps in place.
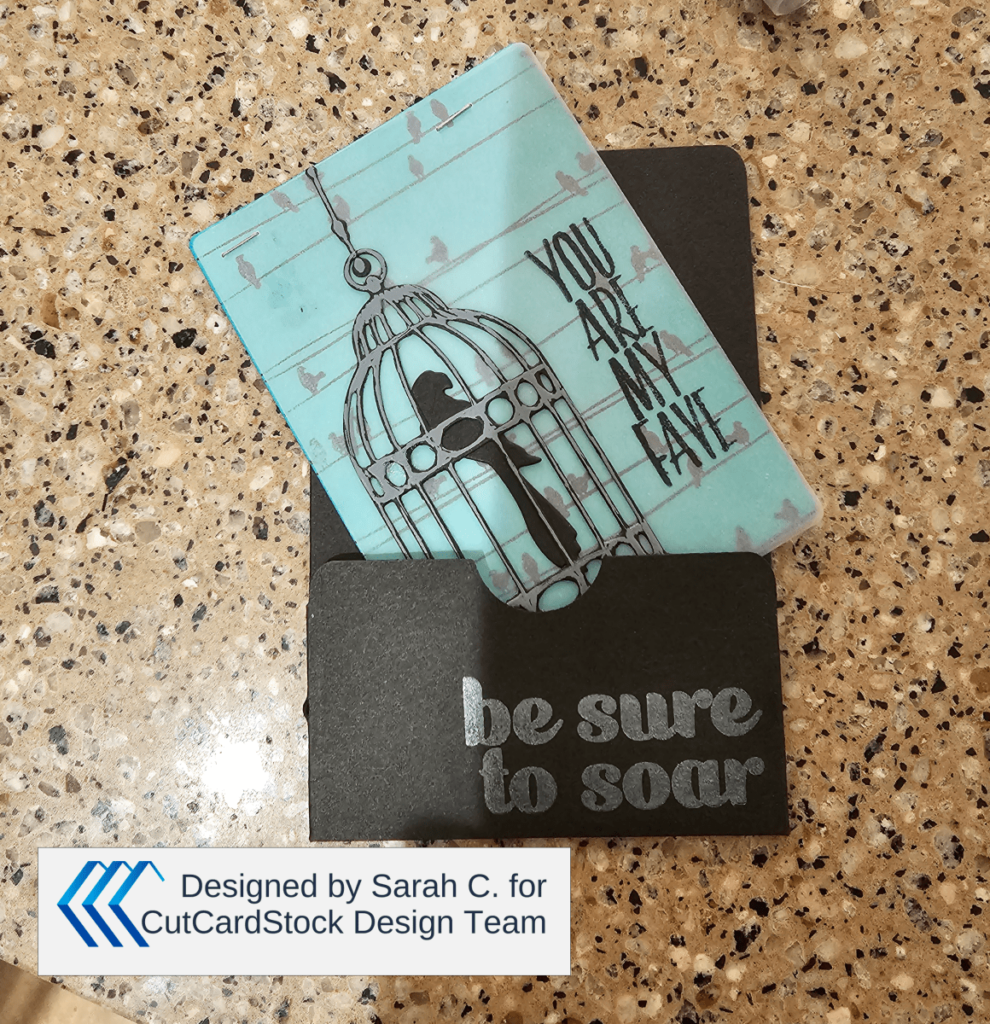
I am so happy with how this ATC came out! Trading is going to be so much fun. Now off to make more!
What do I do when I'm done creating?
Once you've finished creating your ATCs, sign and date them on the back. Trading with others is the best part of the process, so reach out to friends or join a trading group to share your work and expand your collection.
Whether you're a seasoned artist or just starting out, ATCs are a fantastic way to challenge yourself and meet others in the art community. Happy creating! Don't forget to follow and like me on my social media. If you have created an ATC and want to trade with me, please feel free to reach out! I can't wait to see what you create!
Don't forget to share your projects with me! You can post photos or ask questions on our Facebook page: Sarah's Create Studio.
If you're interested in knowing more about the Silhouette or the Siser Juliet and Romeo, join our Facebook groups for more content, projects, inspiration, and answers to your questions:
