
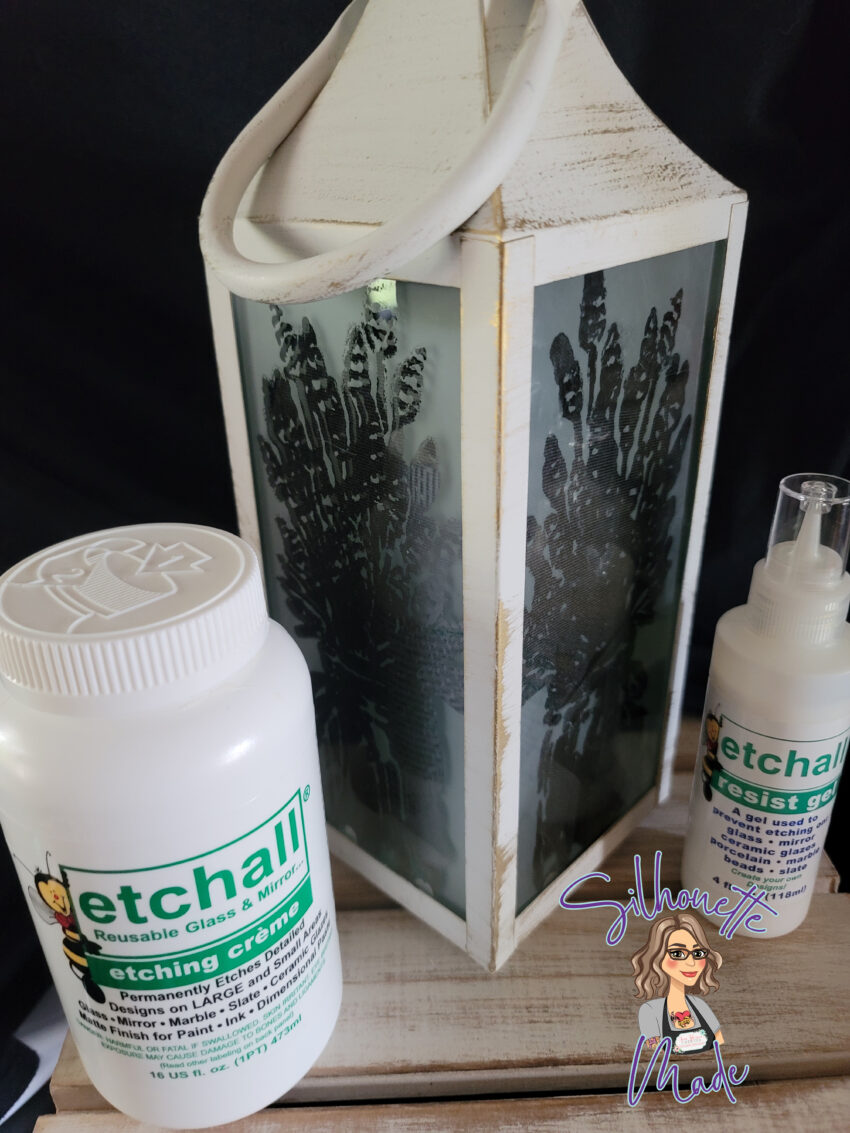
I’ve had a whirlwind couple of weeks. I just got back from Italy. I attended the Siser launch of the Juliet, their very own cutting machine. I was so honored to be a part of such an amazing experience and I’m super excited to learn and use this new machine. But more on that later. Today I wanted to share with you my newest project. I used Etchall Etching Creme to etch the glass panels on a decorative lantern. This project was so much fun. Not only did it turn out beautifully, but I didn’t need to use a cutting machine AT ALL. This was such a simple project without any extra equipment needed.
Supplies
Lantern with glass panels removed (I purchased mine at Michaels)
The Crafter’s Workshop stencil (TCW2335)
Instructions
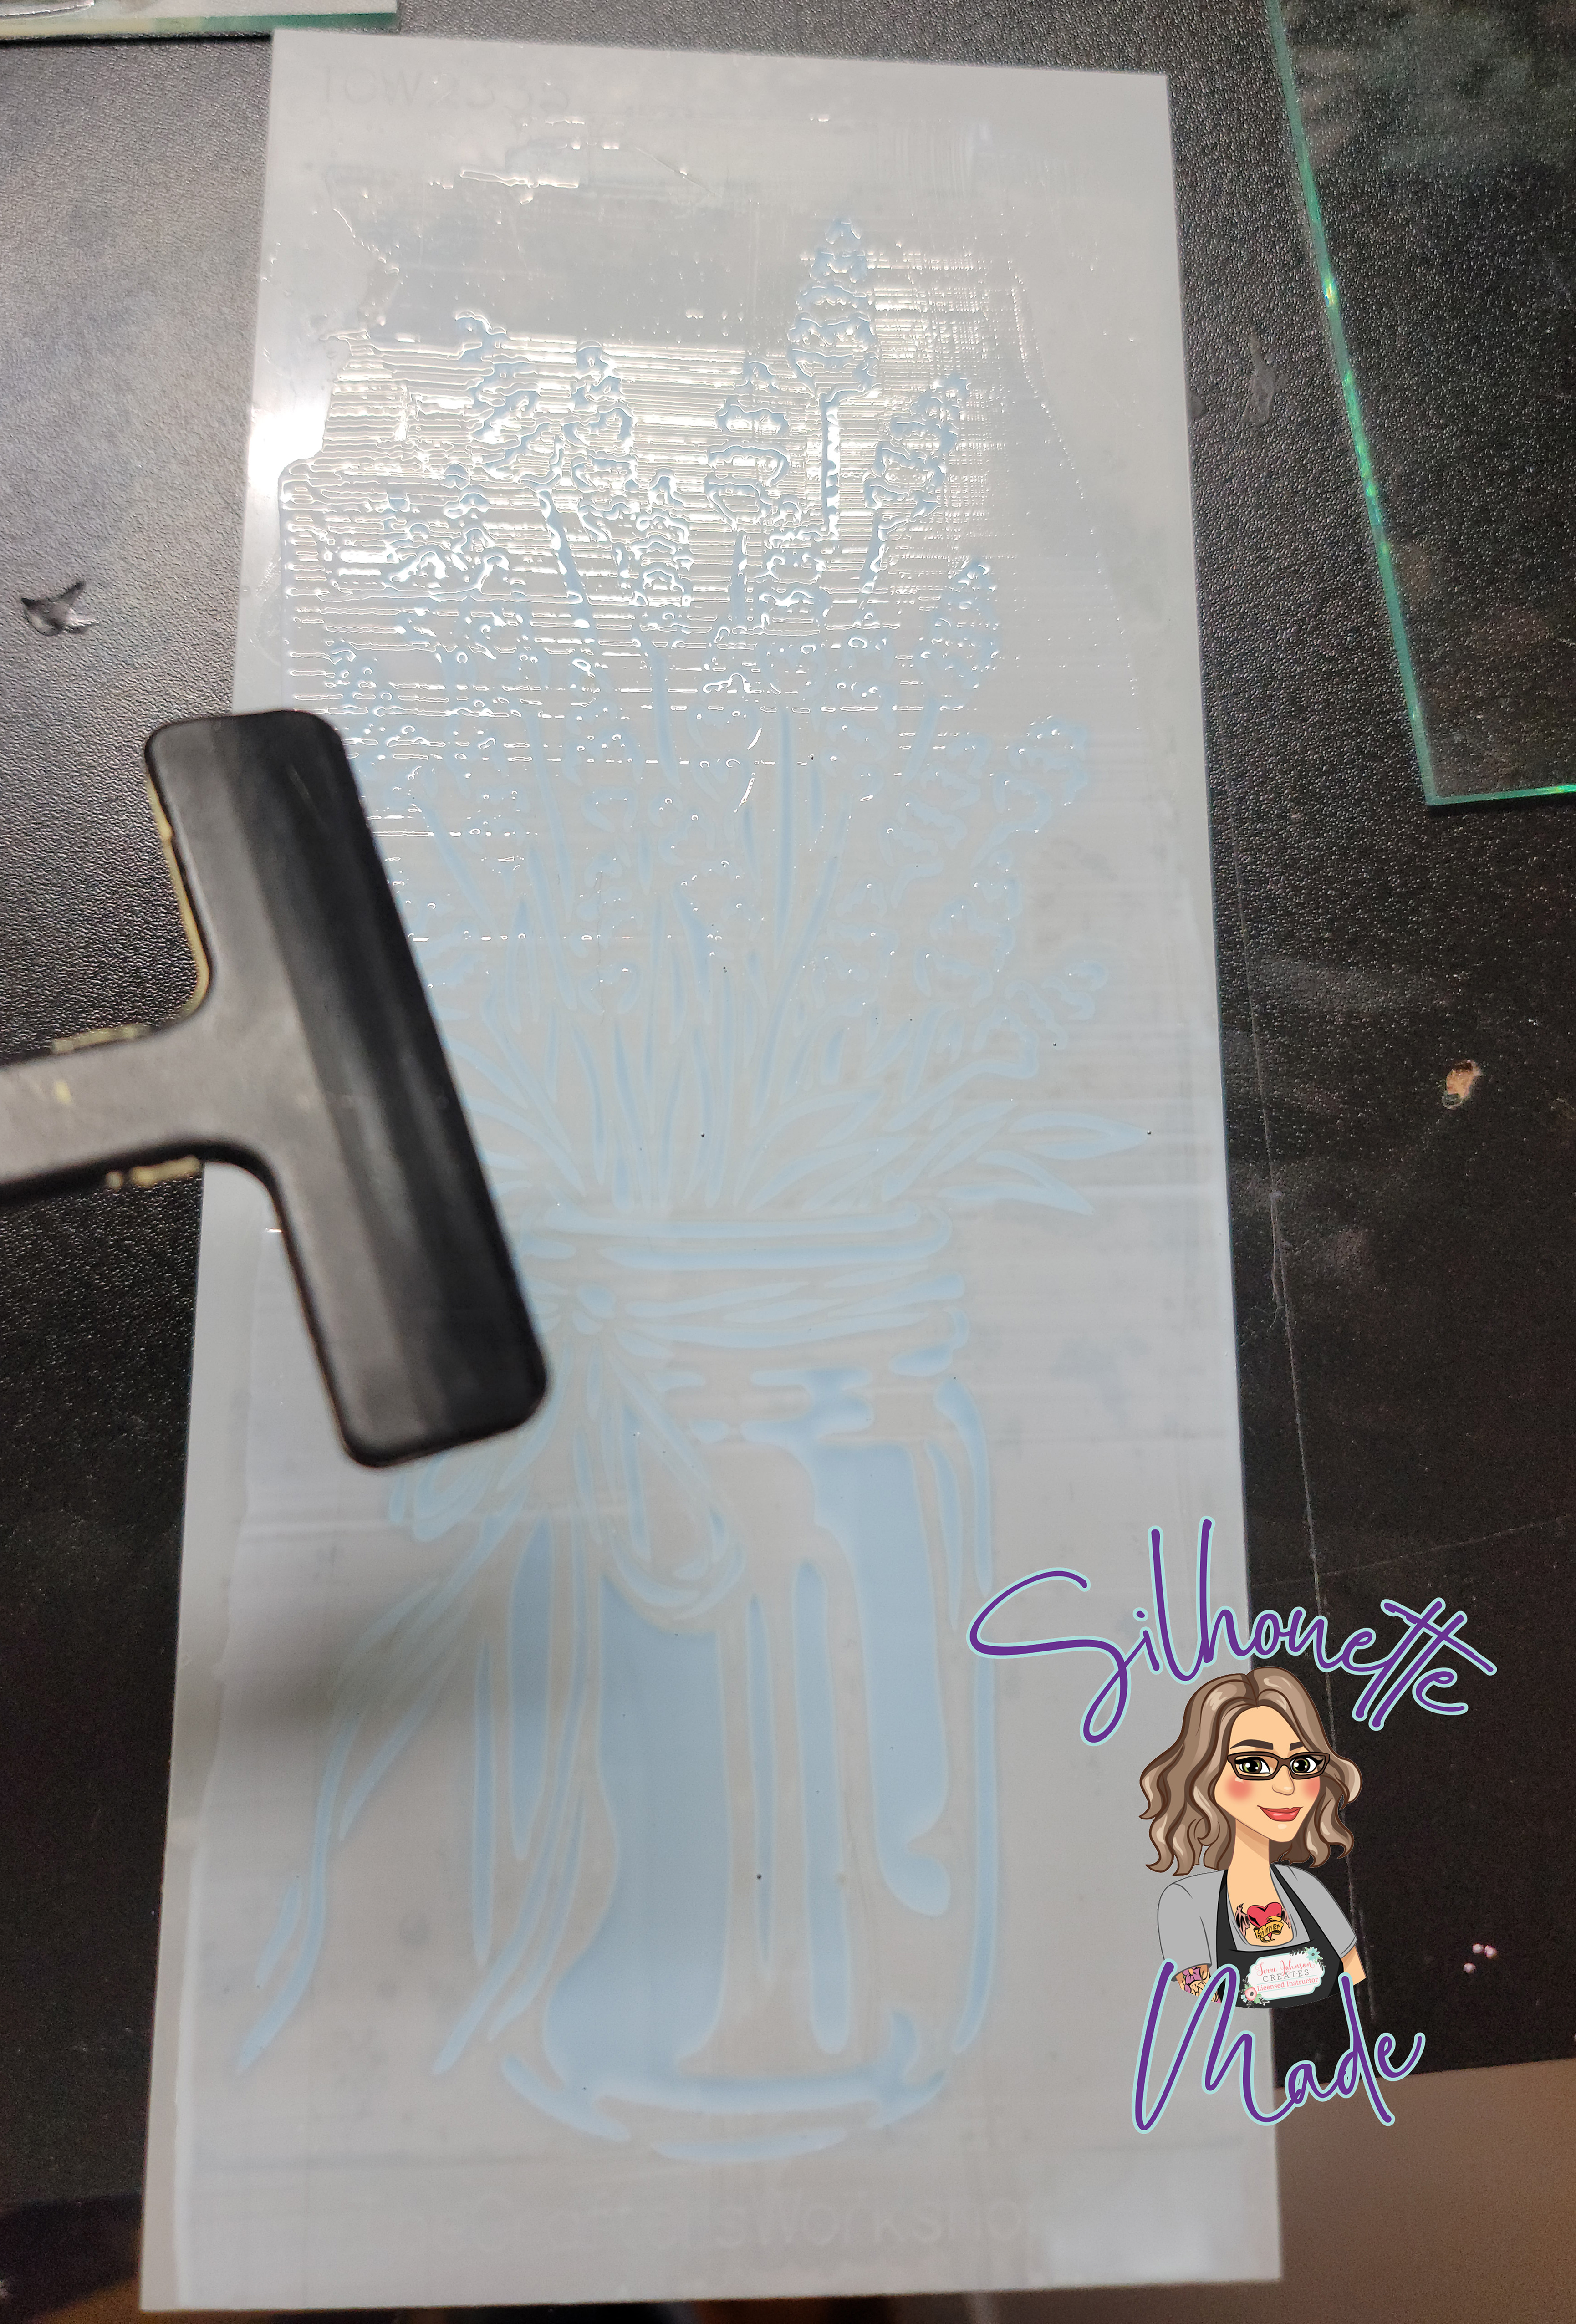
First you will want to make sure that the stencil you are using fits the glass panels the way you want them to. Next, spray the back of the stencil with the Etchall Stencil Spray. The stencil spray is a repositionable adhesive.
Once the stencil is adhered to the glass panel, spread the Etchall Relief Gel across the stencil using a small squeegee or pallet knife. This process is similar to using paints or stencil butters with a stencil.
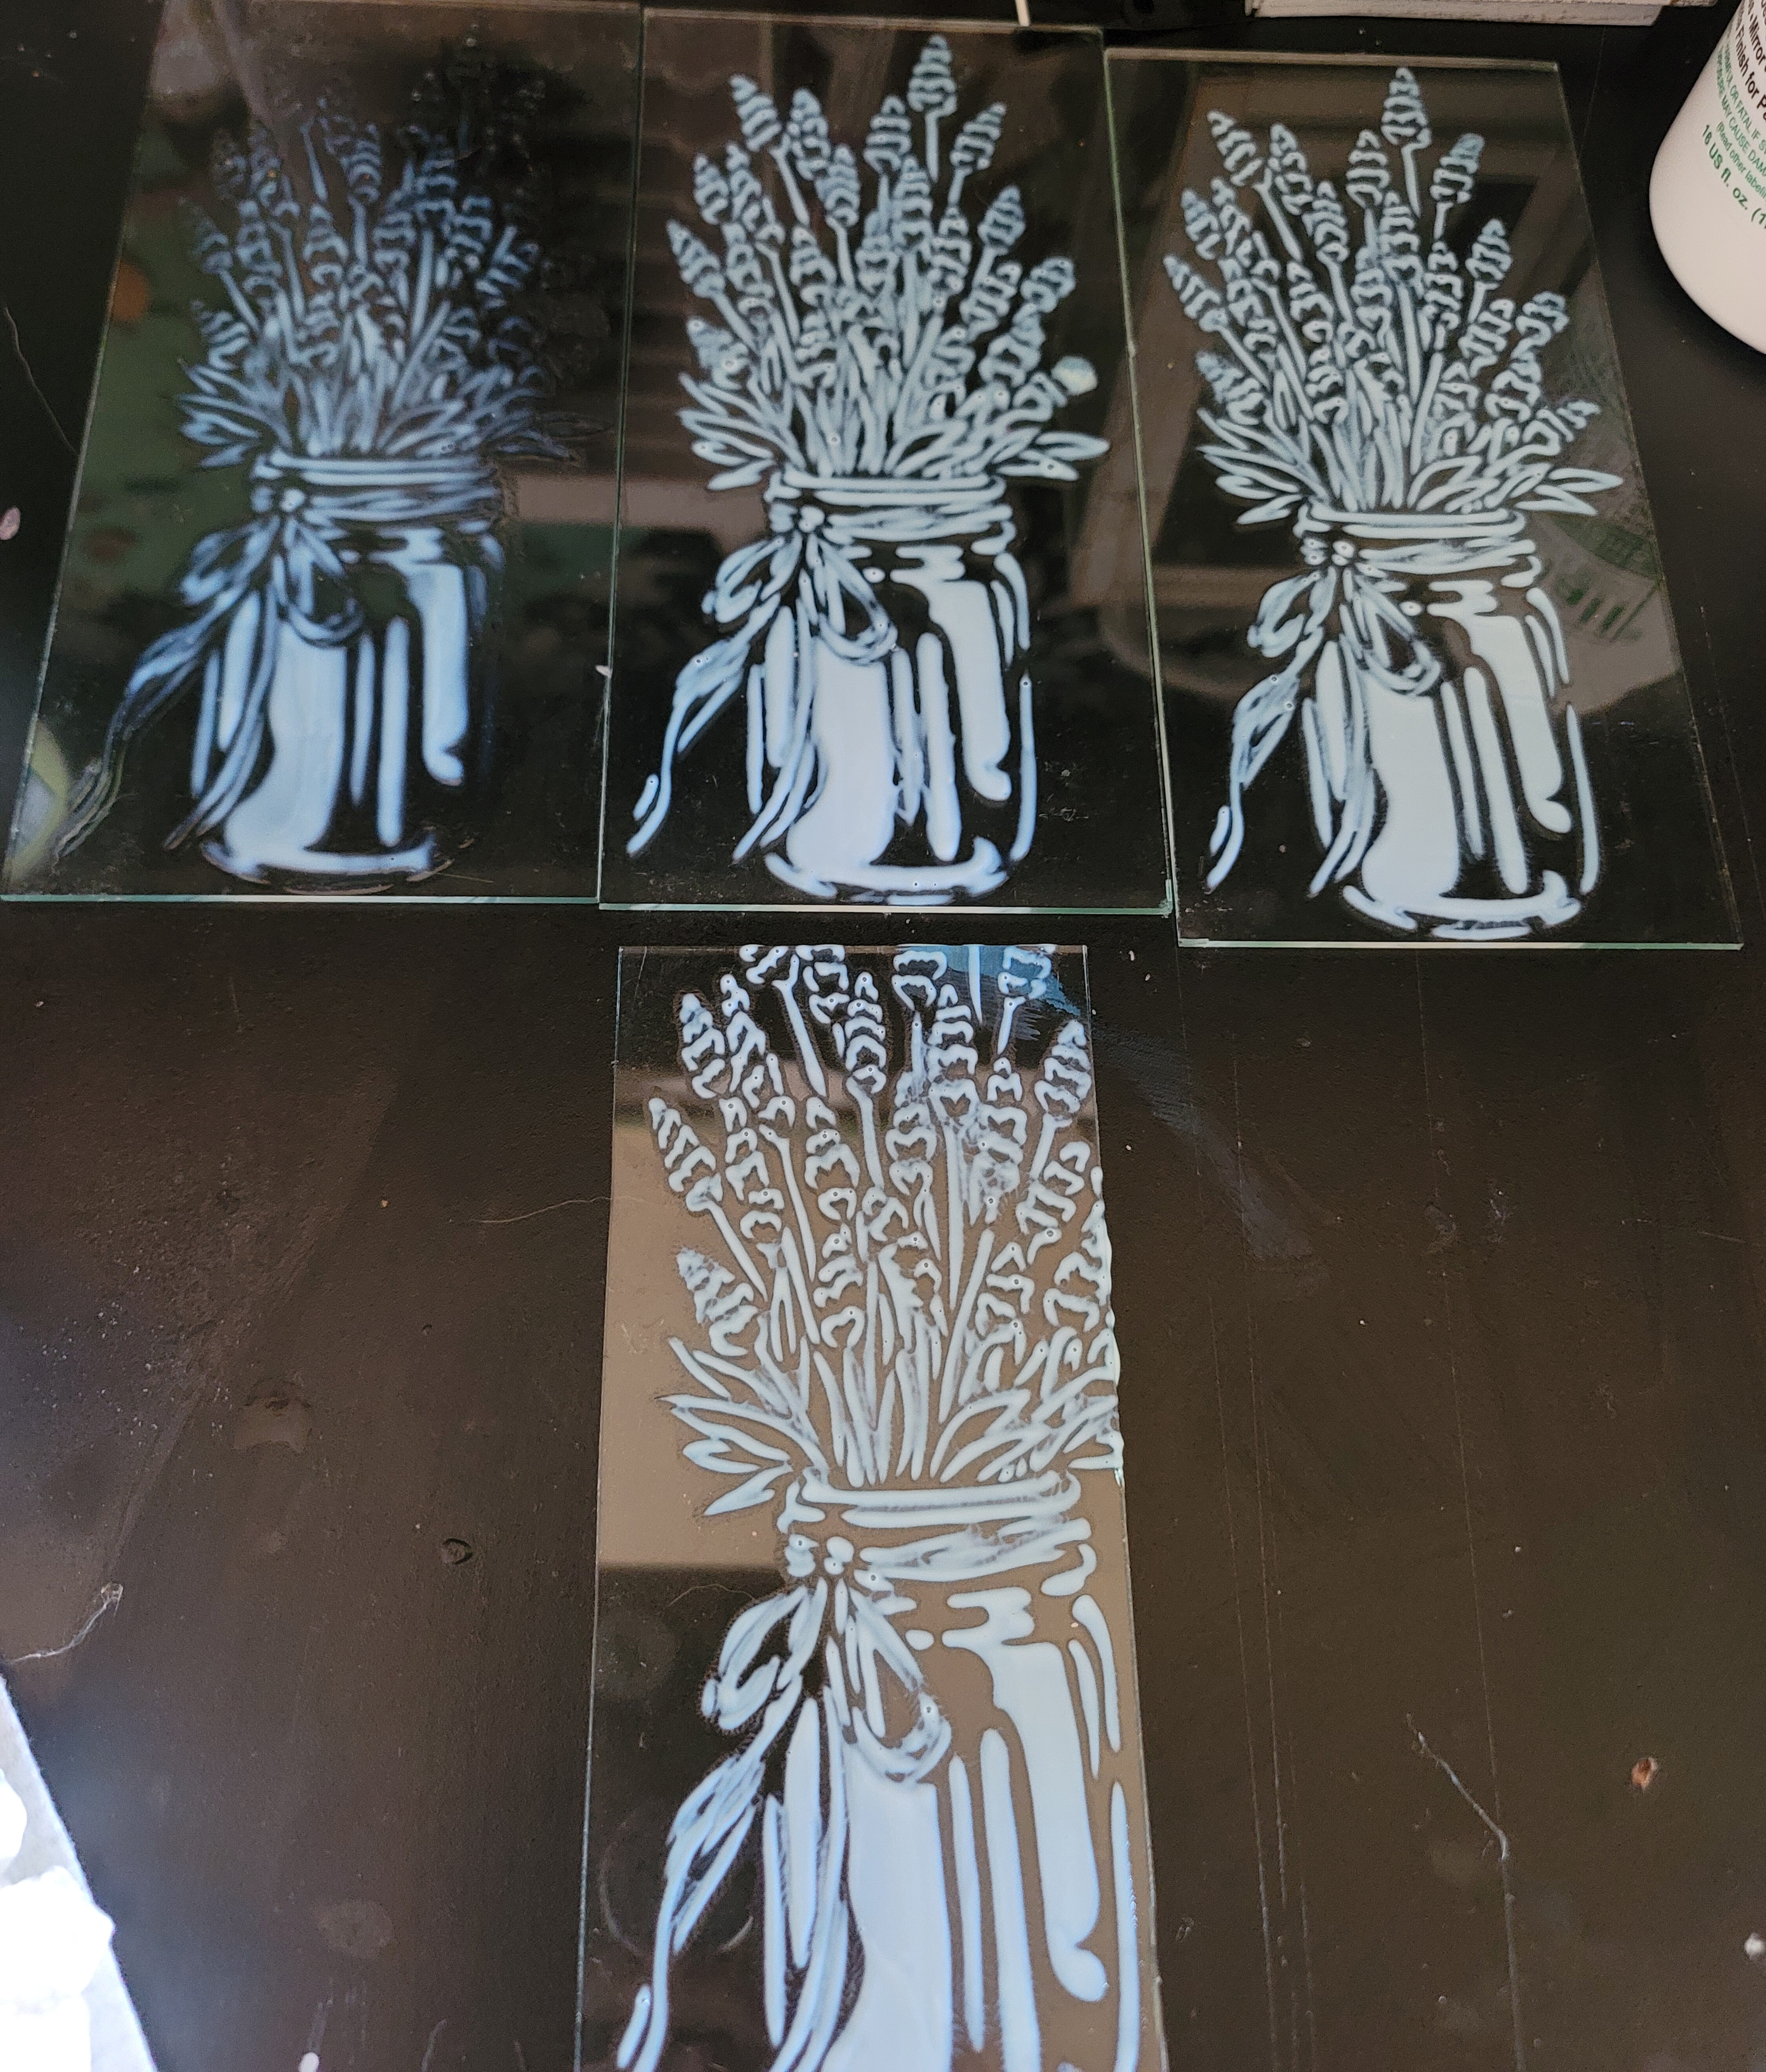
Remove the stencil and move it to the next piece. Once all the pieces have been completed, let the relief gel dry. It will be clear once it is completely dry. You can use a hairdryer to speed up the drying process.
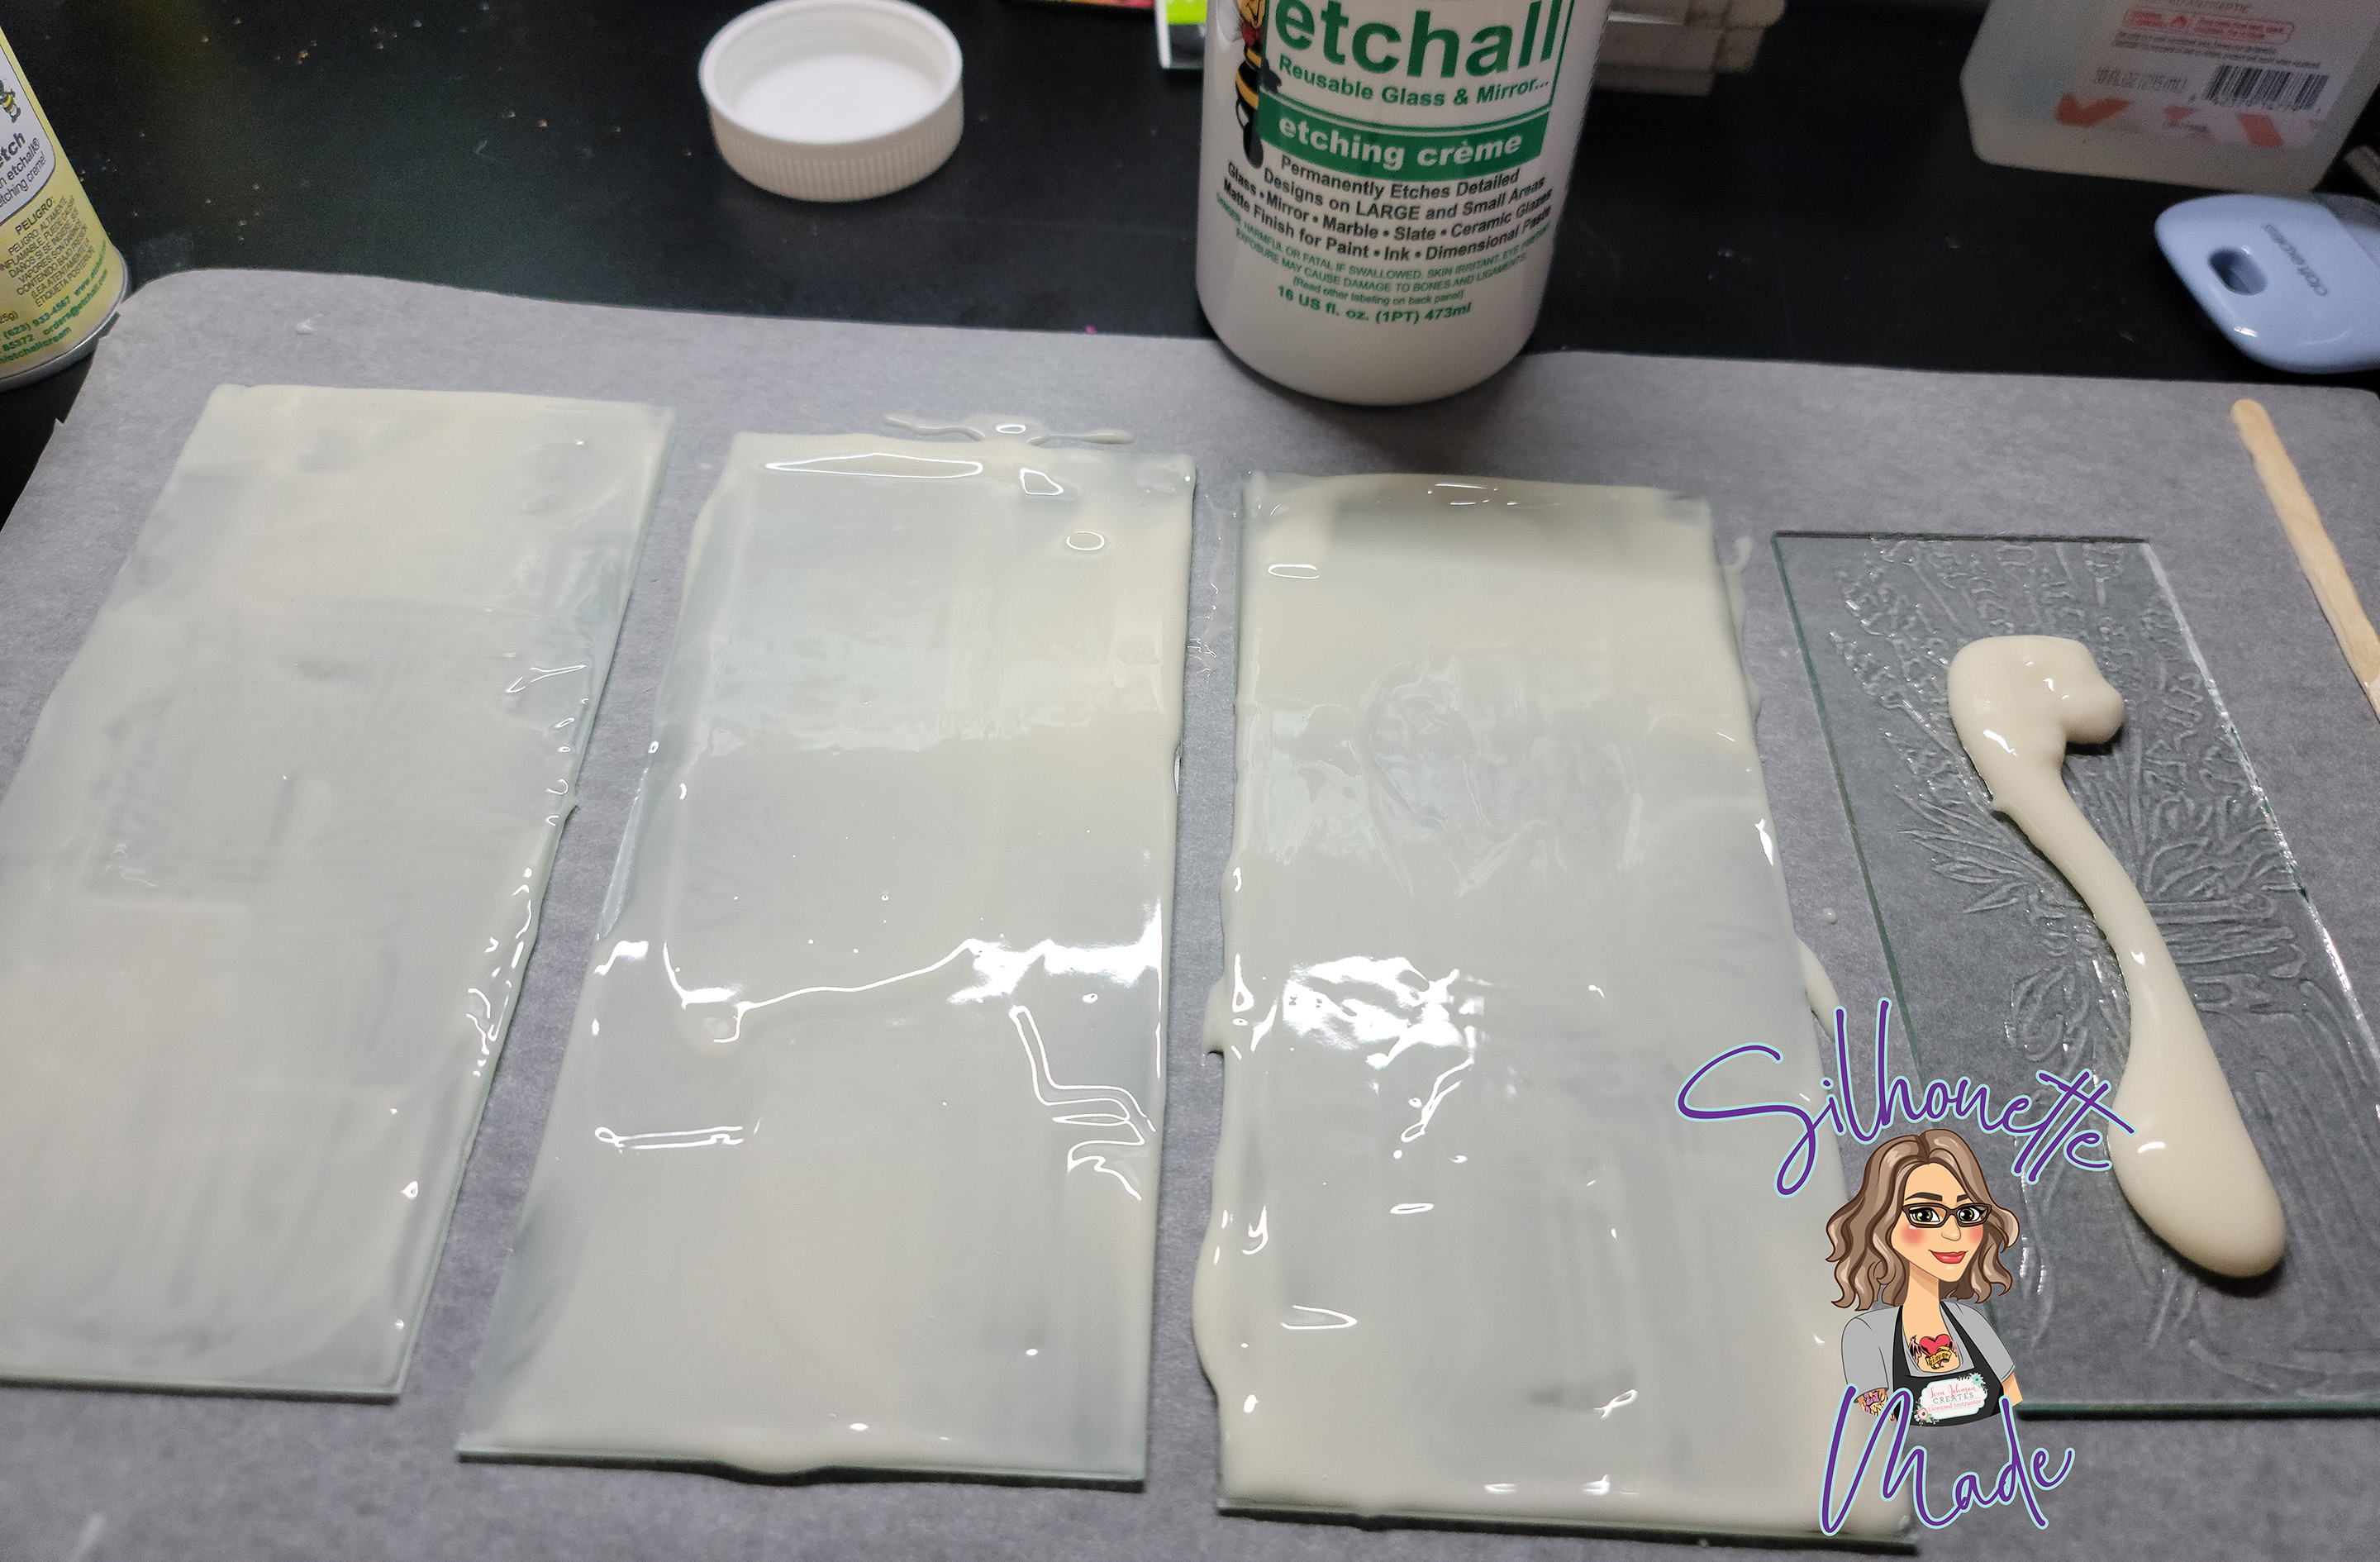
When the relief gel is completely dry, cover the glass with Etchall Etching Creme. Let the etching cream sit on your glass pieces for at least 15 minutes. One of the best things about Etchall Etching Creme is that you do not need to move it around every few minutes like some other brands. Once the time is up, scrape the excess etching cream off and put it back in the container. It can be reused again and again.
Then take your glass pieces to the sink and wash off any leftover etching cream. The relief gel will also come off in the water. Once all the pieces are clean and dry, assemble your lantern.
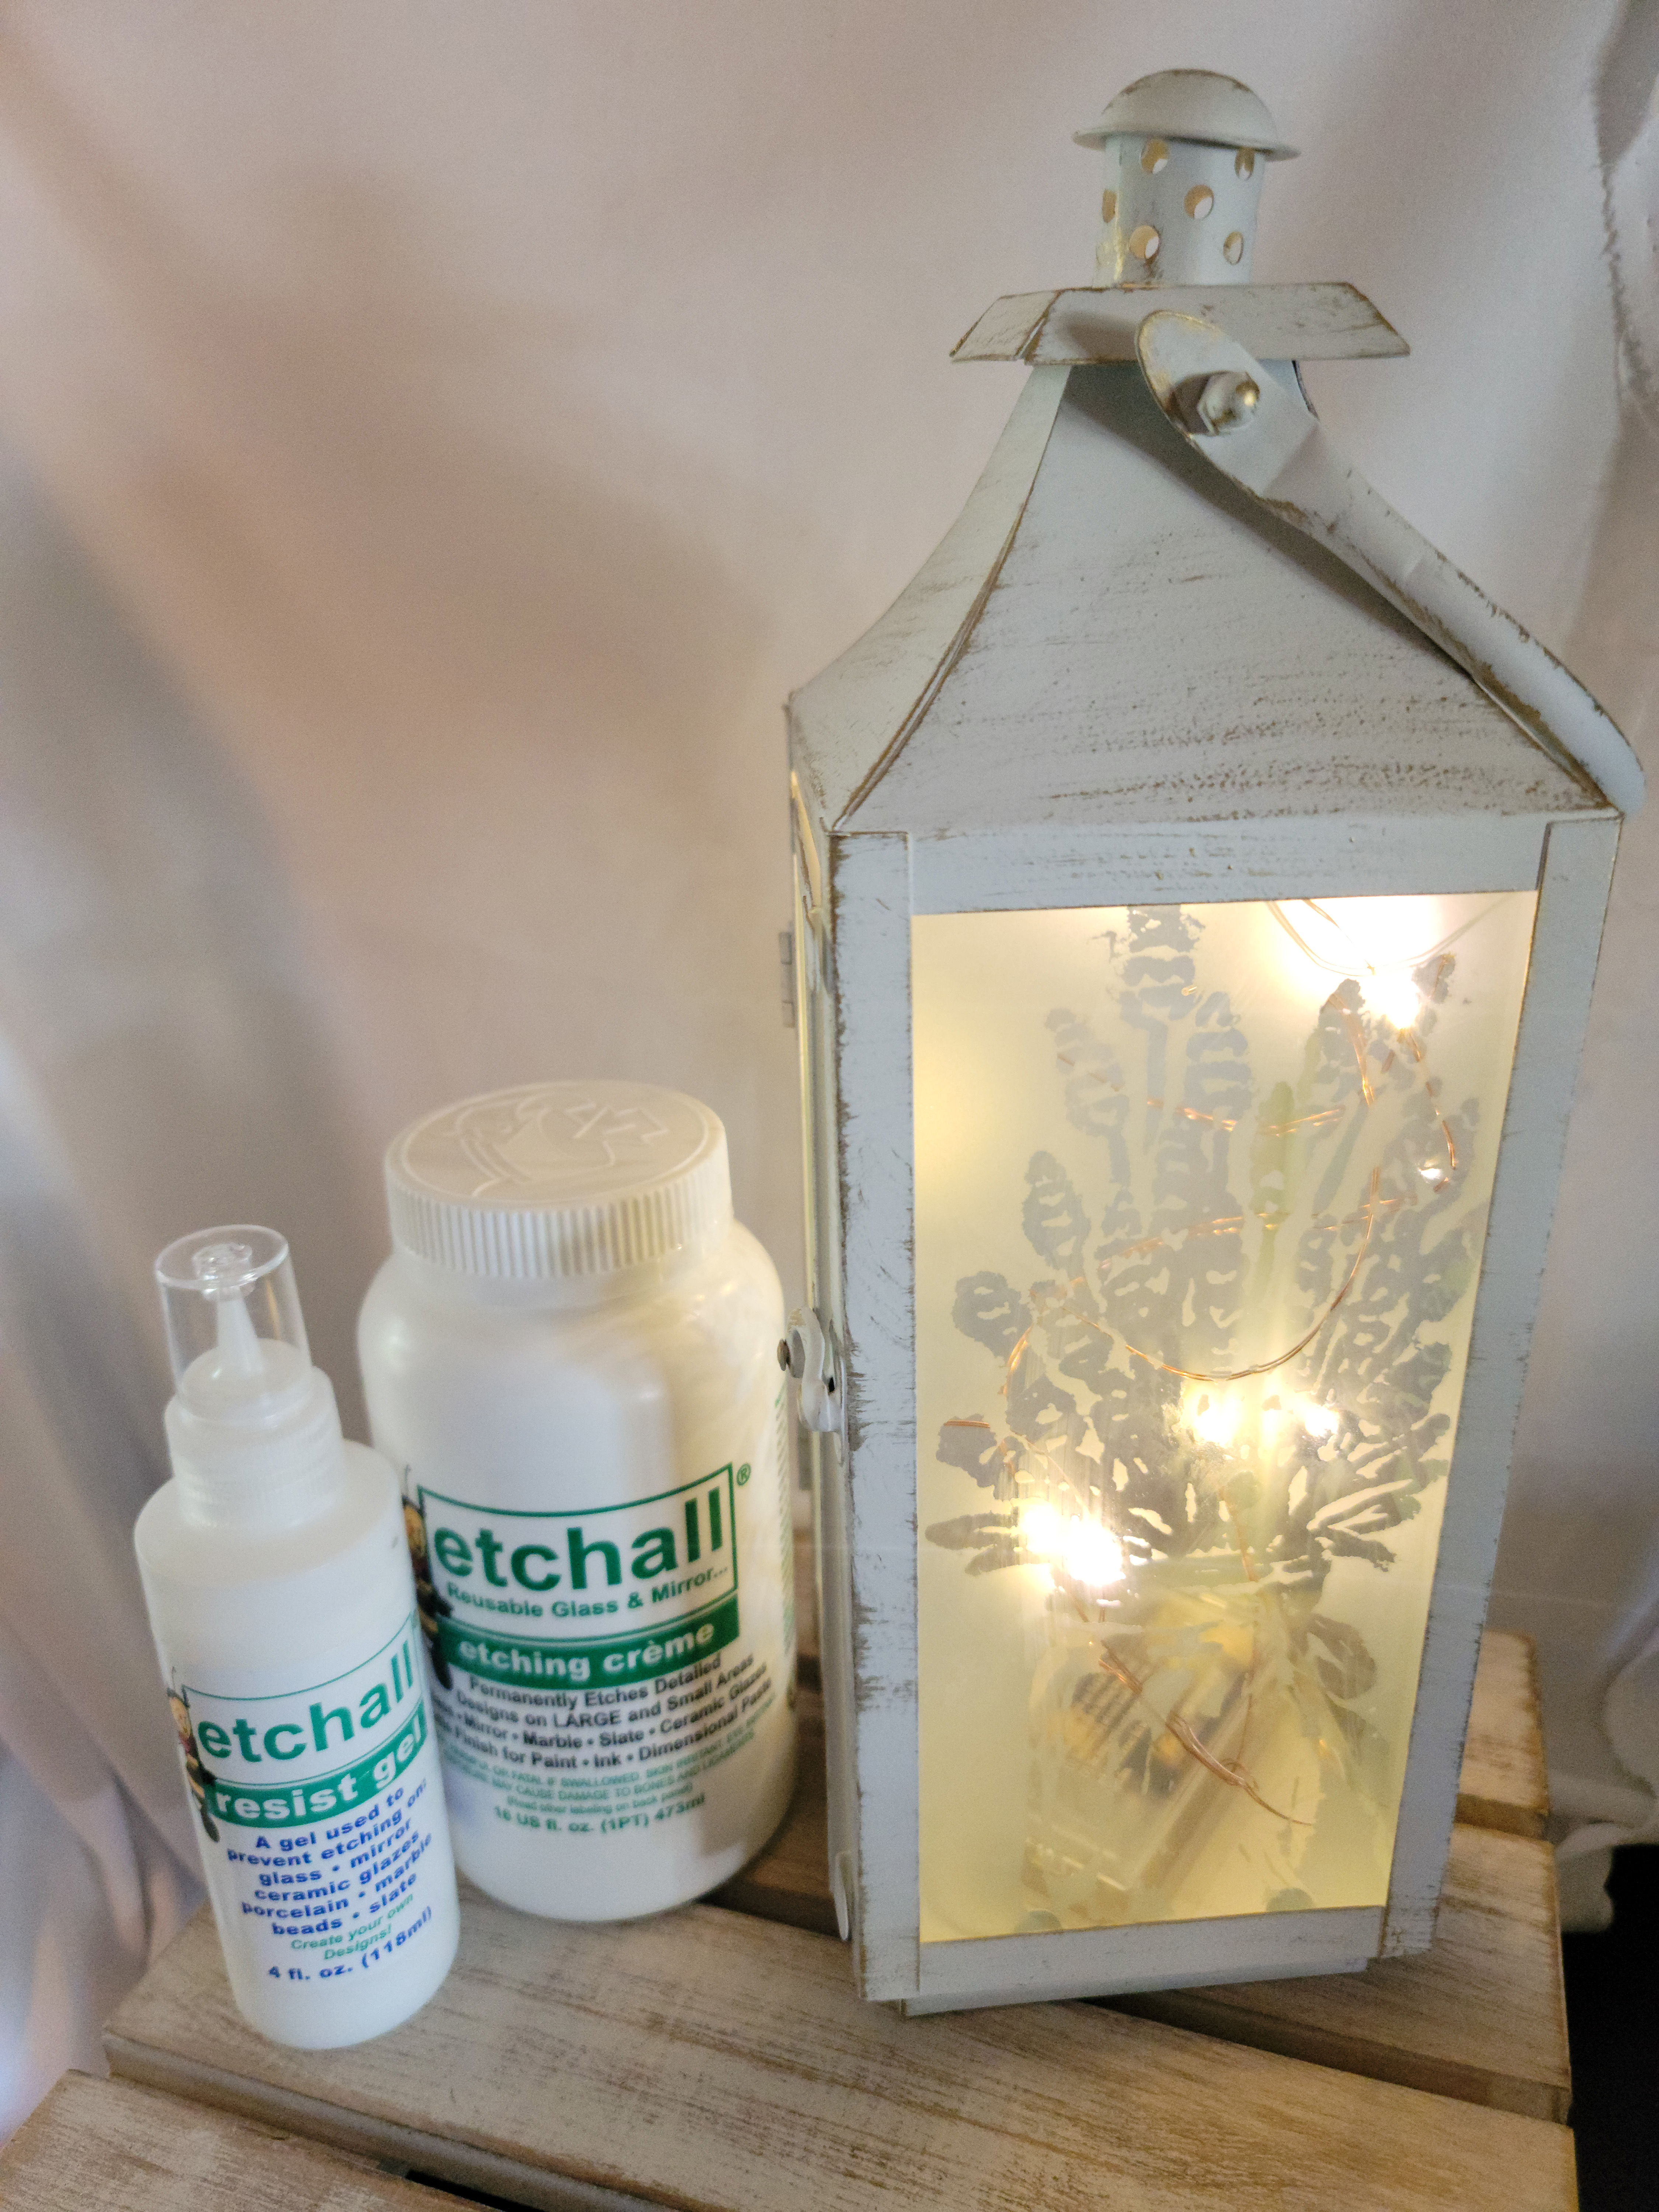
Now you have a beautiful piece of home decor. I am so excited to display my lantern. I put some battery-operated fairy lights in mine and set it up in my living room.
I would love to see what you create! Feel free to share your projects with me. You can post photos or ask questions on my Facebook page or group:
www.facebook.com/groups/SilhouetteMadewithSarah
www.facebook.com/SilhouetteMade
I have also started a Facebook group for the Siser Juliet. If you are interested in knowing more about this brand-new machine, please join. I am a beta tester for the Leonardo Design Studio software, and I will have my machine later this week.
Siser Juliet (and Romeo) Creations
To share or save this post please pin the image below.
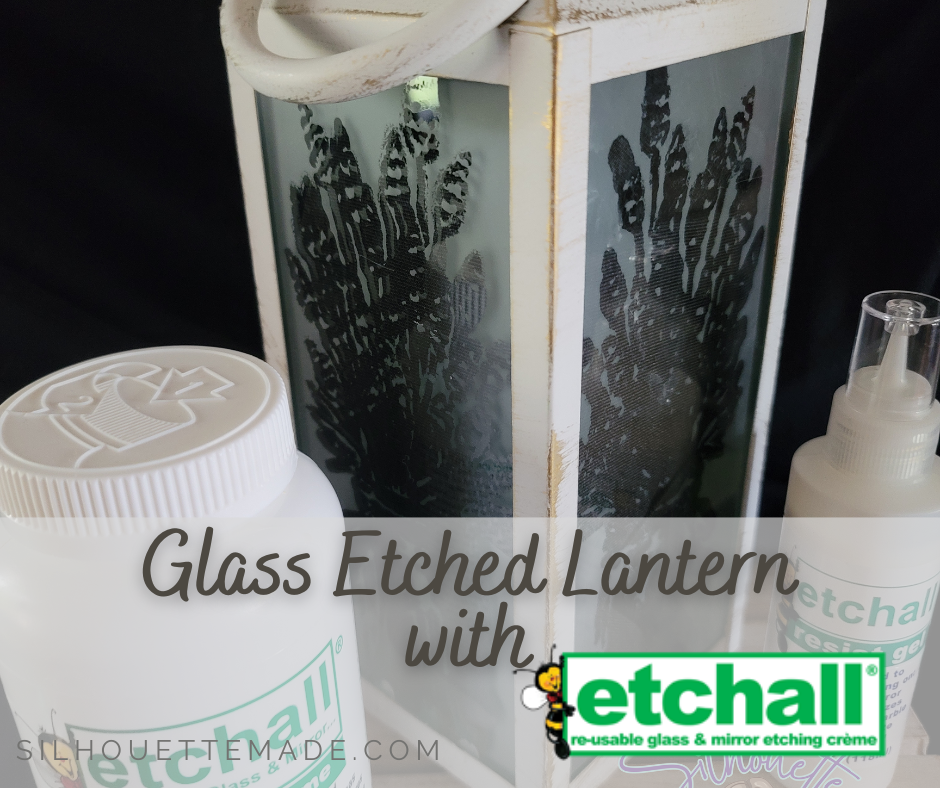
Just beautiful!