This post may contain affiliate links. What that means is that I may receive compensation if you purchase through the links I have provided. The price you pay for the product or service is not higher, but I may get compensated for sharing.
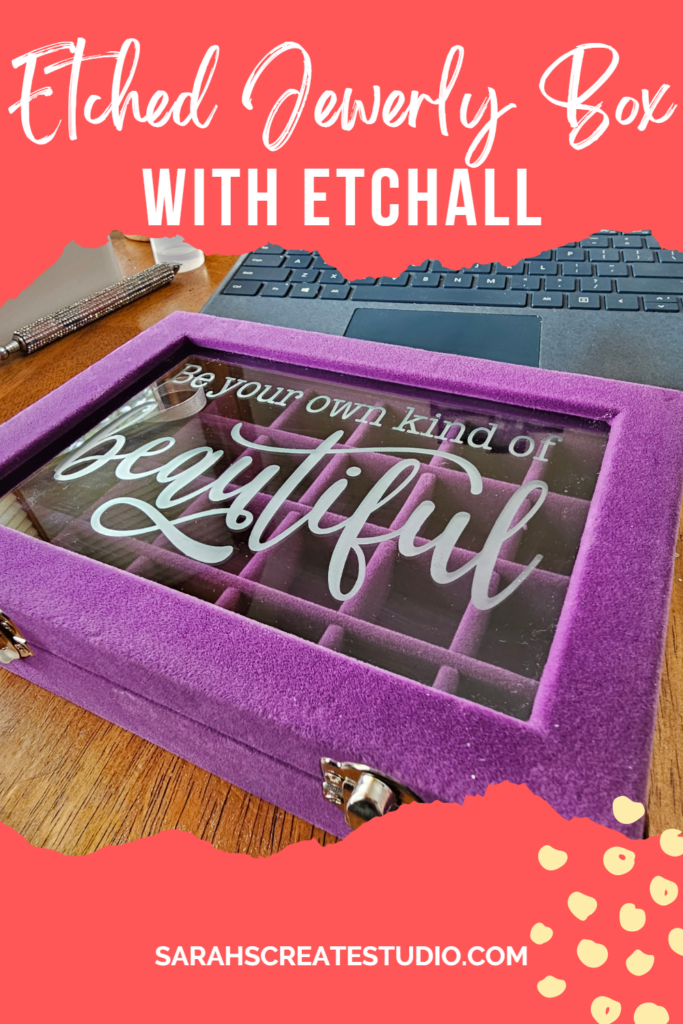
Glass etching is an exquisite art form that can transform ordinary objects into personalized masterpieces. If you're looking for a captivating way to add a touch of elegance and individuality to your jewelry box, etching glass is the perfect technique to explore. With a few simple tools and a sprinkle of creativity, you can unlock a world of possibilities and create a stunning, one-of-a-kind jewelry box that reflects your personal style and taste. In this blog post, I will guide you through the process of etching glass on a jewelry box, inspiring you to unleash your artistic potential.
Materials Needed:
Before embarking on your glass etching journey, gather the following materials:
- Glass jewelry box: Choose a box with a smooth, flat glass surface to ensure optimal results. I ordered mine from Amazon.
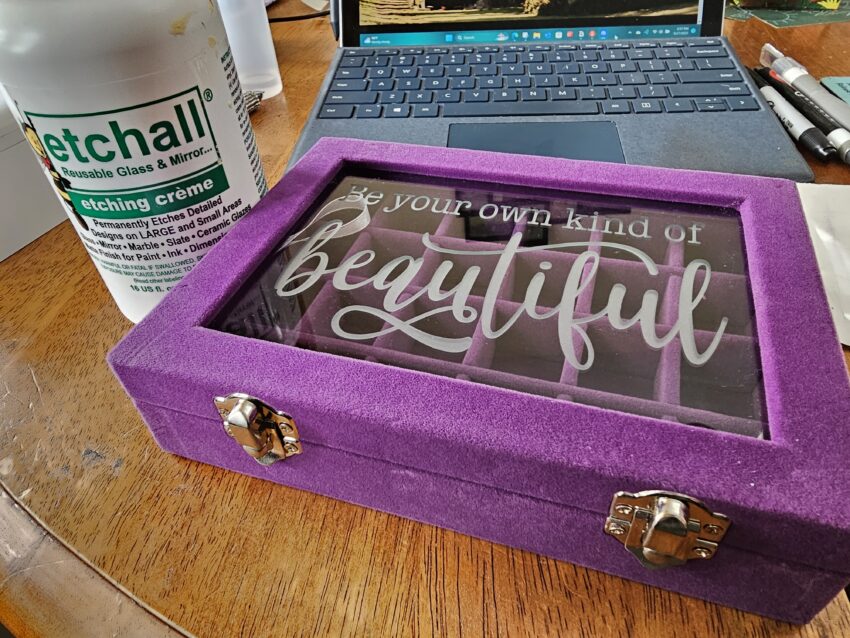
- Etching cream: Select a high-quality etching cream that is specifically designed for glass etching. These creams contain chemicals that react with the glass, creating a frosted effect. I ALWAYS use Etchall Etching Creme.
- Stencils or vinyl decals: Use pre-made stencils or create your own designs. Alternatively, you can opt for vinyl decals that adhere to the glass surface, acting as a barrier against the etching cream. I use adhesive vinyl for my glass etching projects.
- Paintbrush or sponge brush: Choose a brush that will help you apply the etching cream evenly. I used a silicone brush.
- Painter's tape: Use painter's tape to secure the stencils or vinyl decals in place and protect the surrounding areas from the etching cream.
- Clean cloth and rubbing alcohol: These will be used to clean the glass surface before etching, ensuring proper adhesion of the stencil or vinyl decal.
Step-by-Step Guide:
Prepare your glass surface: Begin by cleaning the glass surface of the jewelry box thoroughly using a clean cloth and rubbing alcohol. This step ensures that no dirt, oils, or fingerprints interfere with the etching process.
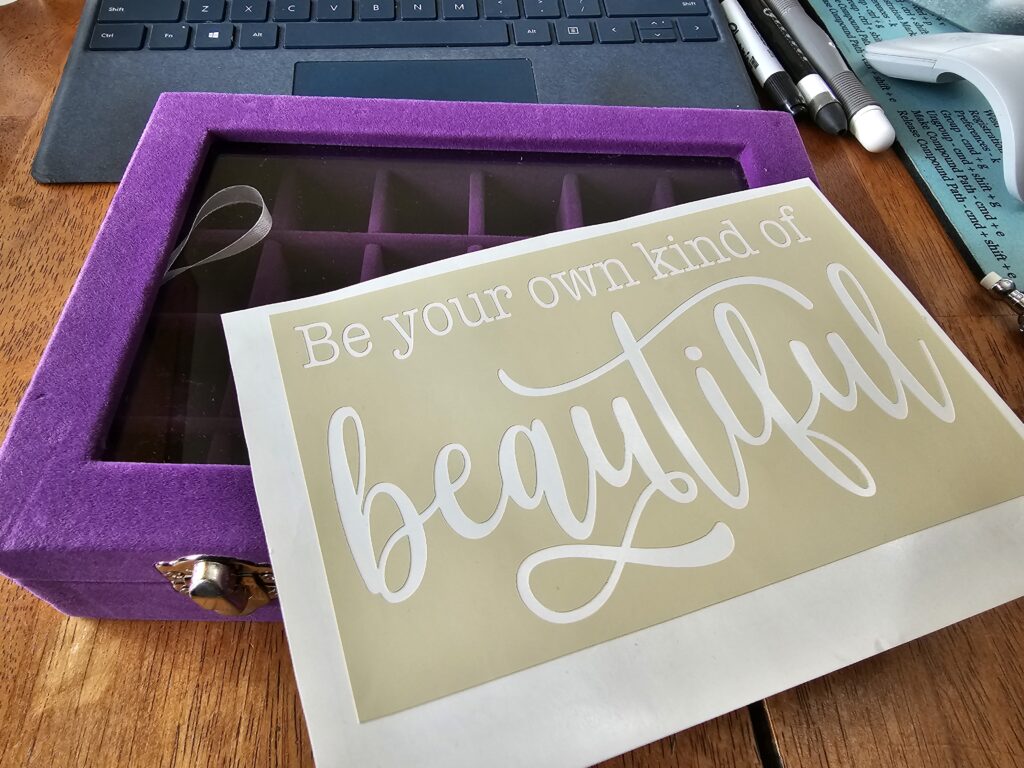
Position and secure the stencil or vinyl decal: Carefully position your chosen stencil or vinyl decal onto the glass surface of the jewelry box. Smooth out any wrinkles or air bubbles to ensure a tight seal. Secure the stencil or decal in place using painter's tape, ensuring it doesn't move during the etching process.
Protect the surrounding areas: Cover the edges and surrounding areas of the glass box with painter's tape to prevent accidental spills or smudges.
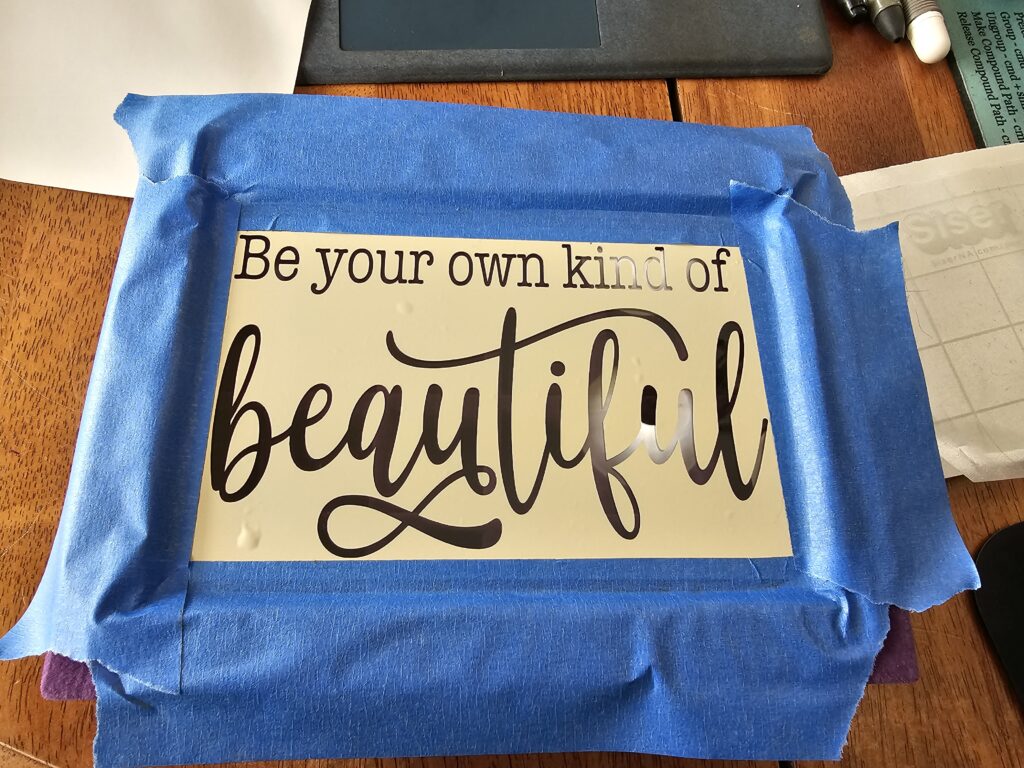
Apply the etching cream: Put on your protective gear and open the etching cream container. Using a paintbrush or sponge brush, apply a thick, even layer of etching cream over the stencil or vinyl decal. Make sure to cover the entire design area generously.
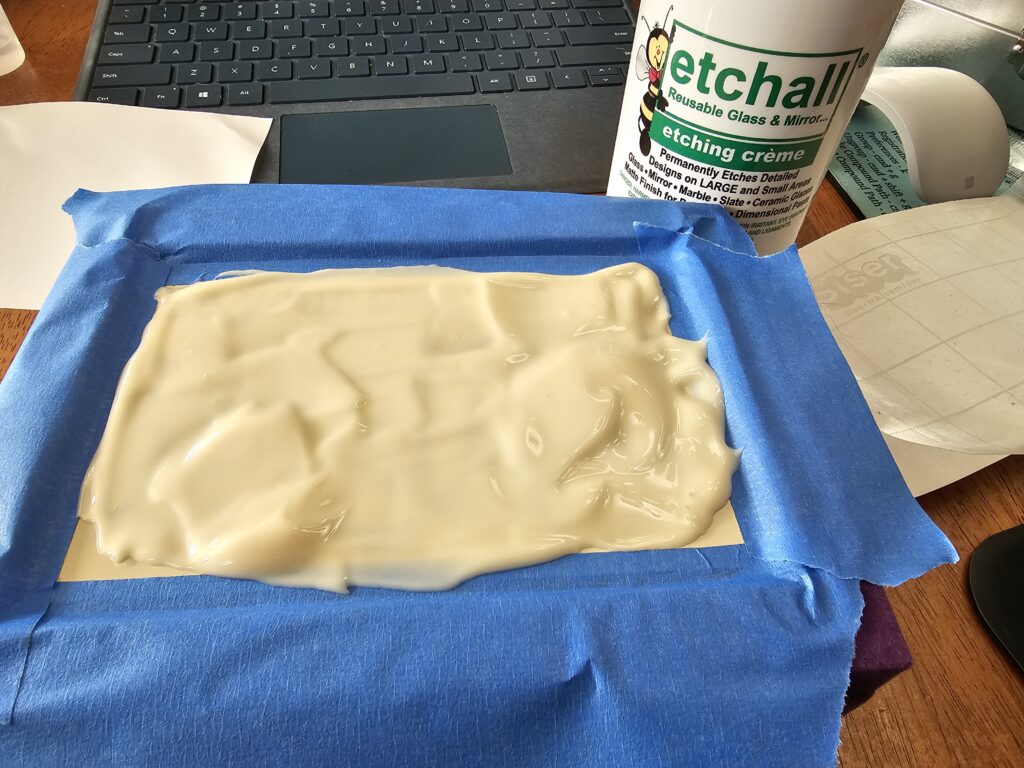
Wait for the cream to work its magic: Consult the instructions on the etching cream for the recommended duration. Typically, the cream needs to sit on the glass surface for around 5-10 minutes to achieve the desired effect. Be cautious not to exceed the recommended time, as it may lead to over-etching.
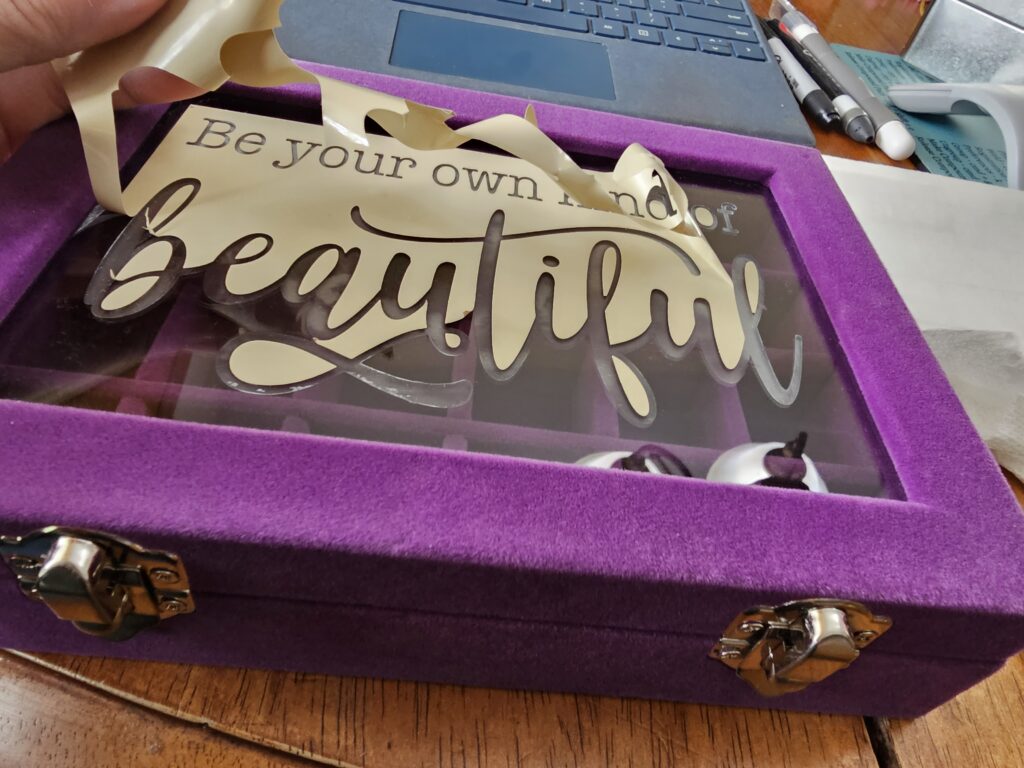
Rinse and reveal: After the designated waiting time, carefully rinse off the etching cream under running water. Remove the stencil or vinyl decal, and continue rinsing until all the cream has been removed. Pat dry the glass surface with a clean cloth.
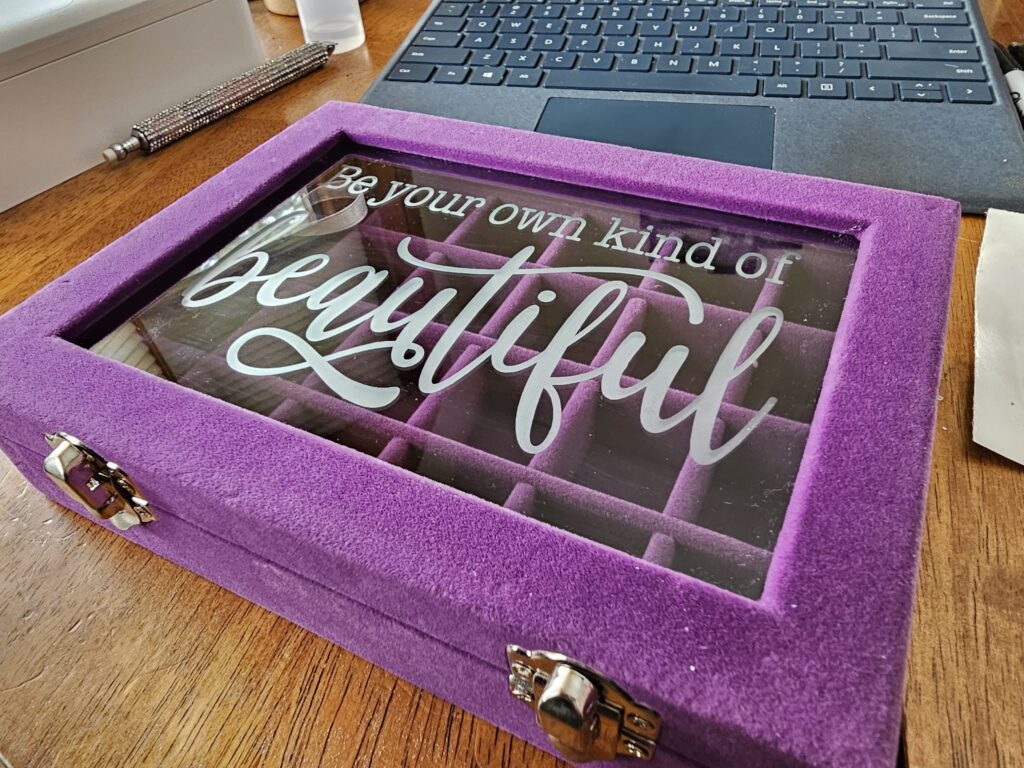
Finishing touches
Once the glass surface is dry, inspect your etched design. If desired, you can enhance the contrast by using a black or colored permanent marker to trace the etched lines. This step adds a subtle depth and definition to your artwork.
Enjoy your masterpiece: Allow the jewelry box to fully dry before handling or using it. Once dried, your etched glass jewelry box is ready to showcase your precious trinkets and become a stunning centerpiece.
Etching glass on a jewelry box is a captivating way to personalize your storage space and elevate it to a work of art. The process may seem intricate, but with the right materials, techniques, and a dash of creativity, you can unlock the potential to create breathtaking designs that reflect your unique style. So, gather your supplies, unleash your imagination, and let the magic of glass etching transform your jewelry box into a cherished heirloom.
You can see more of my glass etching projects using Etchall Etching Creme HERE.
Don't forget to share your projects with me! You can post photos or ask questions on our Facebook page: Sarah's Create Studio.
If you're interested in knowing more about the Silhouette or the Siser Juliet and Romeo, join our Facebook groups for more content, projects, inspiration, and answers to your questions:
Pin the image below to save or share this post!
