Introduction
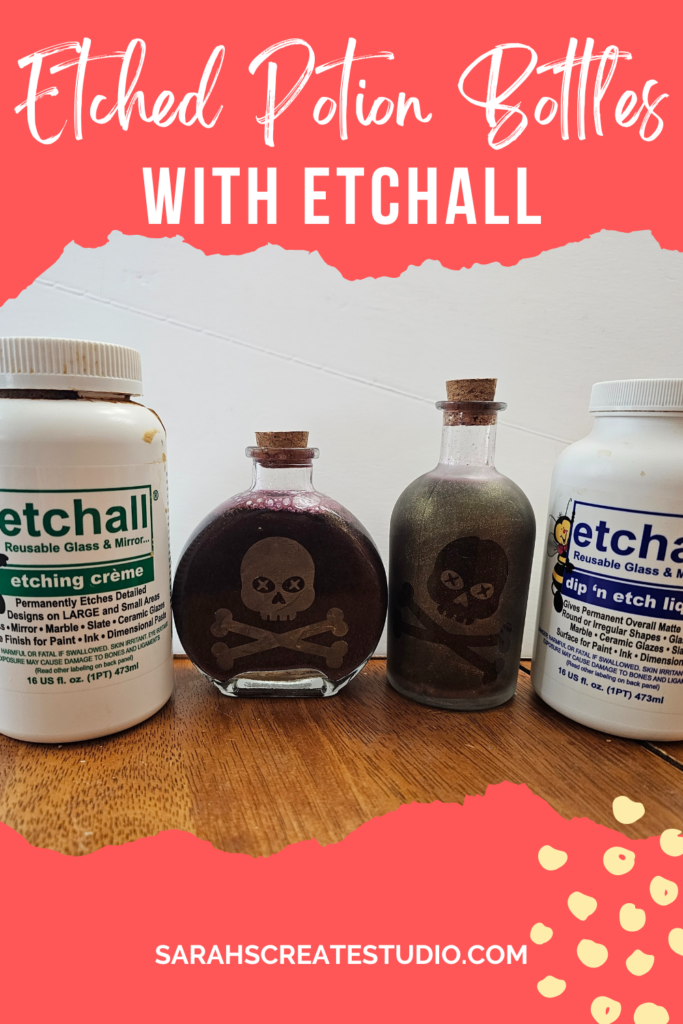
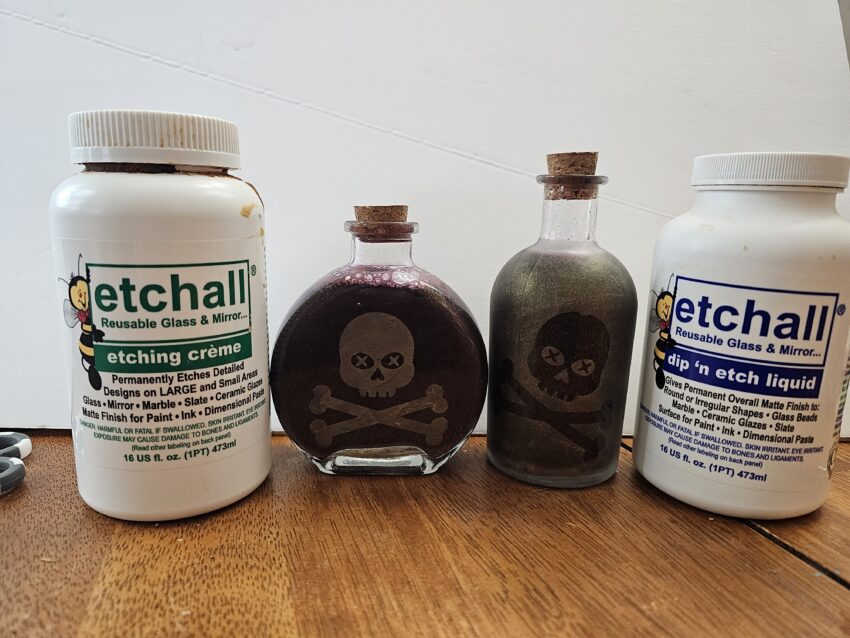
Halloween is the time of year when the spooky and the enchanting collide in a whirlwind of creativity. Whether you're throwing a Halloween party, decorating your home, or simply looking for a fun and engaging craft project, etching glass potion bottles can add a touch of eerie elegance to your Halloween decor. In this blog post, I will guide you through the magical process of using Etchall Etching Creme to transform plain glass bottles into enchanting vessels for your Halloween potions and elixirs.
Materials You'll Need
Before you embark on this bewitching DIY adventure, gather the following materials:
- Glass potion bottles: You can find them at craft stores or repurpose old glass containers.
- Etchall Etching Creme and Dip N’Etch
- Vinyl stencils
- Art spatula or craft stick: To apply the etching creme.
- Rubber gloves: To protect your hands during the etching process.
- Soap and water: For cleaning the glass bottles.

Step-by-Step Guide
Now that you have your materials ready, let's dive into the enchanting world of glass etching:
Step 1: Design Your Potion Labels
Begin by designing your potion labels on your computer. You can use design software or even a word processor to create spooky labels with eerie fonts and graphics. Once your labels are ready, print them out on vinyl or stencil material. Make sure to size them to fit your glass bottles.
Step 2: Cut Out Your Stencils
Using a craft knife or scissors, carefully cut out your potion labels to create stencils. These stencils will serve as a guide for etching your glass bottles.
Step 3: Clean and Prep the Glass Bottles
Before applying the etching creme, thoroughly clean the glass bottles with soap and water. This step ensures that the surface is free from dirt and oils, allowing the etching creme to adhere properly.
Step 4: Apply the Stencils
Position your stencils on the glass bottles, ensuring they are centered and secure. Use painter's tape to hold the stencils in place, creating a barrier to prevent the etching creme from spreading outside the design area.
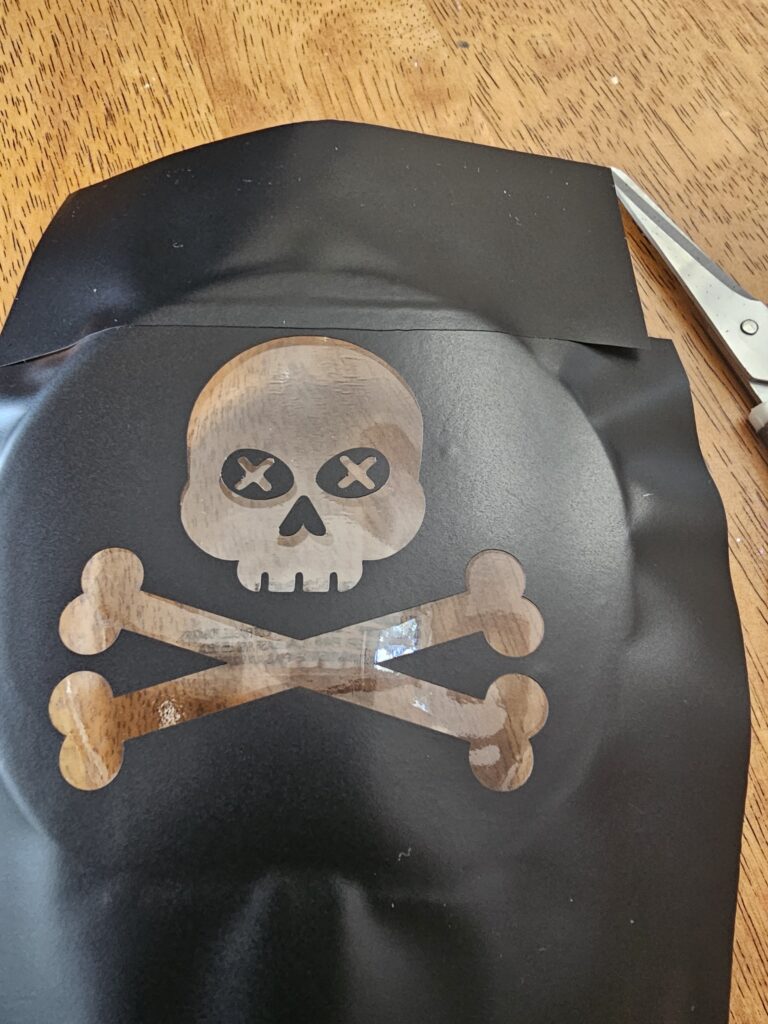
Step 5: Etch the Glass
Put on your rubber gloves to protect your hands. Using a spatual or craft stick, apply a generous layer of Etchall Etching Creme over the stencil. Make sure to cover the entire design area. Follow the manufacturer's instructions for the recommended etching time, usually around 15 minutes. During this time, the creme will work its magic, creating a frosted and etched effect on the glass.
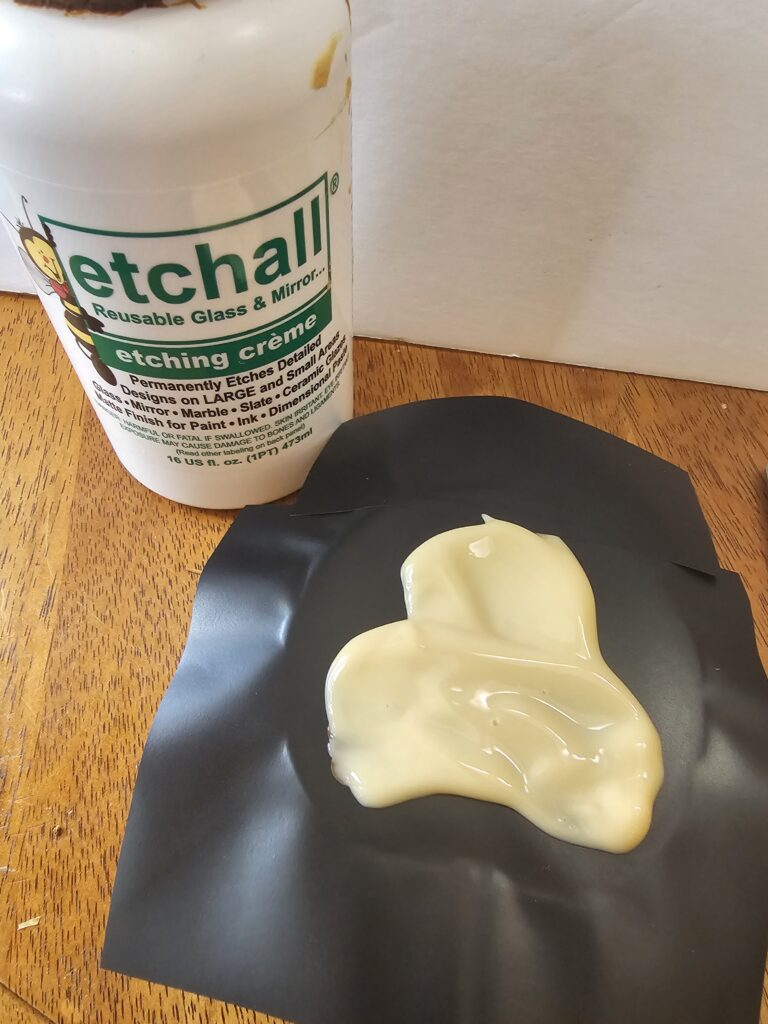
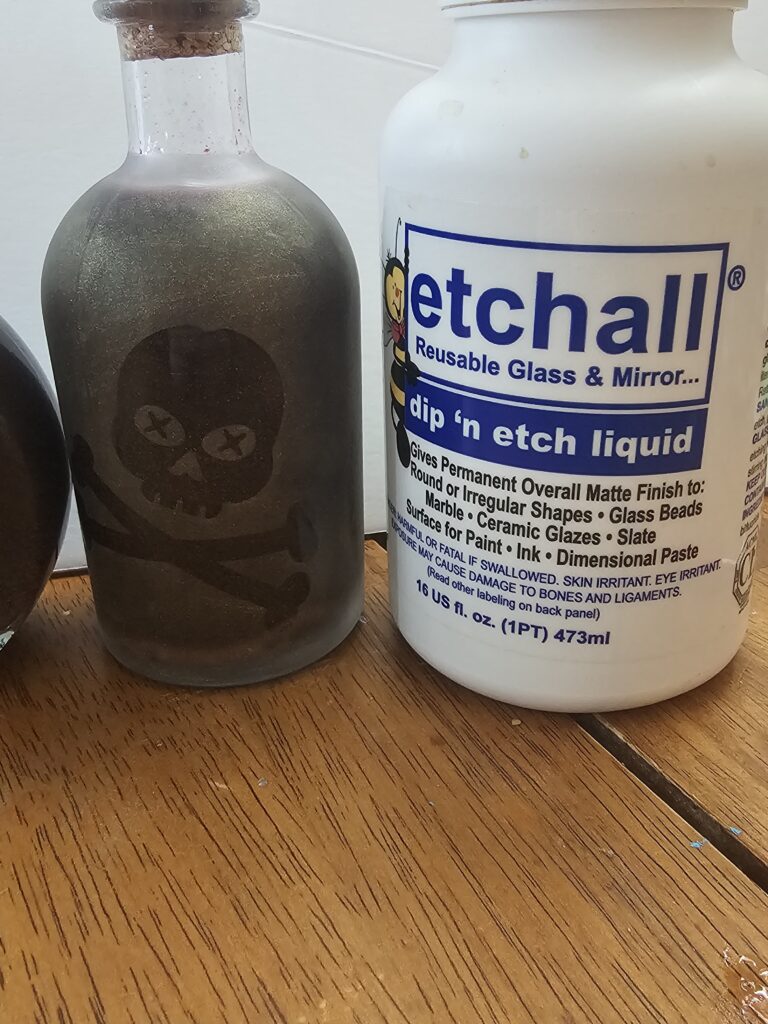
For the other bottle, I applied the stencil and then dipped the jar in Etchall Dip n’Etch. I did this to get a different look for the second bottle.
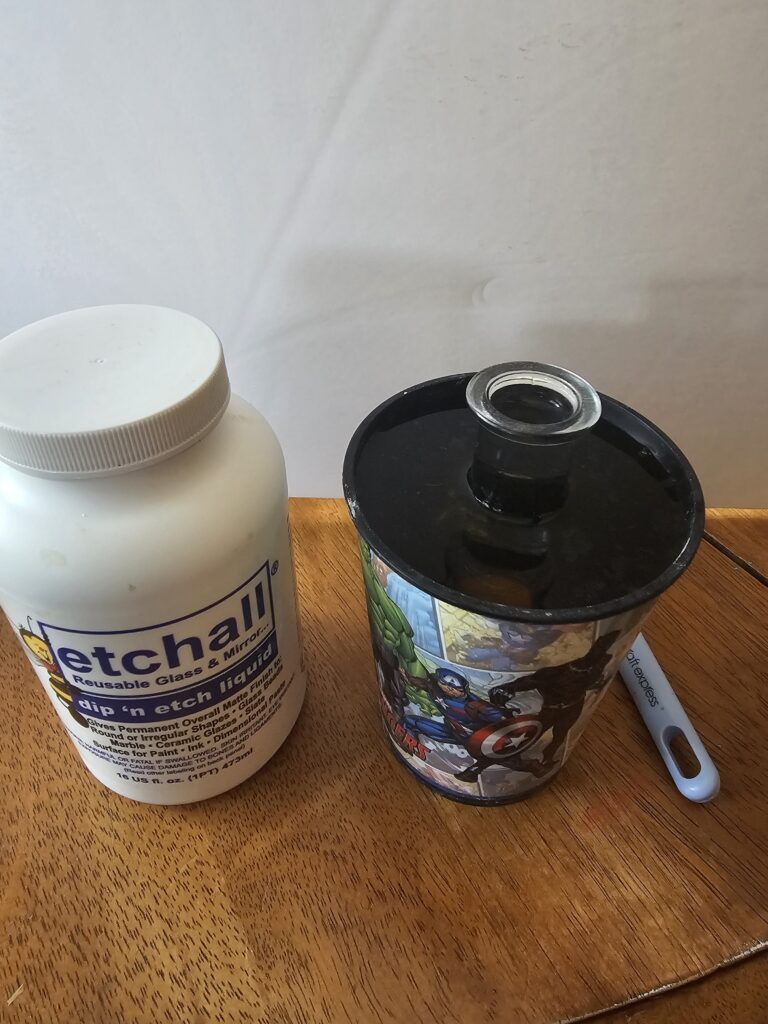
Step 6: Rinse and Reveal
After the etching time is up, rinse the glass bottles under running water to remove the etching creme. Be thorough in your rinsing to ensure all traces of the creme are gone. Once rinsed, remove the stencils and give the bottles a final wash with soap and water.
Step 7: Admire Your Enchanted Bottles
Allow the glass bottles to dry completely. Once dry, you'll be left with beautifully etched potion labels that give your bottles an authentic and mystical look. Fill them with colored liquids, spooky concoctions, or fairy lights to create a spellbinding Halloween display.
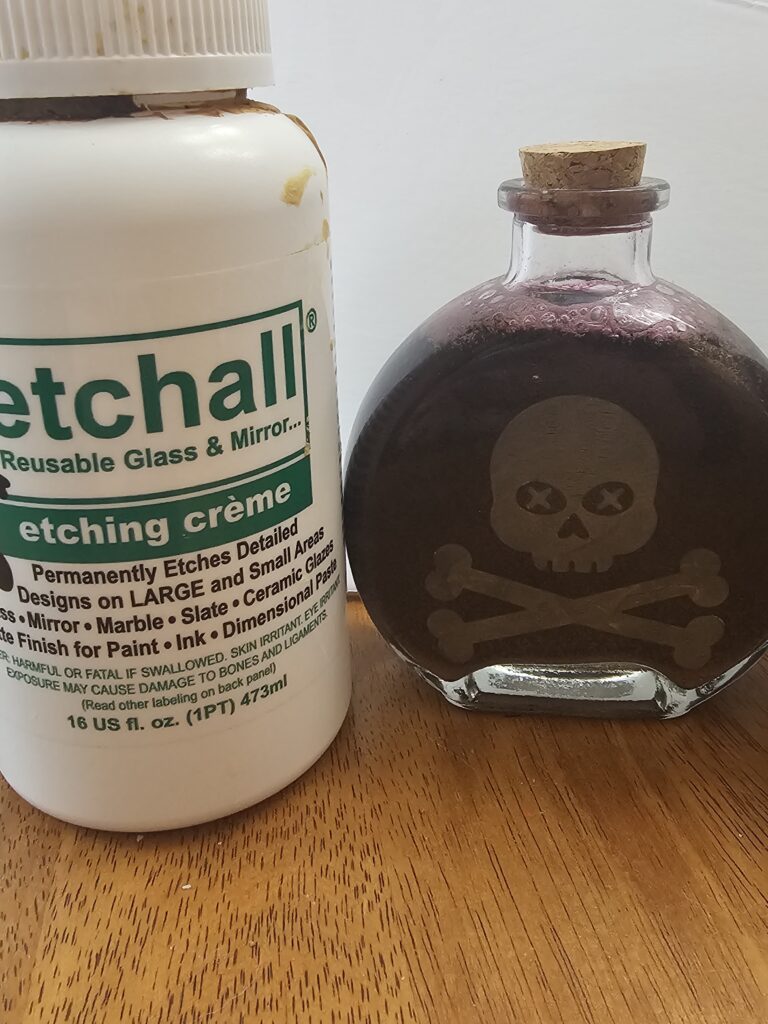
Conclusion
Etching glass potion bottles with Etchall Etching Creme is a captivating way to add an element of enchantment to your Halloween decorations. Whether you're transforming your home into a haunted mansion or hosting a Halloween party, these DIY potion bottles will undoubtedly leave a lasting impression on your guests. So, embrace your inner sorcerer or witch, and craft your own magical elixirs in these spellbinding glass bottles this Halloween season!
Feel free to share your projects with me. You can post photos or ask questions on my Facebook page:
Join my Facebook group for the Siser Juliet and Romeo, if you are interested in knowing more about this machine. I am a beta tester for the Leonardo Design Studio software, and I will be posting more content, projects, inspiration, and answering questions.
Siser Juliet and Romeo Creations
You can also join my Silhouette Facebook group. I also beta test the Silhouette Studio Software. This is a good place to get inspiration, share your projects, and get help with any issues you may have.
To share or save this post please pin the image below.
