This post may contain affiliate links. What that means is that I may receive compensation if you purchase through the links I have provided. The price you pay for the product or service is not higher, but I may get compensated for sharing.
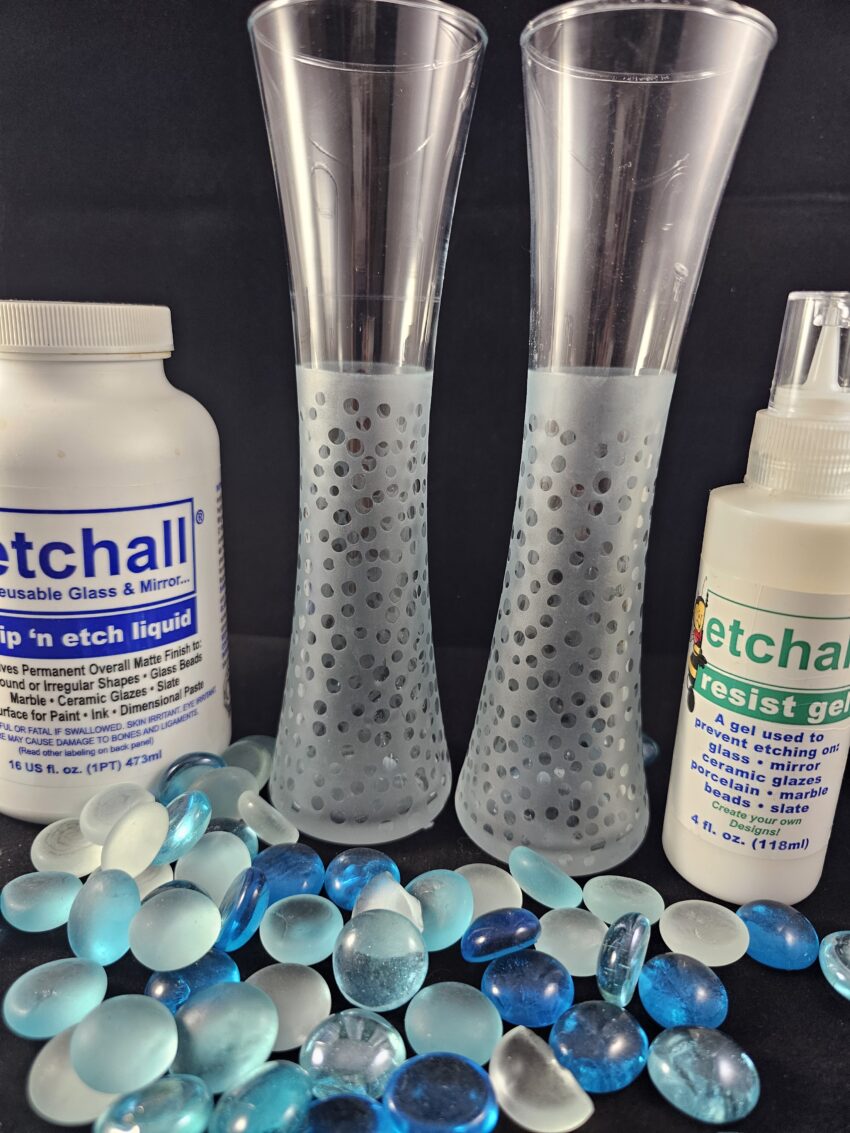
Glass etching is a captivating art form that allows you to transform ordinary glass surfaces into unique and personalized works of art. By combining the power of etching cream and resist gel, you can create stunning designs that showcase your creativity and add a touch of elegance to any glass item. In this blog post, I will guide you through the process of etching glass using etching cream and resist gel, providing you with valuable tips and techniques along the way.
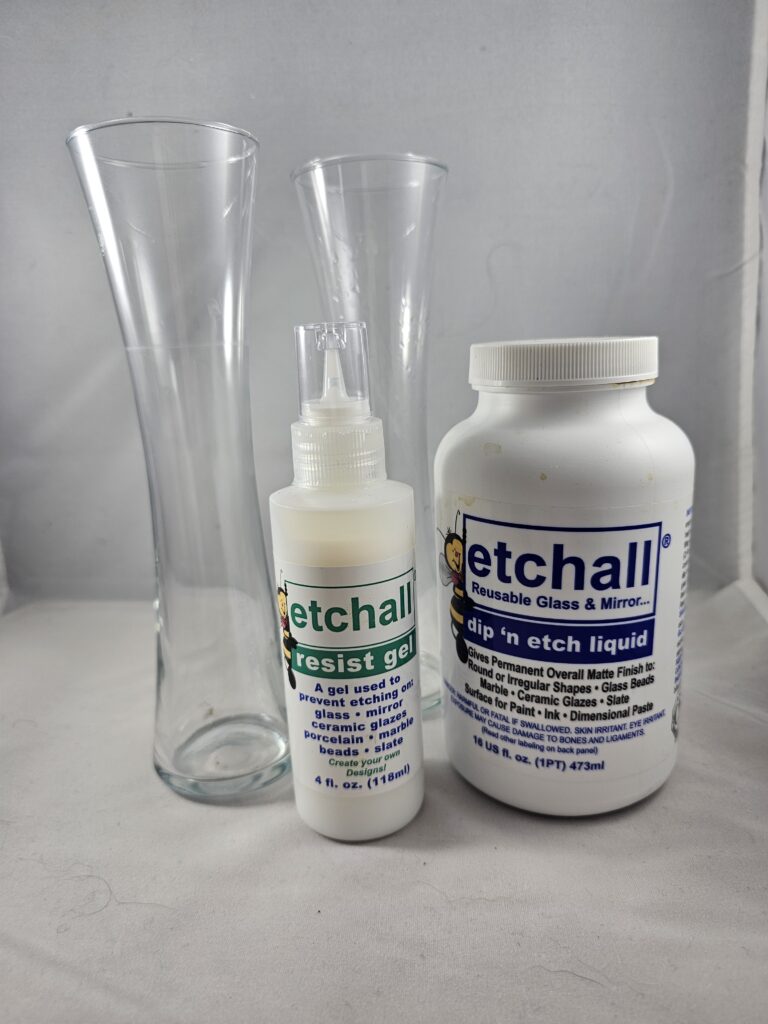
Materials Needed:
- Glass object (vase, candle holder, wine glass, etc.)
- Etchall Etching cream or Etchall Dip ‘n Etch Liquid
- Etchall Resist gel
- Paintbrush or foam brush (optional)
- Stencil or adhesive vinyl (optional)
- Water and a container for rinsing
- Paper towels or a cloth
Step 1: Select Your Design and Prepare the Glass Surface
Before you begin, choose a design or pattern for your etching. You can either create your own stencil using adhesive vinyl or use pre-made stencils available in craft stores. Thoroughly clean the glass surface with soap and water to remove any dirt or oils. Ensure the glass is completely dry before moving on to the next step.
Step 2: Apply the Resist Gel
Using a paintbrush, foam brush, or the resist gel bottle with the nozzle on, carefully apply the resist gel onto the areas of the glass you wish to protect from etching. The resist gel creates a barrier that prevents the etching cream from affecting those areas. Apply a smooth, even layer of the resist gel, following the design you've chosen. Take your time and ensure the gel covers the desired areas completely.
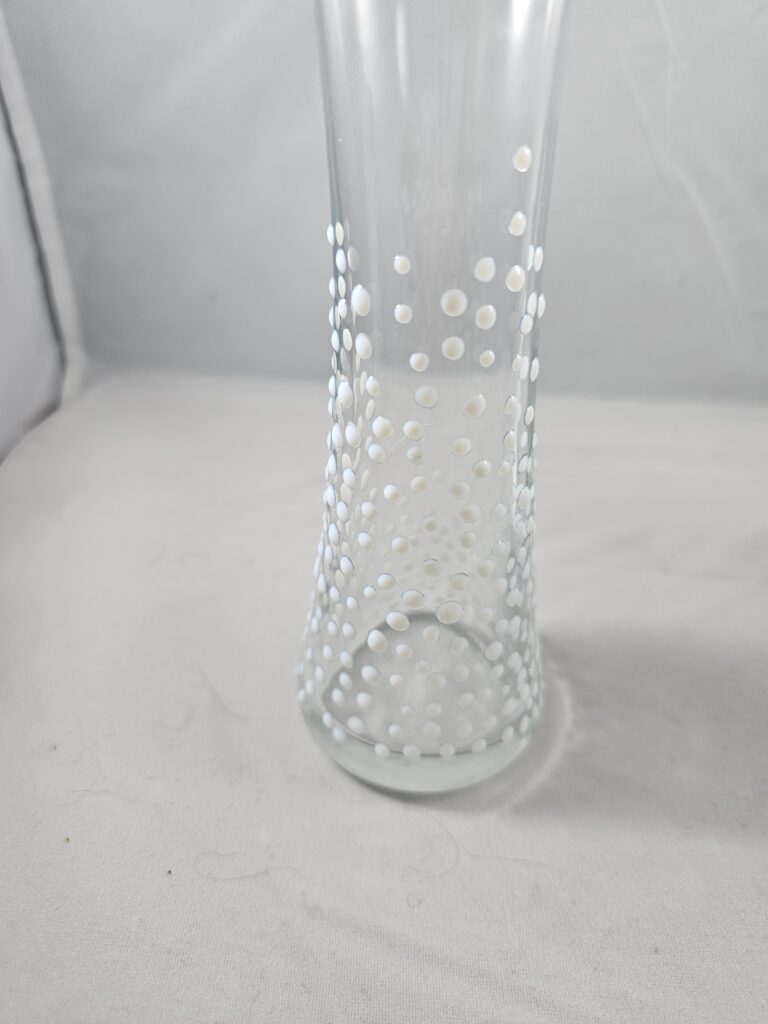
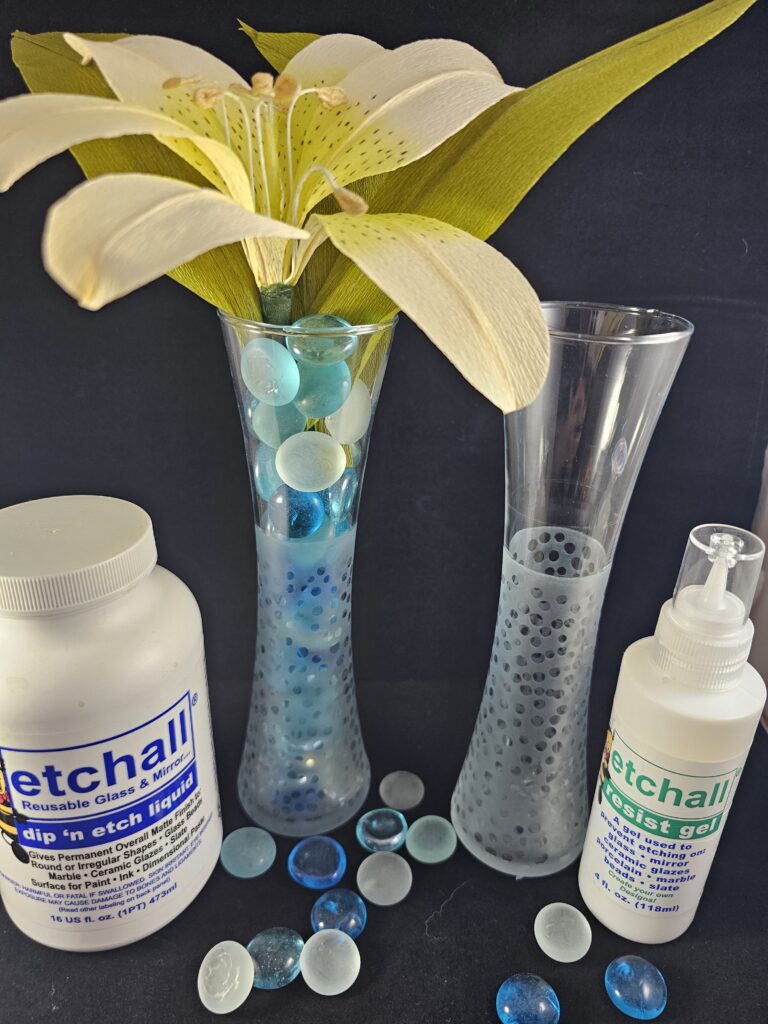
For this design, I use the resist gel right out of the bottle and created a design of randomly placed dots.
Step 3: Let the Resist Gel Dry
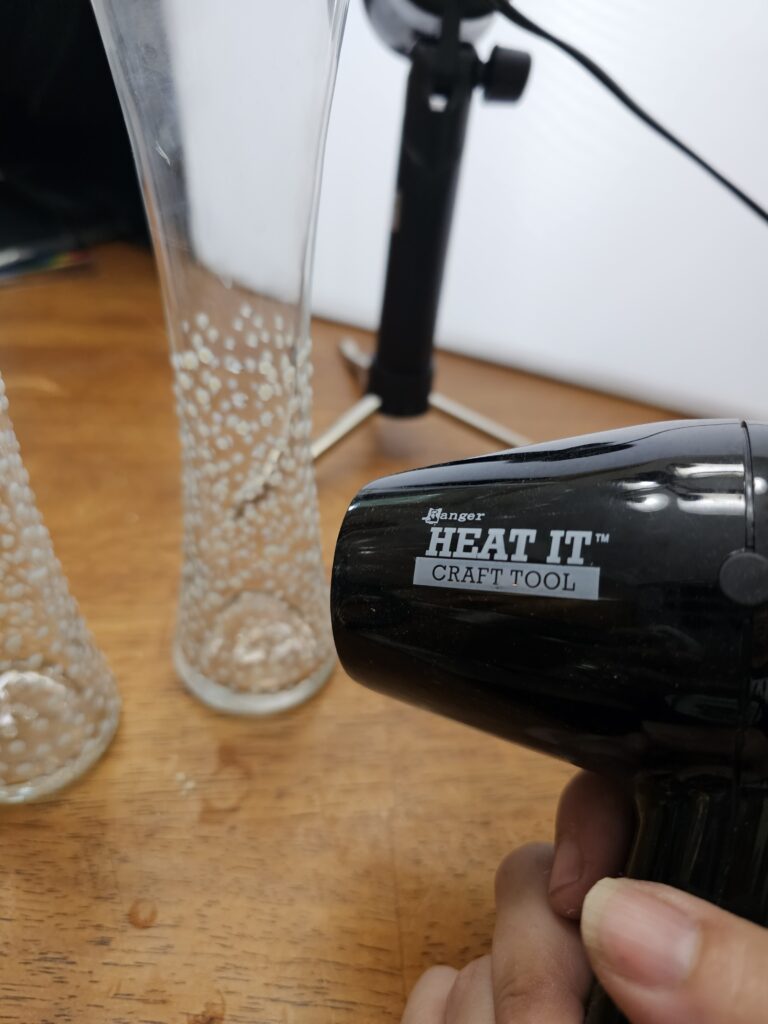
Allow the resist gel to dry completely according to the manufacturer's instructions. This typically takes around 30 minutes to an hour. The thicker the layer of gel, the longer the drying time. The gel should form a clear film over the glass surface, indicating it is ready for the etching process. You can use heat to speed up the drying process, but be careful not to over heat it as it can bubble and burn.
Step 4: Apply the Etching Cream
With the resist gel in place, it's time to etch. If you are using etching cream, generously apply the etching cream over the exposed areas of the glass, being careful not to go beyond the boundaries of the resist gel. Ensure that the entire design is covered with a thick, even layer of the etching cream.
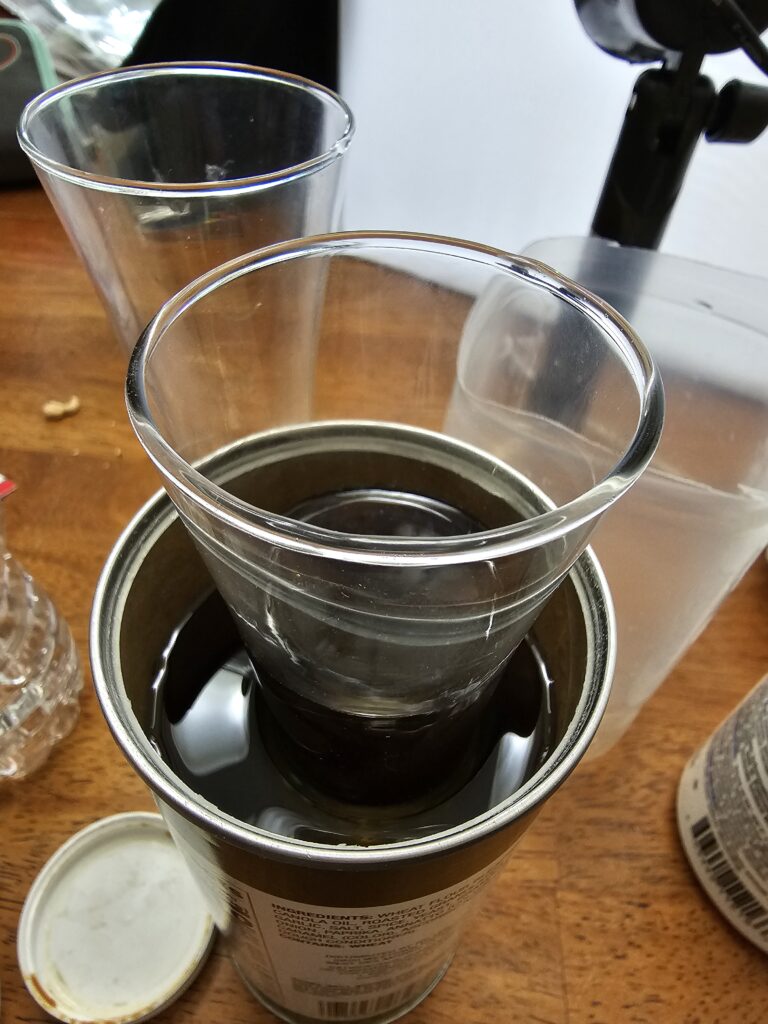
If you are using Dip ‘n Etch, like I did for this project. You will need to find a container that will fit your glass and be tall enough so that the design is covered with the Dip ‘n Etch liquid. Make sure the container you use, does not leak. I placed my vase into the container and poured the Dip ‘n Etch around it.
Your glass will try to float instead of sitting nicely at the bottom of the container, so to combat that. I filled the vase with water to weigh it down to the bottom of the container.
Step 5: Let the Etching Cream Set
Refer to the instructions provided with the etching cream or Dip ‘n Etch to determine the appropriate setting time. Typically, about 15 minutes. During this time, avoid moving or disturbing the glass to allow the etching cream to work its magic.
Step 6: Rinse and Reveal
Once the etching cream or liquid has set, rinse the glass under running water to remove the cream. Be thorough in your rinsing, ensuring that all traces of the etching cream are removed. Gently peel off the resist gel or liquid leading to reveal the beautifully etched design on the glass surface. Rinse the glass again to ensure it is completely clean and free of any residue.
Make sure you put any excess etching cream or liquid back in the original container to be used again next time.
Step 7: Finishing Touches and Care
After completing the etching process, carefully dry the glass with a clean cloth or paper towels. Inspect the design for any imperfections or areas that need touch-ups. If necessary, you can reapply the resist gel and etching cream to refine or enhance the design further. Once you're satisfied with the result, handle the glass with care and clean it using non-abrasive methods to maintain the integrity of the etched design.
Etching glass with etching cream and resist gel provides a wonderful opportunity to express your artistic vision and create personalized glassware and decor pieces. The combination of these two materials allows you to protect specific areas of the glass while etching the rest, resulting in stunning and intricate designs. Remember to follow safety guidelines, exercise patience during the process, and let your creativity guide you as you embark on this exciting glass etching journey. With practice, you'll master the art of etching glass and be able to showcase your unique designs to the world.
If you want to see my other glass etching projects you can check them out here.
Feel free to share your projects with me. You can post photos or ask questions on my Facebook page:
Join my Facebook group for the Siser Juliet and Romeo, if you are interested in knowing more about this machine. I am a beta tester for the Leonardo Design Studio software, and I will be posting more content, projects, inspiration, and answering questions.
Siser Juliet and Romeo Creations
You can also join my Silhouette Facebook group. I also beta test the Silhouette Studio Software. This is a good place to get inspiration, share your projects, and get help with any issues you may have.
