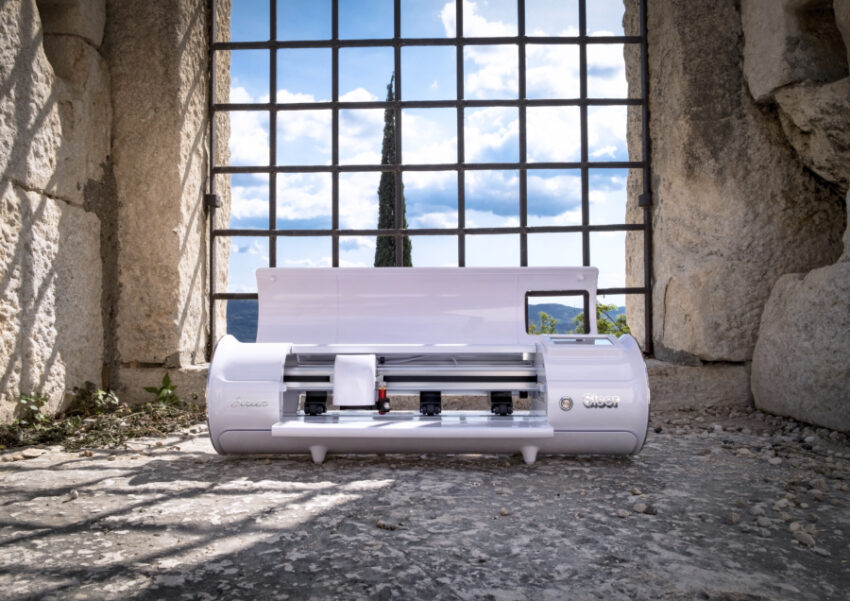
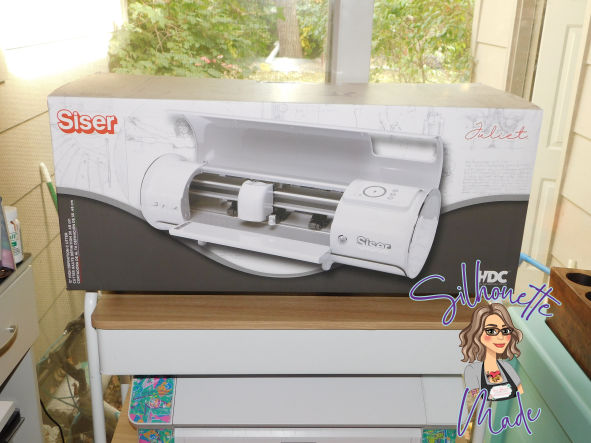
The Siser Juliet is now available for purchase!! I was so honored to be able to attend the launch of this cutting machine in Italy with Siser. It was such a wonderful experience! I’ve had my Juliet for a couple of weeks now and have been testing it along with the Leonardo Design Studio software and let me just tell you, I’m loving it.
So, first things first, let’s get this beauty out of her box!
Opening the Box
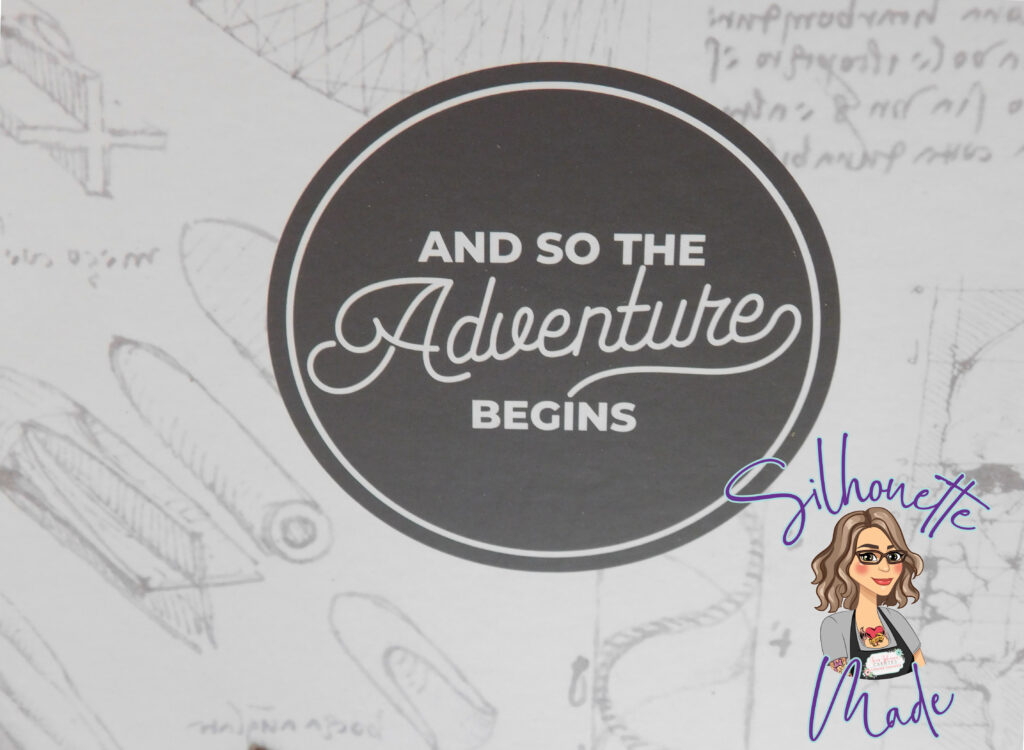
When the box is first opened, under the top flap, is this message. I love it because it is a new adventure. This machine is not a “craft cutter” (Silhouette, Cricut, Scan and Cut). This machine was created to be a step between a craft cutter and a professional cutter. It was not meant to replace a craft cutter; it was meant to be the next step in your cutting adventure.
Once the main box is opened, there is a smaller black box right in the middle; this box contains the accessories. But more on that later. Let’s get this machine out.
After taking out the black box, remove the cardboard that is protecting the top of the machine. The next thing in the box is the mat. This is a standard 12×12 mat. It states on the label whether it is high tack or standard tack. Siser has color coded their mats. The mats with the red border are standard tack and the mats with the dark gray border are high tack.
Juliet is wrapped in a light foam bag and in shrink wrap. I just tore away the foam bag. But be careful when removing the shrink wrap, you don’t want to damage her when cutting it open.
Removing excess packing material
There are several pieces of foam that need to be removed. The first one is on the lever on the back of the machine.
The next one is inside the top of the lid. You will see it when you lift it up.
The last one is around the blade holder on the machine.
Once you have all the packing foam removed you will want to remove the white plastic clips that are around each roller.
To do this, push the lever on the back of the machine down. This raises up the roller bar. They are extremely easy to remove with the roller bar in the lifted position.
Accessories
Now onto that black box we removed from the box first. This box contains the power cords, USB cord, blades, blade housing, pen holder, and documentation.
There are 3 blades in the box. The two red ones are 45-degree blades and the blue one is a 60-degree blade. This is one area where the Juliet differs from other craft cutters. It uses a more professional style blade. There are no numbers to adjust on the blade. It will need to be tested with any material you may be cutting. The 45-degree blade is used for most materials (vinyl, HTV, sticker paper, etc.). The 60-degree blade is for thicker materials (faux leather, chipboard, etc.).
Juliet connects either by USB cable or through a Wi-Fi connection. Other cutters, like Silhouette, use Bluetooth. Bluetooth and Wi-Fi technology are different. To use the Wi-Fi connection with Juliet, there does need to be an internet connection.
Now just plug Juliet in, install your Leonardo Design Studio, put your blade in, and start playing. Just remember TEST CUT, TEST CUT TEST CUT.
I would love to see what you create! Feel free to share your projects with me. You can post photos or ask questions on my Facebook page:
www.facebook.com/SilhouetteMade
Join my Facebook group for the Siser Juliet (and Romeo when he is released), if you are interested in knowing more about this machine. I am a beta tester for the Leonardo Design Studio software, and I will be posting more content, projects, inspiration, and answering questions.
Siser Juliet and Romeo Creations
To share or save this post please pin the image below.
